Showing posts with label dress. Show all posts

Wednesday, June 18, 2014

Dressing It Up

The creative log jam has finally broken and I'm sewing again!  I love making little girl dresses.  Unfortunately, my little girl isn't that little anymore, so my Etsy store, Pretty Pretty Cindy, was born as an outlet for the "little girl" sewing (and crochet and whatever else I want to make).  I'm especially tickled about "upcycling," or using existing items to make new ones.  Without further ado, I'm excited to show you what I've been doing:

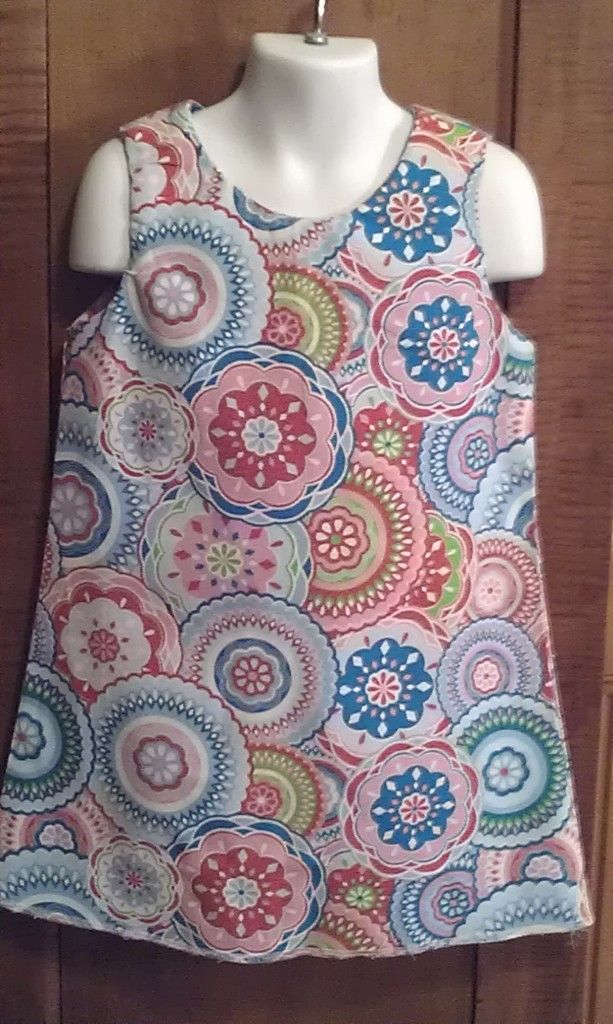
This is a pretty little cotton A-line I made in a size 4.  I added a little hot pink tulle at the hem.  I love these little A-line dresses.  I know I've mentioned it before, but Wendy Gratz has an adorable book "Absolutely A-Line" that will open your mind to lots of new ways to improve on a simple A-line pattern.

Although I do love the A-lines, I did try a couple of new things:

This is a pretty peachy cotton long dress in a size 5.  I will probably end up shortening this for someone because it's pretty long - the lace ruffle added a little too much length except for those tall girls.  I love the Peter Pan collar, but I can't say I liked making it!

Continuing my quest to do something new, I tried out a twirl tiered dress.  A friend of mine said it reminded her of Provence in France because it's so sunny and bright.  I think if I did another, I would make the straps knotted so they are a little more adjustable.  This one is a size 6.

I felt pretty clever with this little A-line dress.  This dress is made from two pillowcases.  The clever part is that when I cut the dress initially, I accidentally left a pillowcase seam right down the middle of the front of the dress.  That resulted in the pattern pieces being pushed aside for a long time.  When I finally found them again a couple weeks ago, I decided to give the dress a faux front closure with little buttons.  Staying with the closure theme, I devised something a little different for the back closure:

I created the largest button holes my machine would make and then threaded a sash through them for this cute tie.  This little dress is a size 3 and definitely one of a kind.

If you want to see any of these dresses as specific listings on Etsy, click the small pictures on the right -->

When the creative streak gets started, it's hard to know when it will stop, so I'm still working on more dresses.  Watch for them on Pinterest on my "Things I've Made" board or on the right Etsy column here.

cindy

Tuesday, June 18, 2013

The Hippie Dress

I'm not sure what to call this dress.  It started off as a simple A-line dress (my favorite style to sew) and I changed it - several times.  It's easy when you have an inspiration.  I found this great book "Absolutely A-Line" in a Barnes & Noble.  It's from Wendi Gratz the author of an awesome blog Shiny Happy World and the teacher of all things sewing and embroidering.  Wendi's book is great because it launches you into the creativity to take one simple A-line pattern and transform it in almost as many variations as you can imagine!  (This is my photo of the actual book - Wendi's advertising photo certainly looks better than this!)


I've already done a few for my Etsy store, PrettyPrettyCindy.   (The paisley dress is still available in size 4).


This time I was ready for another variation (or two).


First of all, the base fabric is a (lean in close 'cause I'm whispering) a . . . tablecloth.  It is new, but I just loved the fabric and couldn't resist!  As much as I liked the fabric, it needed some serious contrast, so I chose the pink and brown/pink paisley fabrics.  Next, I changed the neckline to make a more wrap-like look.  I did use a trick from Wendi's book to have the bias tape (the brown paisley fabric) show around the neckline.  Because I kept the bias fabric thin, it almost looks like cording.

When I separated the bodice from the skirt, that left a "waist" that I really did not want to see in the main fabric because I like the illusion of a single straight A-line dress.  Solution?  Create a "sash" at the waistline that ties in the back.  That wasn't too hard to do using another piece of another dress pattern.

bodice

I still needed more contrast at the bottom and after adding the first strip, wanted more length so another strip was added.  I wanted one more "touch" to make the dress different and special.  I've been making yo-yos (those little flower thingies) for a while, but haven't had much use for them yet.  You can see how to make yo-yos here.  I layered two sizes of yo-yos and added a few seed pearls.


yoyo

It may seem a little funny to start with one idea and end up with another.  That's what I like about Wendi's book.  She's not wed to specific design functions which leaves me comfortable with experimenting with different elements.  I like the outcome.  If you like it too, it's available in my Etsy store in a size 5.


cindy

Monday, April 29, 2013

Yo-Yo Sewing

I love the look of a yo-yo.  No, not the toy on a string, but a fabric yo-yo.  Just Google "fabric yo-yo" and check out all of the cool images and uses for yo-yos.  You can also find some great DIY posts on making yo-yos without a form.  I'm going for the easy route - making yo-yos with store bought forms - gasp!

yoyo makers

These are plastic yo-yo forms you can find in multiple sizes in most fabric stores.  I'll say it again - you don't need a form to make a yo-yo - but it sure makes things easier.  You take a piece of fabric and snap it between the two sides of the form, like this:


making 8

There are two distinct advantages to using plastic forms.  The first one is this: you don't need to cut a perfect circle before you pick up a needle.  In fact, you don't have to cut a perfect circle at all.  Using the plastic form guarantees a uniform size even with odd shaped scraps you see above.  You don't have to cut the circle until after the fabric is firmly held in the form.

Once you snap the fabric into the form, it's time to start sewing.  Here's the second advantage.  You don't have to worry about sewing perfectly spaced uniform stitches.  The plastic forms have little notches in them so you can sew in and out of the notches to get perfect stitches.  It's a great activity for kids.

making 6

Once the stitches are all the way around and you cut out the circle, leave the needle in place and remove the plastic form.  You will be left with this:

making 4
making 5


making 1making 3

Pull the thread evenly and watch the circle come together.  Tie off the end and you have your first yo-yo.

I really want to make some of the cool projects you can see if you look at the Google images, but I haven't made nearly enough yo-yos for that.  However, when I was recently making a little dress, I decided to use two different sizes of yo-yos with some little pearls I bought as an embellishment.


yoyo

Here is the whole bodice.  The dress is coming soon - a short tutorial on Straddling the Gap and the actual dress in my Etsy store, Pretty Pretty Cindy


bodice

cindy

Wednesday, February 20, 2013

Plans for the Wall of Fabric

Years ago, before I knew how to sew, I visited my sister who is an awesome seamstress.  I opened a double closet in the guest bedroom and it was full of fabric!  Wow, I had never seen anything like it.  Fast forward to today at my house:


Untitled


Untitled


Fabric Stash

And this isn't all of it.  Our local JoAnn Fabrics went out of business last month and everything was 75% off.  Unfortunately, you had to buy it by the bolt.  Pretty stuff, though, including quilter's fabric and Waverly.

Anyway, with my forty day computer silence underway, my plan is to make as many items as I can.  I know my limitations, so it probably won't make even the smallest dent in my stash, but if you're wondering how I'm getting my craft fix, here is just a small example:


Untitled  Untitled Untitled


Untitled Untitled Untitled

These are actually patterns for things for my daughter, but I'm also excited about making some pretty spring dresses for my Etsy store, Pretty Pretty Cindy.  After Easter, I'll come back to show some off.  In the meantime, if you're in the market for a girl's dress, drop by Pretty Pretty Cindy.

Happy sewing!

cindy

Monday, December 31, 2012

The Best of 2012

I'm sitting here on New Year's Eve about to begin the festivities with close friends.  2013 is coming very fast, so I have barely enough time to think back on 2012.  Here's the quick and dirty "best of"

My Craft Room!  In 2012, I went from Dreaming of a Craft Room to Craft Room Musings, DIY Fabric Storage, and ultimately, the Craft Room Reveal.  I love my craft room, even if it is a mess right now.  2013 will bring more sewing and crafting, God and time willing.


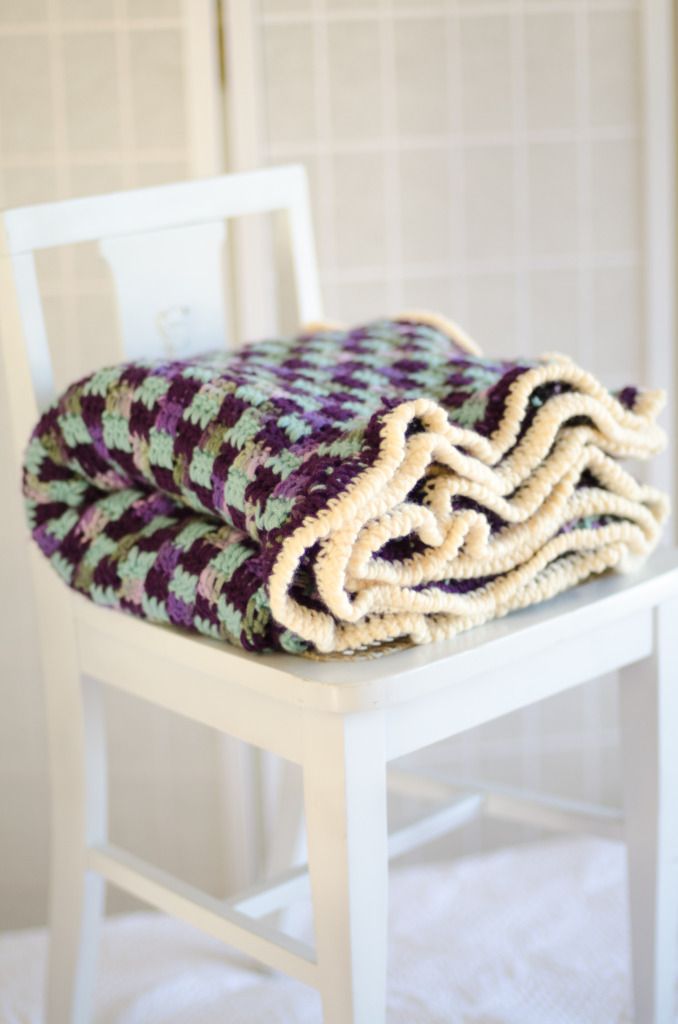
Etsy and the creations in it!  Pretty Pretty Cindy opened in 2012, with all of my various creative projects.  I love having a place to share my projects/creations without needing to find a family member or friend to give it to.  One of my favorite items was this Catherine Wheel Afghan.  It will always remind me of Kawaii where it was made.  I made a few rag quilts (I really need to get back to that):  Raggedy Rag Baby Boy Quilt, Chocolate Pistachio Quilt and Pinkie Rag Quilt.  Then there was the dress making frenzy:  the Watermelon Dress, Upcycled Gauze Dress, Upcycled Denim Skirt and Black Slip Dress.

I also started to share my Arizona with you:  javelinas, other Arizona critters, the Arizona Biltmore, Arizona's Centennial, Sedona and roses, clouds, the State Fair and Verde Canyon Railroad.


See you in 2013.

cindy

Sunday, August 19, 2012

PrettyPrettyCindy on Etsy

Yeah!  I know I've been talking about it for a while, but Pretty Pretty Cindy is finally a reality on Etsy!  I've already had my first sale - My Boucan Checker Afghan


But even better than that - I finally got my remaining inventory listed yesterday!  It took a little longer than I expected, but I'm so pleased with the results.  I have four sections in the store - Girl's Dresses, Headbands, Crochet and Quilts.  Here's a few samples from each section (just click on the picture to see the Etsy listing):

Calico Corner Headband
Here's one from Girl's Dresses (the headband is for sale in the Headband section):
Turquoise and Pink Paisley Size 4 5

Here's one from Crochet:

Raspberry Sherbet Catherine Wheel Afghan
Finally, here's one from Quilts (my quilts so far are just rag quilts):

Chocolate Pistachio Rag Quilt
I was very lucky to have the cutest models: Emma, Charlotte, Julia and my own Mackenzie (in some head shots of headbands).  Aren't they the prettiest?  My dresses look so good on them if I say so myself.  Thanks to their mom, Jennie, for sharing them.

I have a special thanks to my dear friend Kate from Songs Kate Sang Photography for taking all of these gorgeous pictures!  She is so talented and if you are in the Phoenix area, she would love to take your portraits.  She also has a popular blog at Songs Kate Sang and writing inspiring words at Beautifully Rooted.  She has such a kind heart and I'm proud to call her my friend.

So there it is, Pretty Pretty Cindy.  I'm happy to find an outlet for my creativity.  I hope someone else might enjoy it as much as I enjoy making it.

cindy


Sunday, July 8, 2012

Watermelon A-Line Dress

This was the first creation in my dress making mania.  As I mentioned there, I bought Wendi Gratz' book Absolutely A-Line which has some easy yet amazing takes on the simple A-line dress.  This was the first "altered" one I tried.
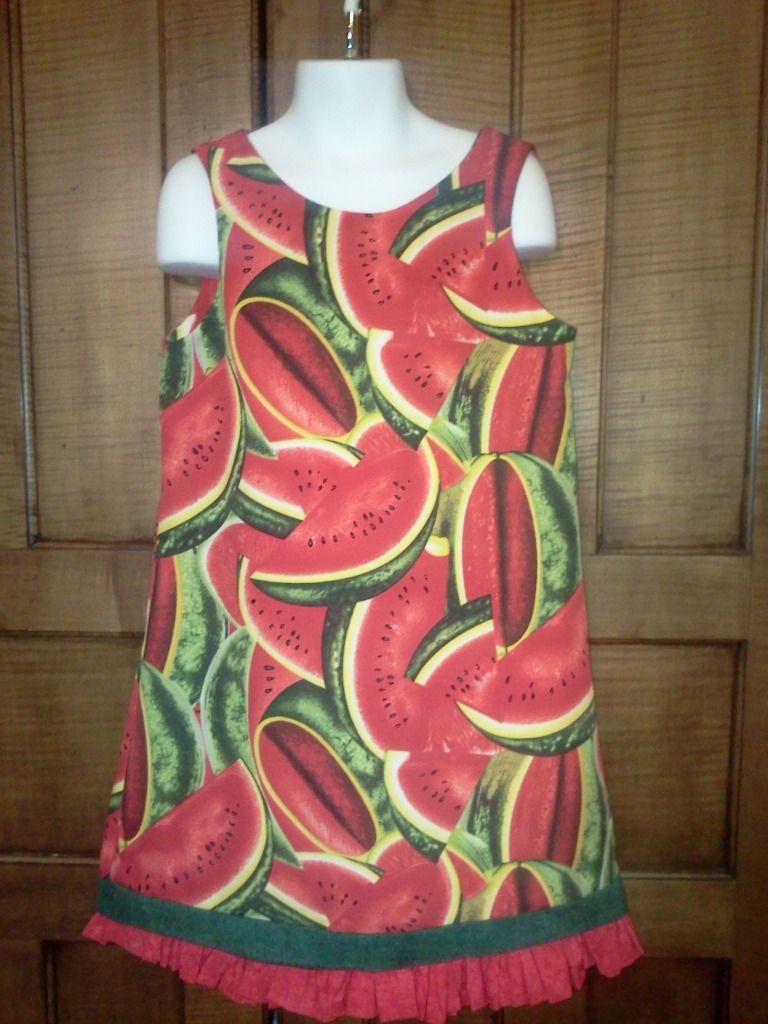
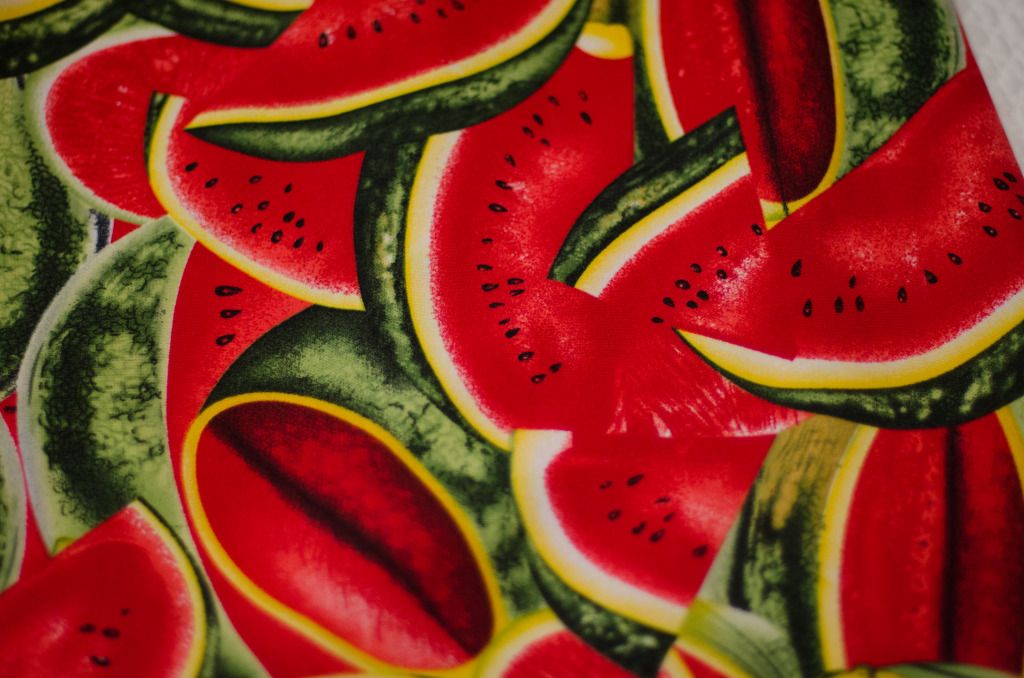
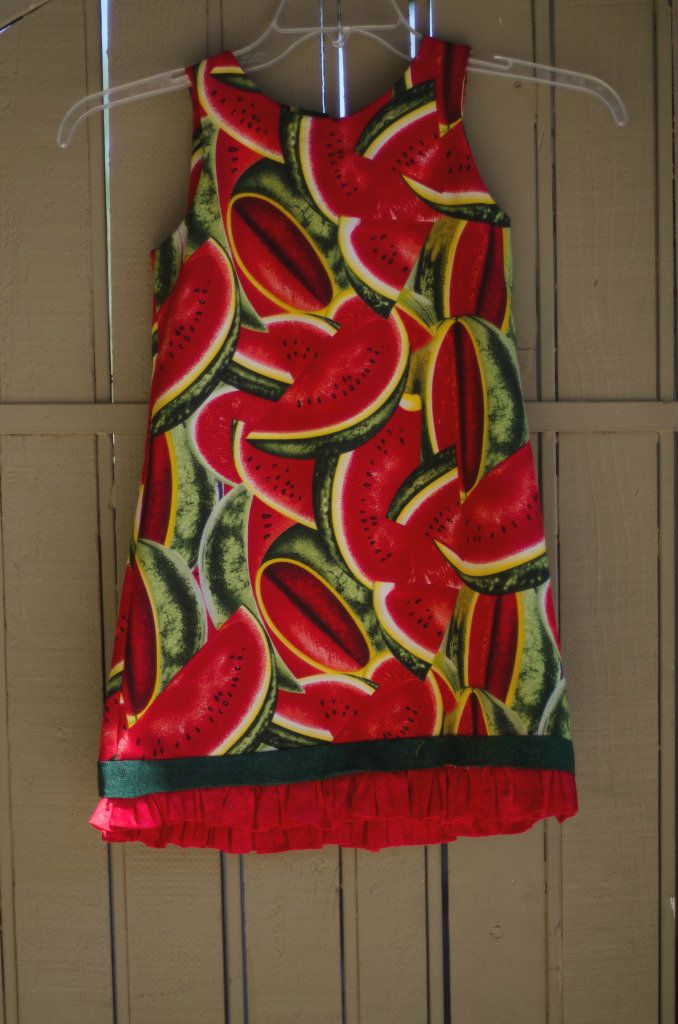
I've had the watermelon fabric for a while, but never got around to making a summer dress.  As you can see, the dress is the basic A-line, but I added a contrast band and ruffle peeking out the bottom.  That ruffle is REALLY ruffled - I don't think I would try to make a ruffle that tight again.  To make it even harder, this was the last sewing project where I made ruffles with the "baste and pull" method.  You use two long stitch baste stitches parallel to each other with long tails on either end.  Then you gently pull to gather the fabric the way you would like it.  This bottom ruffle had so much fabric and had to gather all the way around the hem, that the "old-fashioned way" was the last time for me.  After this project I bought a ruffle foot for my sewing machine.
I love this dress!  I made it in a size 5 to sell in my Etsy store, but now that I see it, I wish I would have made it in my daughter's size.  (If you have a daughter in a size 5, feel free to drop by tomorrow during the grand opening of "Pretty Pretty Cindy.") One of the things I love about these A-line dresses is that you can wear it in the summer sleeveless and then in the fall and winter will a shirt underneath like a jumper.  


Doesn't it just make you want to go to a picnic?
cindy

Thursday, July 5, 2012

Upcycled Girl's Gauze Dress

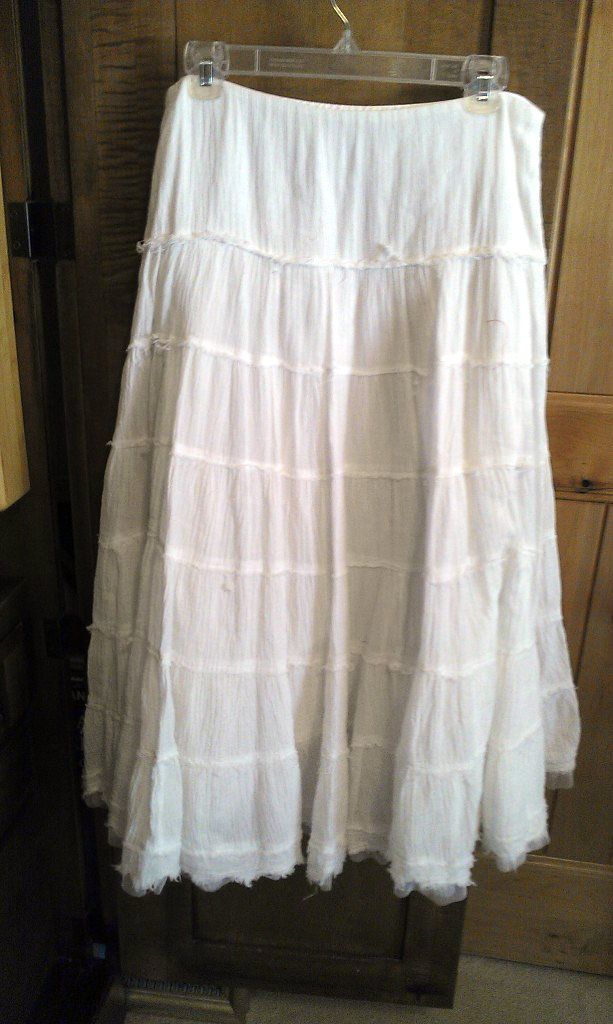
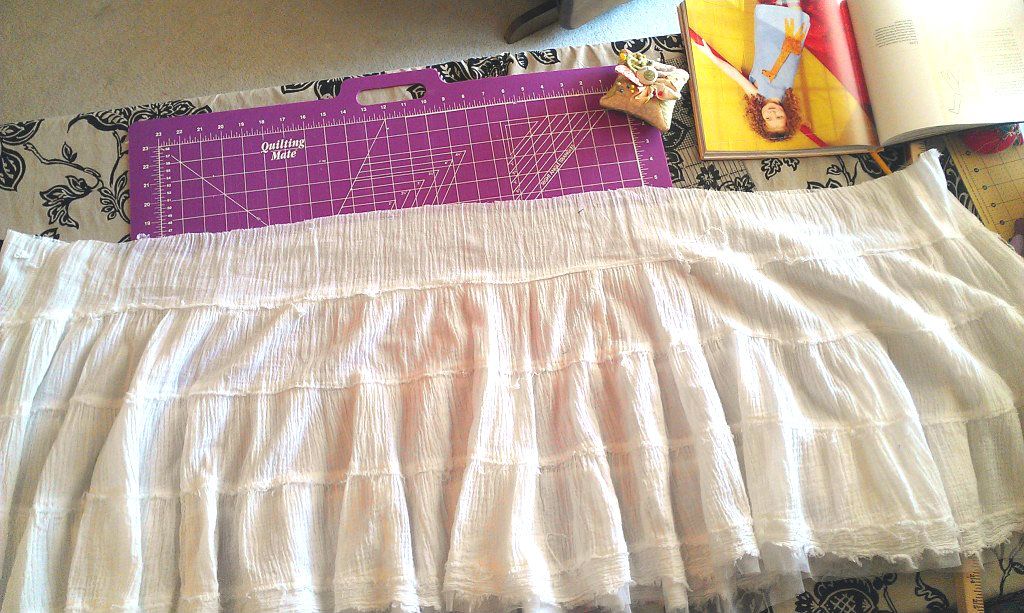
I haven't done much up cycling (taking old clothes and making new ones), but after doing a simple project with a denim skirt, I wanted to do something a little more challenging.  I found this adorable white gauze skirt at Goodwill in a junior size 9-11 without any stains or rips.


I wanted to downsize the skirt so it could be the bottom portion of a girl's size 6 dress.  I also wanted to keep the hem of the skirt because of the pretty tulle on the bottom.  I cut off the top of the skirt so I had the length I needed for the length from the bottom of the bodice to the hem.


For the bodice, I used an A-line pattern, although it might be easier to use a pattern that has separate bodice and skirt pieces.  I cut out the underskirt so I could use it with the new skirt.


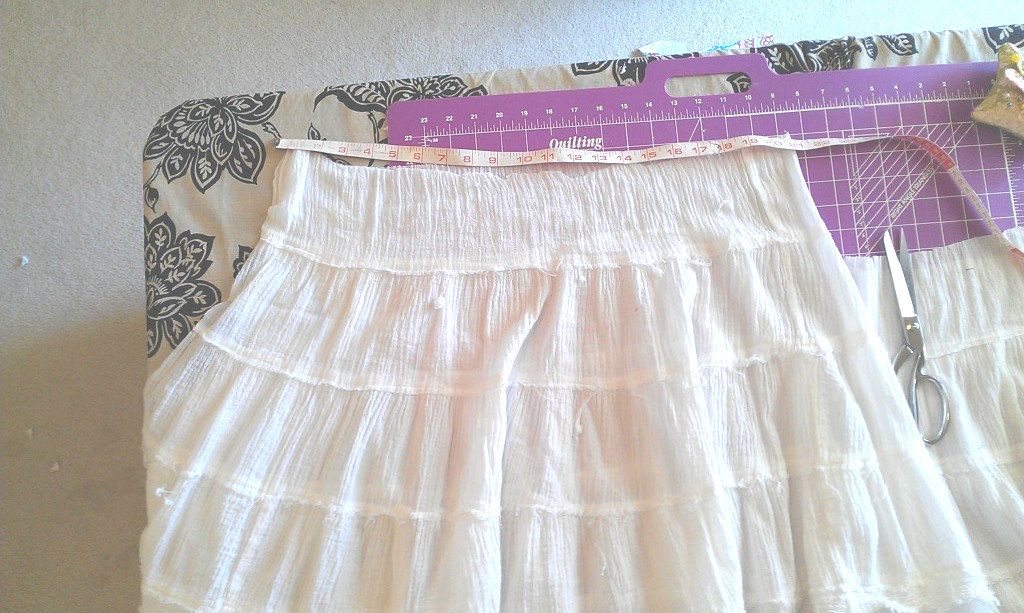
I measured the bottom of the bodice and compared it to the circumference on the top of the skirt.  I figured the measurement on the skirt should be double the measurement of the bodice so I could put in gathers at the top of the skirt.


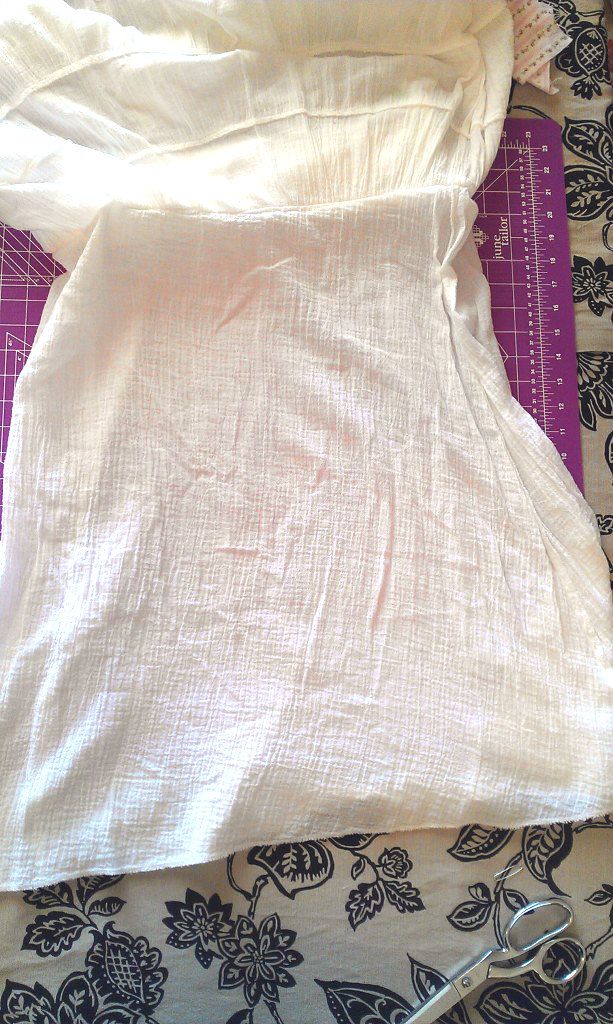
The measurement of the top of the skirt was way too big, so big in fact that I cut the side seam and then cut the excess (vertically).  I did the same thing with the underskirt, although I cut it so the waist measurement was much closer to what I needed.  I sewed up the side seams of the new skirt and underskirt separately (do not sew them together at the side).  

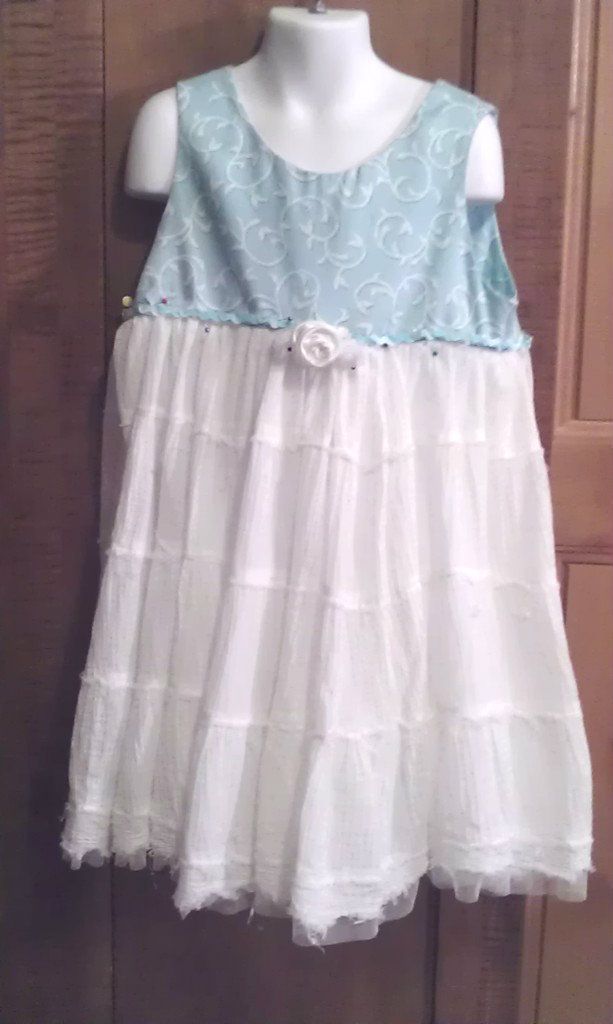
I used a new tool on this project - a ruffle foot for my sewing machine.  It looks like an implement of torture and isn't the easiest to attach or use - but I'm getting used to it.  I will admit it does make the process go faster.  I made the gathers so the skirt fit the bodice.  I sewed the underskirt and the bodice to the gathered skirt at the same time - a little difficult to keep it all even while sewing, but then I only had to have two seams at the top of the skirt.  I made a couple of rolled satin roses and braided (twisted) some rid-rac for the waist.  Here's the (almost) finished picture.  (I really thought I took another picture of the finished product, but evidently I didn't.)  Here it is with the pins still in the rid-rac:


I couldn't be more pleased with it.  It's so airy and comfy.  I would hate working with gauze and tiers from scratch, so this was an easy and inexpensive alternative.  Can't wait to see it on one of my little models before I get it in my Etsy store.

cindy

Wednesday, June 27, 2012

Dress Making Madness

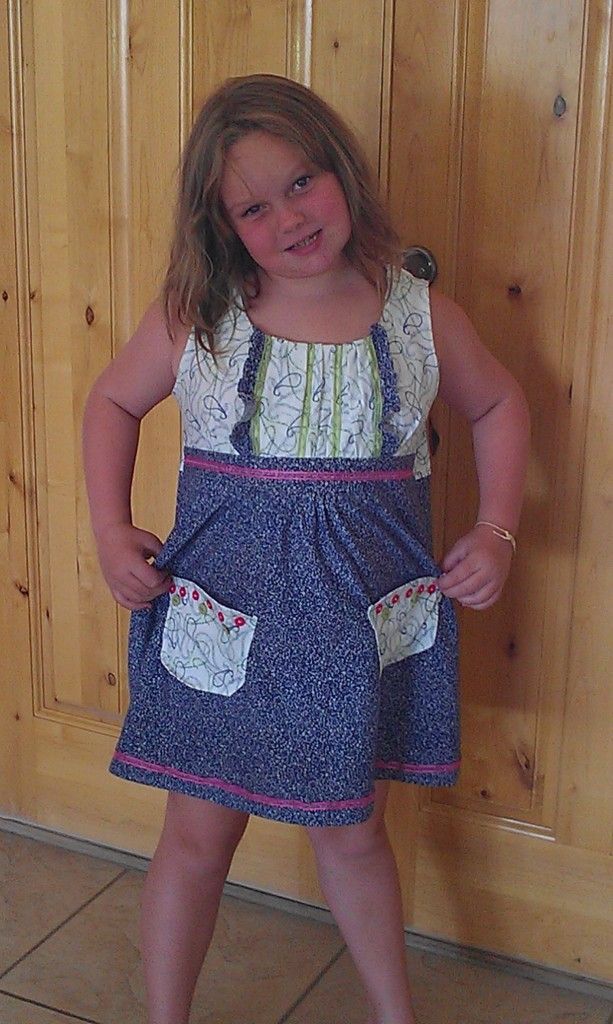
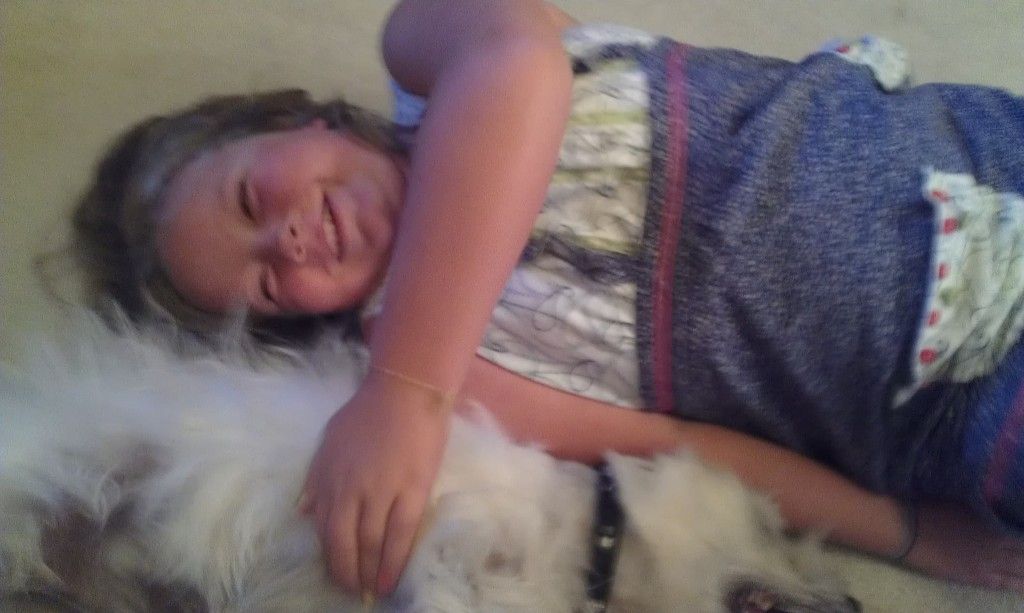
I'm in a dress making mood.  I made one for Mackenzie because she's been asking for something "stretchy" for casual wear.


I love the fact that I was able to "play" with the pattern and the embellishments.  Mackenzie loves it:


It was that ability to "play" that got me going.  I bought a book Absolutely A-Line by Wendi Gratz that has 26 variations on a basic A-line dress.  A-line dresses are my all time favorites - easy to make and easy to wear.  I gave it a try:
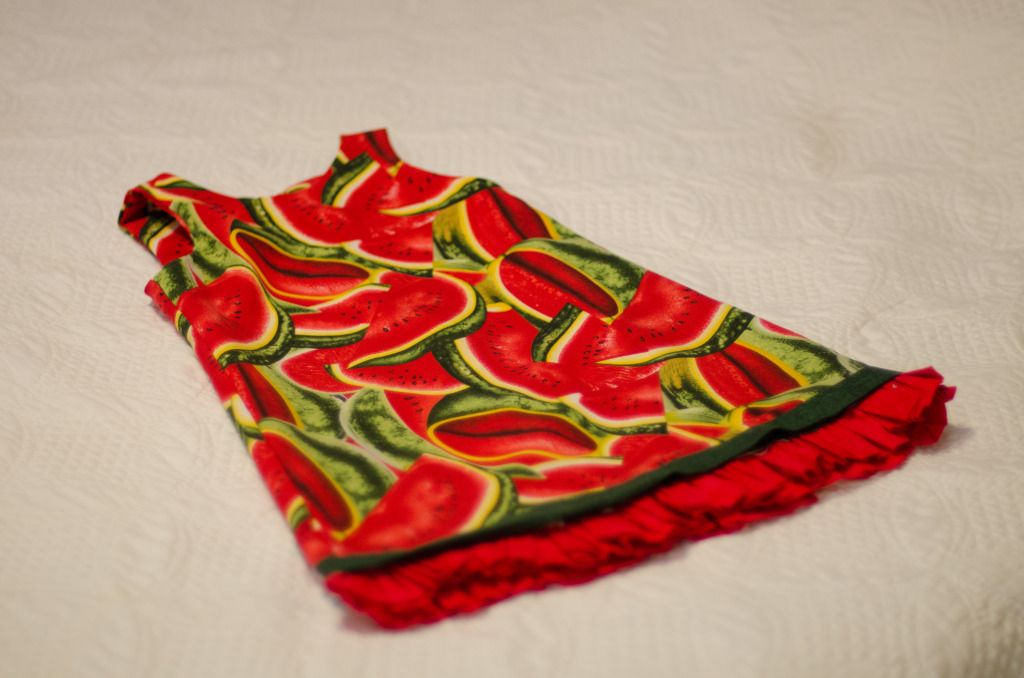

Here's another one with a ruffle


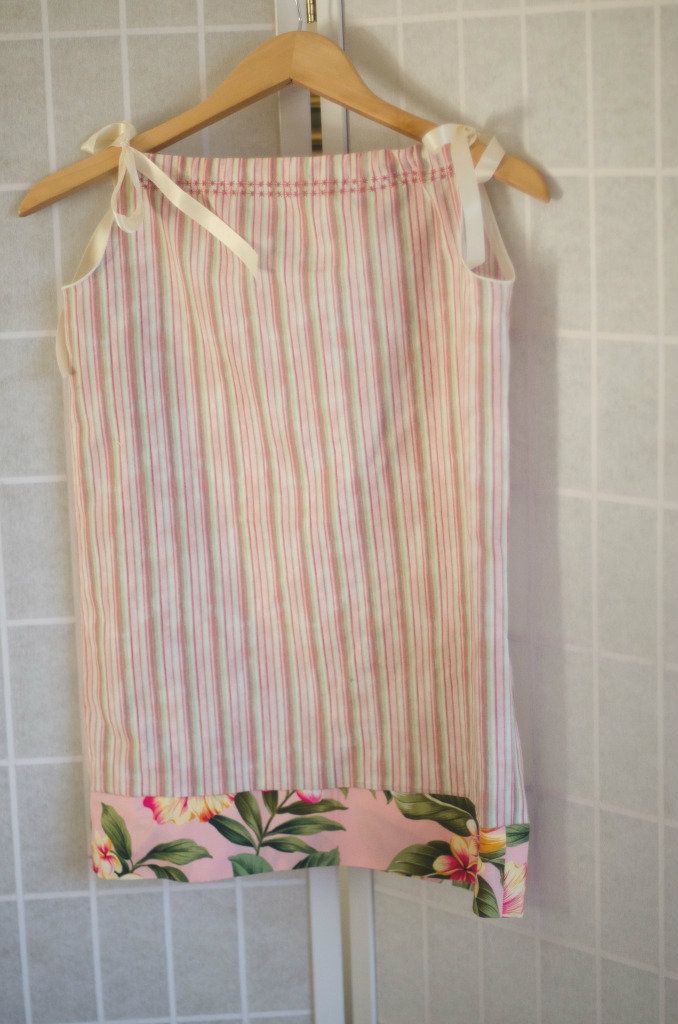
I tried a pillowcase dress:


And, I found a cute ladies white gauze skirt at Goodwill that I turned into a little girl dress.  I'm especially happy with this one.  It's not quite done - see the pins?


These are all going in the new Etsy store (Pretty Pretty Cindy).  I'm having a great time breaking into my large fabric stash.  Now can you see why I haven't posted much lately?

cindy