Monday, April 14, 2014
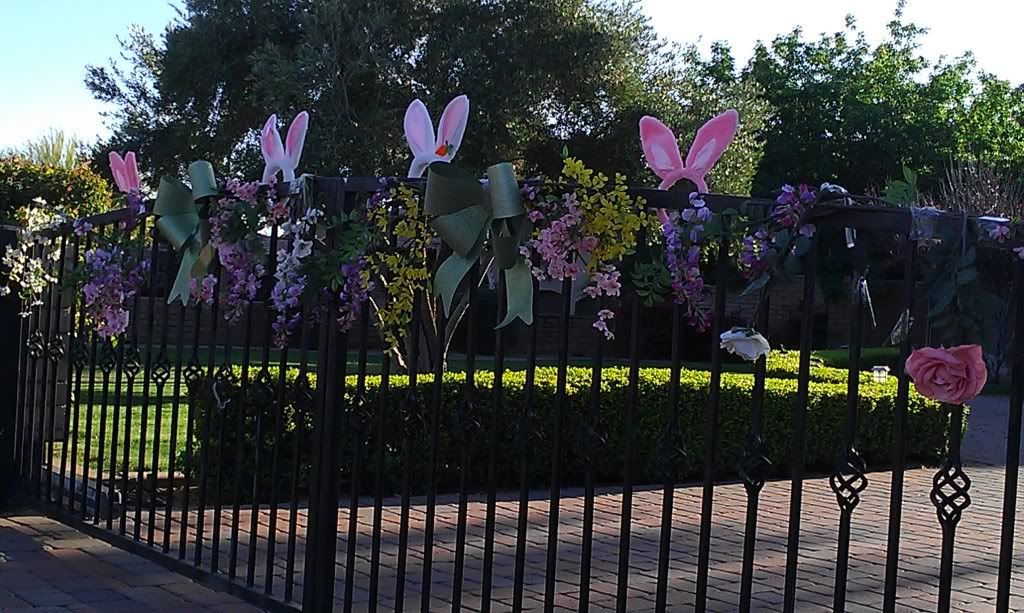
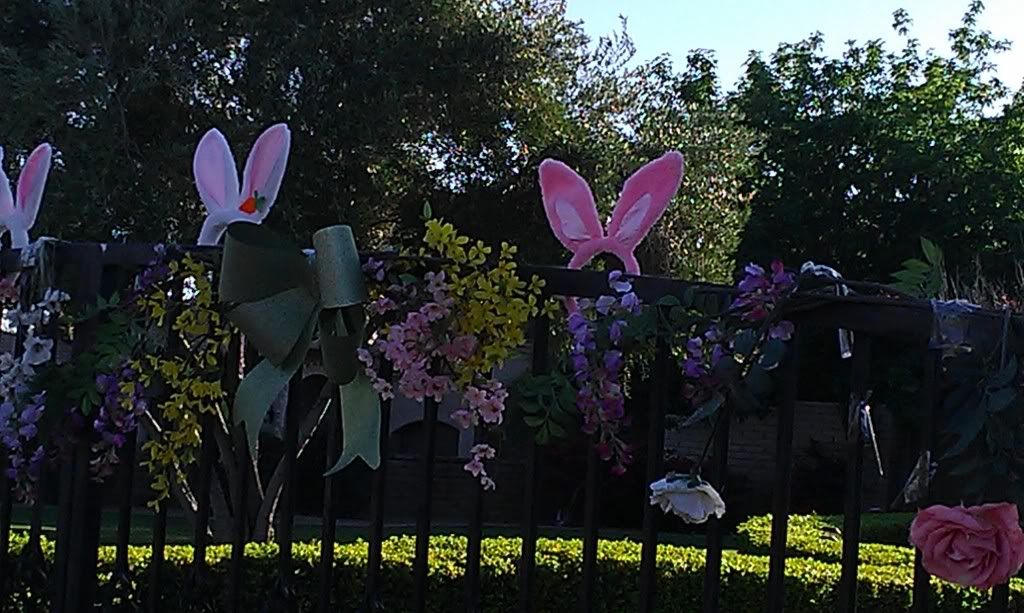
Easter Bunny Place Cards
Tuesday, April 8, 2014
It's Almost Here . . .
Wednesday, December 11, 2013
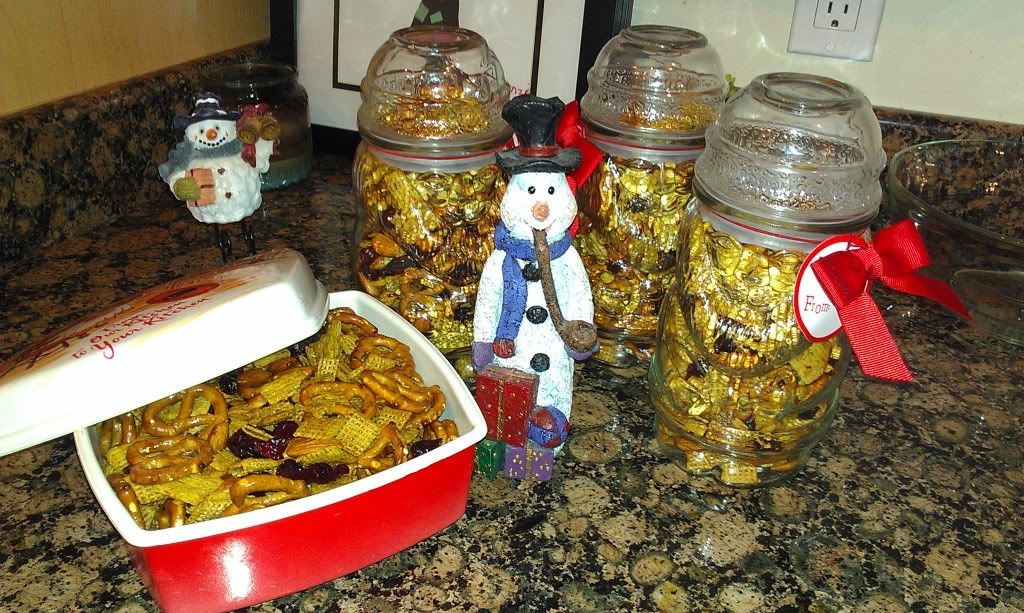
Holiday Snacks - Orange-Cranberry Snacks
It's getting down to the wire when I've got to think about all the "little" gifts I need - for teachers, babysitters, mailmen, other last minute recipients. These are my favorite gifts because although I like to make them interesting, I don't necessarily have to give a lot of personal thought to them. I also like to combine my love for the deal. Specifically, I like to buy Christmas things right after Christmas for a song and wait and use them the following year. When I unwrap my Christmas decorations, I enjoy finding something new - like Christmas comes early. A couple of years ago I found these glass Santa containers on sale for $1.00 each (originally $4.99) at Target. I thought I would make cookie mix, but because of the small size, I needed to think of something else.
The ingredients are pretty simple:
Tuesday, December 3, 2013
Christmas Snacks - Muddy Buddy Mix
If you're looking for a sweet little snack as an alternative to cookies, this one is easy, quick and (seriously) not as messy as making cookies. This looks just like snow in a bowl. It's also a change in pace for Santa on Christmas Eve. (Let's face it - he's tired of cookies at every house!) This snack is actually good any time of year, so jot down the recipe for later if you're one of those cookie purists.
The dry ingredients are somewhat approximate, just make a big bowl of crunchy stuff and then mix it with the other ingredients. You need:
Place first three ingedients and heat in microwave for 1 minute. Mix well and heat more if needed to melt everything. Add vanilla extract and mix well. Mix dry ingredients (you can also add nuts, M&Ms or anything else). Pour chocolate mixture over dry ingredients and mix well. Wait a few minutes for the hot chocolate mixture to cool down a bit Transfer the mixture into plastic ziplock bags with 1/4 to 1/2 cup of powdered sugar in each, close and shake to coat. Coat all of mix (adding more powdered sugar as needed). If you end up with too much powdered sugar or if it is clumping too much to the chocolate covered ingredients, you can use a colander or sifter to reduce the powdered sugar. Serve or chill to store.
(I just noticed my pictures look like it's a container full of powdered sugar, but it's my flash adding to much light. It is coated, but not drowning in powdered sugar!)
Dive in!!
cindy
Saturday, November 30, 2013
Pumpkin Palooza - Pumpkin Cheesecake Swirl Brownies
Ingredients:
1 box brownie mix (and all the ingredients required to make them) (I would suggest a "moist" brownie mix - advertised as extra fudge or rich)
4 oz cream cheese, softened to room temperature
1/4 c. granulated sugar
1/3 c. pumpkin puree (you can use canned pumpkin and puree it with a blender)
1 large egg (in addition to any that might be required for the brownie mix)
1 tsp. pumpkin pie spice
Prepare oven according to brownie mix directions. For best results, use a parchment lined pan and spray it with non-stick spray. After preparing brownie mix and pouring it into the pan, set aside and make the topping:
Beat together cream cheese and sugar until fluffy. Add pumpkin puree, pumpkin pie spice and egg and beat until well mixed. Using a tablespoon put spoonfuls of the topping onto the brownie batter. Using a toothpick or knife, swirl it around into the batter. Don't forget to make some pretty patterns!
Bake the brownies according to directions (about 35-40 minutes). Definitely don't over bake. If your mix offers you the difference between a chewy brownie or a more cake-like brownie, choose the chewy - you don't want these like cake. After baking the center should still be jiggly. Let cool 20 minutes and then use the parchment paper to lift out of the pan onto a wire rack to cool completely. After cool, put them in the refrigerator for 30 minutes before cutting.
Here they are. (Again, photographing food is not by best skill):
Enjoy for the holidays or anytime during the year!
cindy
Thursday, October 17, 2013
I've Been Booed! Free Printables
Turns out, this is the idea of Tricia at Nola Mommy from 2011. It's a fun way to get to know your neighbors - even if it is a bit anonymously - and a fun activity for your kids who are either too young to trick or treat or can't in the neighborhood. This is like the reverse trick or treat! Here is the original "You've Been Booed" sign along with the complete instructions and free printables from Nola Mommy:
We couldn't wait to put our own "boo baskets" together for two of our neighbors. It wasn't very expensive - we used some cool metal pails we've had for a while for containers and then added little items from the Dollar Store and Target. It was fun to find ring pop eyeballs and bloody vampire teeth. The dish towels from Target are a cute addition too! Here's what our finished products look like, all ready for "booing":
Don't these pumpkins look like little waiters?
I really love this idea, but I can't take credit for starting it in my neighborhood. Some nice anonymous neighbor did that! These would be great for a lot of holidays - Thanksgiving, Christmas, Valentine's Day and St. Patrick's Day. The possibilities are endless and you can never get too much community going on, especially when you live in an area where neighbors don't tend to know each other.
Don't forget to check out the full directions at Nola Mommy and happy booing!
cindy
Wednesday, March 13, 2013
A Wee Bit of the Wicked
They start digging through things, dropping gold coins everywhere and stealing shoes.
Maybe it's the green beer.
Maybe it's because they're just naturally mischievous.
Are the Leprechauns coming to your Happy Home?
Monday, February 11, 2013
Valentine's Day DIY Hearts
This year I found a cool idea from Pinterest:
These are actually Danish hearts that are traditionally made at Christmas. In this example, they are made with felt, but in blog page describing this craft, there is also descriptions of the hearts being made from paper. Voila! Perfect valentines! Did I mention that these hearts open up to little baskets that can be used for candy, notes, etc?
Here's how I made mine:
I used pink and red (prints and solids) from my enormous stash of scrapbook paper (that almost never gets used). I didn't use a card stock weight, but instead the thinner weight (something between copy paper and card stock). I cut an oval about 4" wide and 10" long from heavier card stock for a template. You can make it whatever size you want, but the way I created mine was to use a circle 4" in diameter and cut it in half to make the ends. Then, make it the length you want. The shorter the length, the smaller the heart and resulting interior "basket".
Using the template, you will need two ovals for each valentine. I made a bunch because I have to make 30 for my daughter's class.
It's a little hard to do at first, but what I learned is that you shouldn't be afraid to bend the strips to get them weaved together. They won't tear. Also, do one strip at a time and keep pushing the weaved strips toward the curves.
Wednesday, December 19, 2012
Recipe - Cranberry-Orange Snack Mix
This is a repeat from last year - not only in posting this recipe, but also because it might be last minute gifts again this year.
It's getting down to the wire when I've got to think about all the "little" gifts I need - for teachers, babysitters, mailmen, other last minute recipients. These are my favorite gifts because although I like to make them interesting, I don't necessarily have to give a lot of personal thought to them. I also like to combine my love for the deal. Specifically, I like to buy Christmas things right after Christmas for a song and wait and use them the following year. When I unwrap my Christmas decorations, I enjoy finding something new - like Christmas comes early. Last year I found these glass Santa containers on sale for $1.00 each (originally $4.99) at Target. I thought I would make cookie mix, but because of the small size, I needed to think of something else.
The ingredients are pretty simple:
Thursday, December 13, 2012
Christmas Comfort
We're finally putting up our Christmas decorations, and once again I feel a sense of comfort and familiarity. I don't know about anyone else, but I put my decorations in the same place every year. I tend to group similar items together. Snowmen go in the kitchen, nativity scenes on the piano, and angels on the bar.
Some of my favorite decorations are in the main bathroom where the Santas live. I can look at every decoration and remember where I bought or received it. Here's my favorite:
I still have a hard time looking at these guys without laughing. Their looks seem to question why they are there. I also have this cute Santa and Mrs. Claus.
I bought these about 12 years ago at a craft fair at my church. The woman who made them subsequently died from cancer and her husband loved hearing that I still had her creations and displayed them every year. Santa has to lean on the Santa candle because he can't stand on his own, but I can't imagine decorating this room without him.
One of my newer areas is my bar adored with angels.
This is one of my favorite angels that I bought about 5 years ago at of all places, a copper mine.
It makes me feel good putting all of these pieces in the same places every year. I guess it reminds me of Christmases past (or I'm just too lazy to think of a different way to decorate). Either way, it's part of the comfort of Christmas.
cindy
Monday, December 10, 2012
Christmas Is Approaching
Like you don't know? I'm trying to stay stress free, but it's not so easy. I'm using this time to teach my children about the preparation for Christ's second coming by helping our neighbors who are in need. There have been so many opportunities through angel trees, Toys for Tots, etc, but it can be exhausting. I've given up some of my time, especially with my blog. I can say, though, that it's been rewarding.
Now comes the hard part-convincing the kids that they can do with a little less this year. I've told them that with so much charitable giving, there is less available for them. No problem, Mom, Santa Claus will still come through with the big stuff. (sigh) It's not so easy, but I have a little time to figure it out.
So, for those of you who continue to read my blog, please bear with me. I promise to have some new projects and other interesting things to say soon. In the meantime, enjoy your Christmas preparations even more by buying or making a few extra things for those who might not feel the love through a gift or kindness just for them. Isn't that what Christmas is about anyway?
cindy
Monday, November 19, 2012
A Chain of Thanks
Start with some autumn color construction paper cut into 1 1/2" wide strips:
Provide a strip to everyone gathered at your Thanksgiving table and write why you are thankful: