Showing posts with label scraps. Show all posts

Sunday, November 4, 2012

Revisit October Project List

I've tried several times to announce a project list for a given month.  Last month I used Pinterest to come up with a project list for October.  Each one of my project lists has something in common - I have never finished one.  It seems that establishing a project list is a death wish for those projects.  So what the heck did I do in October?  Well I did a few things, several of which are not completed:

1.  Tranquil Sea Baby Afghan - I referred to this in my October project list as one of the afghans I needed to finish.  I finished it - and I'm pretty happy with the result, so much so that it's in my Etsy store.
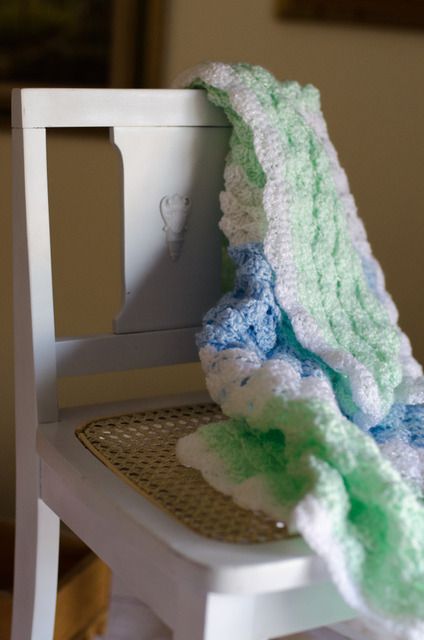

2.  Softest Baby Afghan Ever - I'm bragging now.  I not only finished this afghan, I made another exactly like it - all in October.  The first one was for a friend's baby shower and she loved it.  She also agreed that it was the softest baby afghan ever.  This second one is at Pretty Pretty Cindy.  


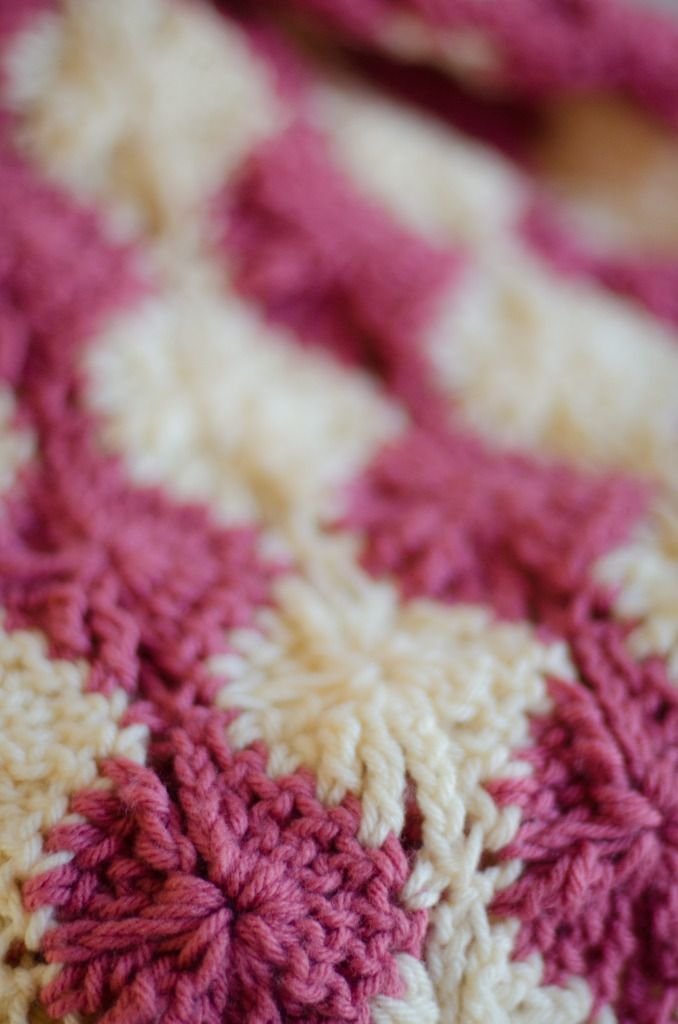
3.  Catherine Wheel Scarf.  I can't show you a picture of this one quite yet because it's out being photographed for my Etsy store.  As the title infers, this scarf is made using a cream yarn in the Catherine Wheel stitch.  I will be showing this one off soon, but if you want to see an example of a Catherine Wheel stitch, check out the most popular item at Pretty Pretty Cindy - Raspberry Sherbet Catherine Wheel Afghan

Now begins the started, but uncompleted items.  Some are really close, but others not so much:

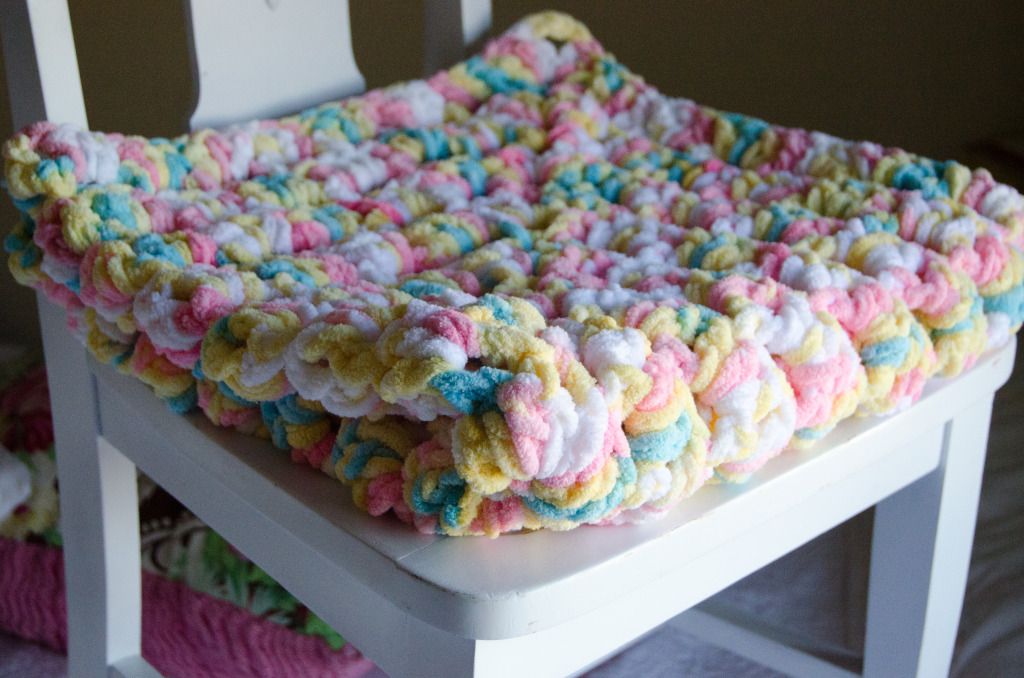
4.  Scrap afghan - this one is sooo easy.  It's just double crochet with scrap yarn.  You change the colors at random.  You tie them together (which you would normally never do).  The extra strings you tie together to get a look like a tied quilt.  This one should be done soon.


5.  Pastel Baby Granny Squares.  This is more scrap yarn.  I love the colors, but haven't quite figured out how I want to put them together.  I am thinking of sashing like you would see in a quilt, but I haven't quite figured out how to do that yet.  Once I do, this project should be done quickly.


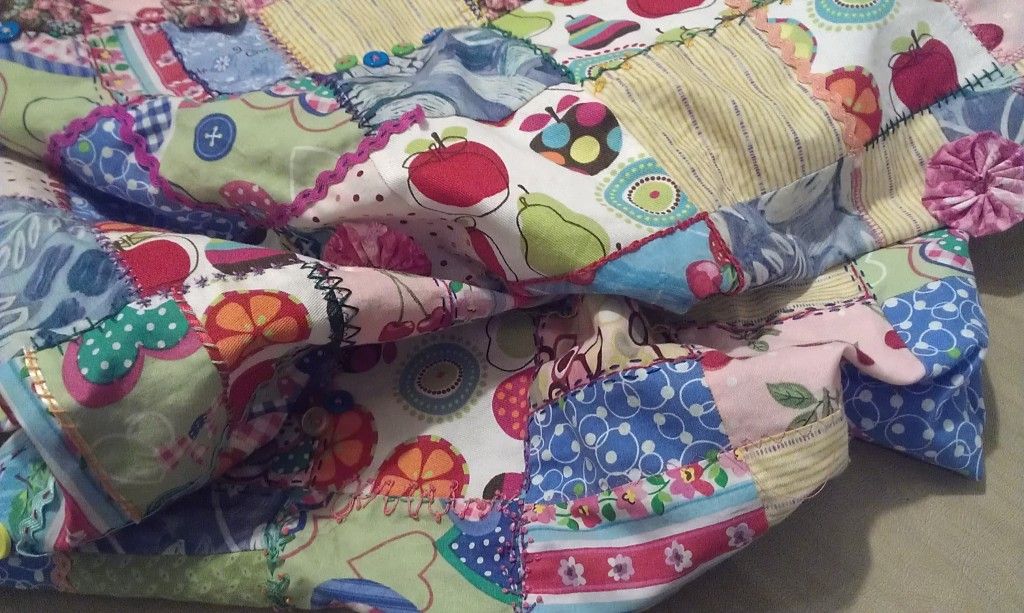
6.  Crazy Crazy Quilt.  I have been working on this for months and I can't decide whether I like it or not.  Either it will be one of those heirloom, one-of-a-kind quilts, or just a hot mess.  I used scraps for the patchwork and hand stitched the embroidery between the squares.  My embroidery is less than rudimentary, so I added some ribbons, ric-rac, buttons and fabric yo-yos randomly.  I better like it by the time I'm done, because I've spent far too many hours at this not to like it.
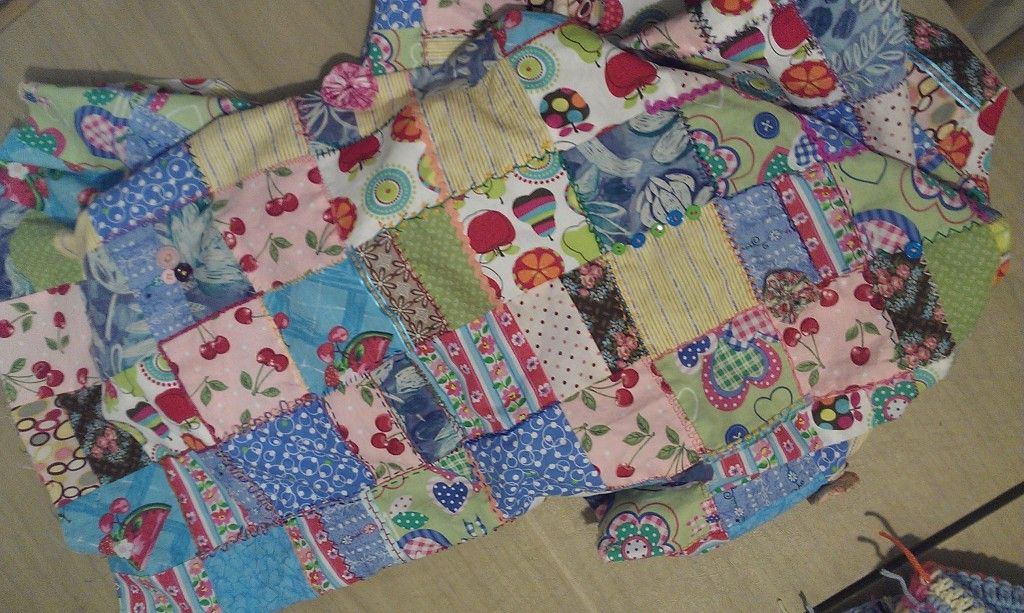

I'm not sure I want to do a November project list.  I need to start thinking about Christmas - make or buy?  I do think I'm past my crafter's block, but haven't figured out how to get more time to sew.  

Have a good Monday!

cindy


Thursday, May 17, 2012

DIY Girl's Summer Camp

Last week I posted about getting together with other moms to "share the joy" of having the kids at home all summer.  I suggested taking turns hosting a day camp.  Last week it was the boys and now it's time for the girls.  Even if you don't want to have other girls, here are some ideas of things to do with girls when "I'm bored!" inevitably comes.  A lot of these will look like my suggestions for boys, but they're equally applicable to girls.

1.  Swimming. This is a staple stand-by, but try to spice it up.  Go to a different public pool or a water park or get out the "slip and slide" with bubbles or shaving cream.  Hose them down when you're done.

2.  Biking. Again, take the bikes somewhere new and explore.  Many areas now have designated bike paths so you don't have to worry about traffic.

3.  Visit a Museum. This can be a great way to beat the heat and can occupy the entire day. Every area has their own "best" museums.  Here in the Phoenix area we have the Musical Instrument Museum which is just what it says, and more.  You can listen to a number of instruments you've never heard before, or try some out. You may have a great science, children's or natural history museum close to you.

4.  DIY Spa Day.  Break out the cucumber slices, lotions, nail polish and foot bath.  You can take turns with manicures and pedicures, or, if doing it yourself doesn't appeal to you, head out to the local nail salon.

5.  Crafts.  This is, of course, my favorite.  It's probably a good idea to have a plan for a specific craft ahead of time so you can have everything ready.  As an alternative, you can get out a bunch of random supplies and scraps and let them create a masterpiece!

6.  Shopping Spree.  This isn't what it sounds like.  There is no money involved.  Take the girls to the local mall and give them $1,000 in pretend money.  Keep a tally for each and let them go wild.  This is great fun and teaches them the value of money.  (You won't believe how easy it is to spend $1,000!)

7.  Fashion Show.  Have each girl bring some clothes and shoes (especially ones they would like to swap). Have the girls take turns putting together outfits with all the assorted clothes.  Perhaps they can even swap clothes!

8.  Nature walk.  Time to get outside again!  Go to a local park or nature area and give the girls a list of things to find (like an ecological scavenger hunt).  The first girl to get every item wins a prize.

9.  Cake decorating.  This is fun whether you have a lot of supplies for decorating or just a few.  Each girl gets to make her own cake (preferably from scratch) and then decorate it.  This is a great way to teach girls about following recipes and cooking.

10,  Pop Popcorn and Watch a Good Movie.  This is a no-brainer and makes for a quiet afternoon (as long as you pick out the right movie).  Don't be afraid to pick out a movie the girls have never heard of, especially if it is an older movie.  You'd be shocked to find out that little girls love Shirley Temple movies!

Hope that's enough to get you started.  I'm jealous now because I work full time outside of the home and I would love to do all of these things.  Please live vicariously for me this summer!

cindy

Tuesday, April 24, 2012

DIY Fabric Shelf Storage

I'm almost done with my craft room.  I don't want to show the whole reveal because I'm still thinking of ways to decorate it.  However, it's almost completely functional.  One of the things that really shocked me was just how much fabric I have!


Yikes!  What a mess!  I don't buy too much of any fabric (usually not enough by the time I get to a project), but I am a sucker for the remnant bin at JoAnns.  It's a great place for fleece and flannel.  Anyway, I digress.  I am lucky to have these wonderful built-in shelves in the closet:


No problem, I thought.  I'll just neatly fold and organize the fabric on the shelves.


I was able to organize the fabric by type and fold the smaller fabrics into fat quarters and arrange them by color.  But there was still too much fabric!   The flannel I have was especially difficult.  I don't have a lot of any particular pattern, but I do have lots of different patterns.  Flannel takes up a great deal of space when you fold it.

I love reusing stuff and I came up with this great idea to use old DVD cases to wind flannel for storage.  Your know, like this:


By creating little "books" of flannel, I was able to use this discarded bookshelf.


Hey, I can see the floor!  I also love looking at my fabric stash.  I just wish I could make all the things I am imagining.

cindy

Monday, September 19, 2011

DIY - Scrap Fall Wreath

I saw this on Pinterest and wanted to try one myself.  This project is a real scrap bag buster!  I wanted a fall theme so I looked for darker colors and prints.  If you want a specific color palette, pick about 8 colors. It's a very easy project, but beware, your fingers will get cramped!

First, buy a wire wreath form.  Mine had four wire rows and was 18-20" in diameter.  The rest is pretty easy.  Cut strips of fabric (about 8" long x 2" wide).  You can use pinking shears to look extra fancy.  You can also use sharp clippers (like you might use for ragging quilts) to make the wreath look "fluffier".

Start tying the strips around the four rows of wire.  Use simple knots, but make sure you do them twice (DOUBLE).  You need to use A LOT of strips.  Here's what it looks like when you are about 50% through.  It looks done, but you really need to fill in the strips until it is very tight. 


The strips will start to stick straight out as you get the fabric strips closer and closer together.  This provides the fullness for the wreath.

Here's the finished product:


Happy Fall!

cindy