Showing posts with label Paint. Show all posts

Sunday, August 5, 2012

Pumping Up the Party

A couple of months ago I went to an awesome vendor show - Cool Off in Style.  (We got in because it was at our church hall and the event coordinator invited us).  The party was all about how to step up your party - wedding receptions, corporate events, birthday parties, bar or bat mitzvahs or family reunions.  Even if you don't live in Arizona, these types of vendors are probably available in your area and would add a huge kick to your party!

This awesome party was hosted by Pour Masters Bartending Service and wow, do they know how to throw a party.  They sponsor this event every year in June - just when it's really getting hot in Arizona!  It's a great break for what otherwise is a long hot summer.

Matt Carr at Creative Occasions took a large church hall (very similar to a hotel ballroom) and turned it into a chic nightclub vibe.  The lighting, the couches, the whole theme was amazing.


Time for some fun!  We were immediately drawn to a cool (literally) ice sculpture of a dinosaur.  Now these aren't your boring swans or fish - no, this was ice sculpture with a purpose!


Check this out - the waitress pours a drink down the dinosaur's tail and you catch it as it comes out of his mouth!  Now if that won't kick up your next party, nothing will!  This critter was courtesy of Mark Armitage at Armitageice.


We moved on next to a floor-to-ceiling screen with people standing in front of it.  They looked like they were painting directly onto the screen, but actually, they were virtually writing or drawing on images of themselves.


This one is called Pixalpaint and this would be a huge hit at a wedding reception.  If you look close at the picture above you can see that the writing comes from little "spray" paint cans.  Again, these are virtual paint cans, but they trigger the color of the pixels.  It really gives you the feel of graffiti.  Imagine doing that on images of the happy couple!  When it's all done, Pixal Paint prints the finished product for you as a photo image.

From this we moved on to another popular booth - the pictures on green screen!  You know, the one where you stand in front of a green screen with props and poses and it is superimposed on the background of your choice.  We took a picture home that night to the kids and told them we traveled to New York!  This was all courtesy of Green Screen AZ.  


Our personal photo favorite was the old fashioned photo booth from Arizona Photobooth.  For those of you too young to remember, you go into a small photo booth with as many people as you can cram in there (or in our case, with our sweetie) and take 4 to 5 pictures that come out in black & white.  The neat thing is that at the end of the night, the person who rented the photo booth gets a CD with all of the pictures.  This is an obvious choice for a wedding reception or bar mitzvah.


There were so many other vendors with things we never thought of, like caricatures, tattoos (henna), even people you can hire to reinforce your party theme.


 Perhaps the most unique service for your next special occasion was from Dave at Live Event Artist of Arizona.  This service brings an artist to your event and he paints a gorgeous oil painting of your event while it is happening!  I thought this must be the best "souvenir" for the party host who wants to capture the special day and remember it forever.


I wish I could go to one of these parties every week - it was so fun!  If you live in Arizona and are planning an event, I guarantee these services would add a unique touch.  DJs are nice and dessert tables are good, but just imagine how much your guests will remember your special event if they have something special to see or do.  Even if you don't live in the Phoenix area, you should look for fun and different goods and services to kick up the party!

cindy

I did not receive any compensation or other consideration from any of these vendors.  I just really liked each one and wanted to share them with you.

Saturday, July 28, 2012

Puppy Love

Last weekend Mackenzie and I finally made it to "As You Wish," a place where you paint your own ceramics.  I love these places.  There are so many things to choose from.  We both chose dog dishes with double sides - one for Shellie and one for Brodie.

You paint three coats of paint, but it's not easy to tell the ultimate color because at this stage it all looks pastel.
We had an awesome time.  Here's what our designs looked like when we finished.


Once you finish painting, you have to leave it for a few days so they can coat it with glaze and fire it in the kiln.  Here's the completed products. Mackenzie's


If the dishes look a little spotty or dusty, it's because the dishes were filled with dog food before I could get a picture.  I had to wait until they were almost empty.


Our dogs like them too:


Success!

cindy

Sunday, May 20, 2012

Decorated Craft Room Pails

I'm still finishing up my new craft room, but I'm already enjoying it.  It's the most "me" room in the entire house - my own little retreat.  I needed a bit more storage for some little things I use by the sewing machine, and I found these adorable tin pails at Target - $1.00!  I also found this "HOME" wooden accent at - wait for it - Big Lots!  They have a whole Americana line of decorative items.  I need to go back and revisit them.

Anyway, back to the tin pails.  I bought some red acrylic paint and stencils and put the words I needed on the pails.  The acrylic actually works pretty well on the metal.


Hey, that word on the pail is "button".  (I don't know what you were thinking.)  I had to wait a long time for the paint to dry on each letter, but I loved the effect.  Also, I had to make sure to tape the stencil on the pail before stenciling because of the curve.

I haven't figured out what to do with all of them yet, but I'm sure I'll think of something.  I have just a few more things to take care of in this craft room.  My next big project will be taking an armoire and turning it into a scrapbook station.  Then I need to find someone that can hang the TV on the wall.  Then I'll be done with my new craft room.

I can't wait to show it!


cindy

Monday, March 12, 2012

Salt Dough Easter Decorations


I love making Easter crafts.  It's a great sign of spring and you can show them off at Easter dinner.  I have some cute Easter/spring cookie cutters, but didn't want to make cookies because they are a bit counterproductive to my weight loss ; )  I decided to try some salt dough - it rolls out and cuts well and makes a semi-permanent decoration you can use for years to come.  The Craft Diva helped and offered to model the process.

Salt dough = 1 cup flour, 1 cup salt & 1/2 cup warm water (a little more if you need it).  I doubled the recipe for this project.


Mix and knead your dough.


Take a short break to be silly.


Cut the dough with cookie cutters.


Bake at 200 degrees for 1-2 hours or until hard.  If you live in a dry climate, you can put them in the sun.


Finished baking.  Time to paint with acrylic paints.  I used a white glitter/shimmer paint on top of the acrylic, although this is optional.  Varnish or use sealant to preserve and shine.


A prettier (and healthier) alternative to chocolate bunnies and Peeps!


Happy Easter!

cindy


Monday, December 12, 2011

The Craft Diva Strikes Again


It's been a very creative season this year.  My little craft diva is really enjoying all the creativity.  We've been working on some projects together and she's done a couple herself.  Mostly we've been working on candle projects, inspired by some of the candles on my Holiday Candles post.


My Craft Diva found the metal wreath thingies at Goodwill.  Believe it or not, they are aluminum pop tops weaved together with ribbons - very cool!  The candles were made from ordinary white candles covered with red acrylic paint and modpodge rolled in Epsom salts.  The balls were repurposed styrofoam from old thread covered ornaments.

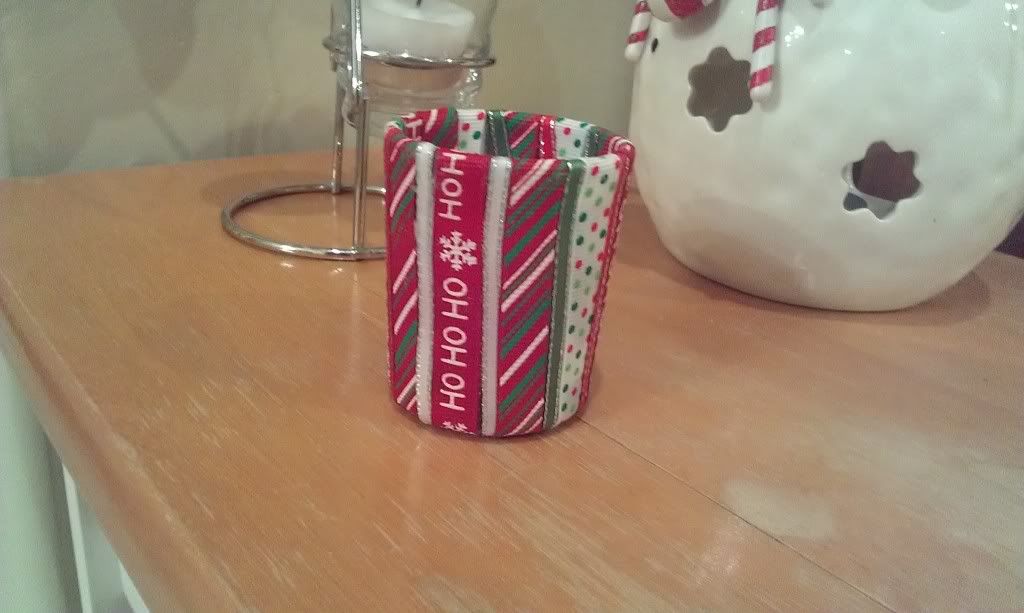
I tried out the ribbon covered candles - easy concept - strips of ribbon glued to the sides of a glass candle.  It was very time consuming, though, and I'm a little nervous about the ends of the ribbons catching on fire or the heat from the candle melting the glue.  It is pretty, so maybe I just won't ever burn the candle.


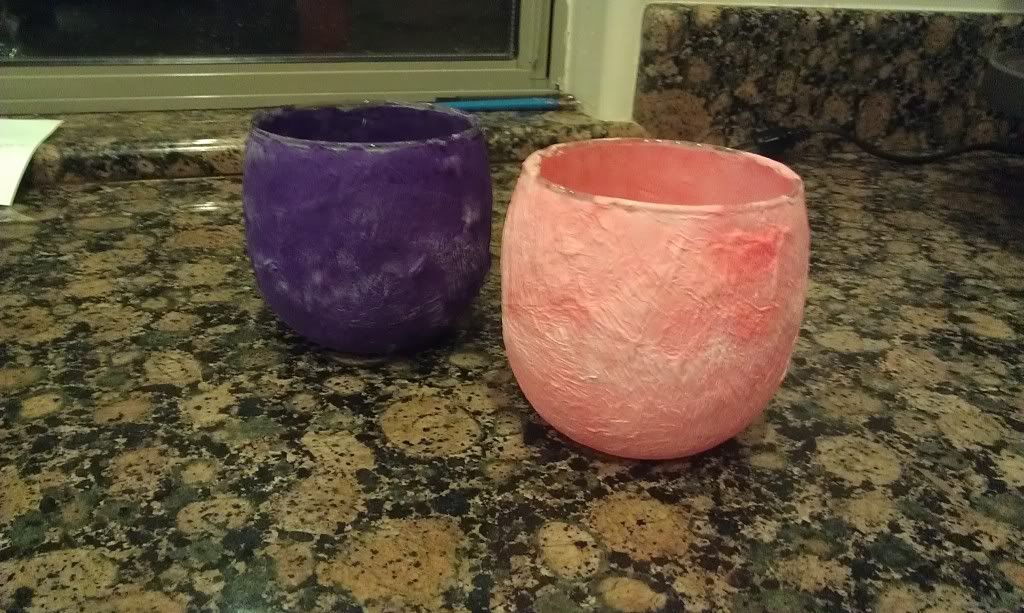
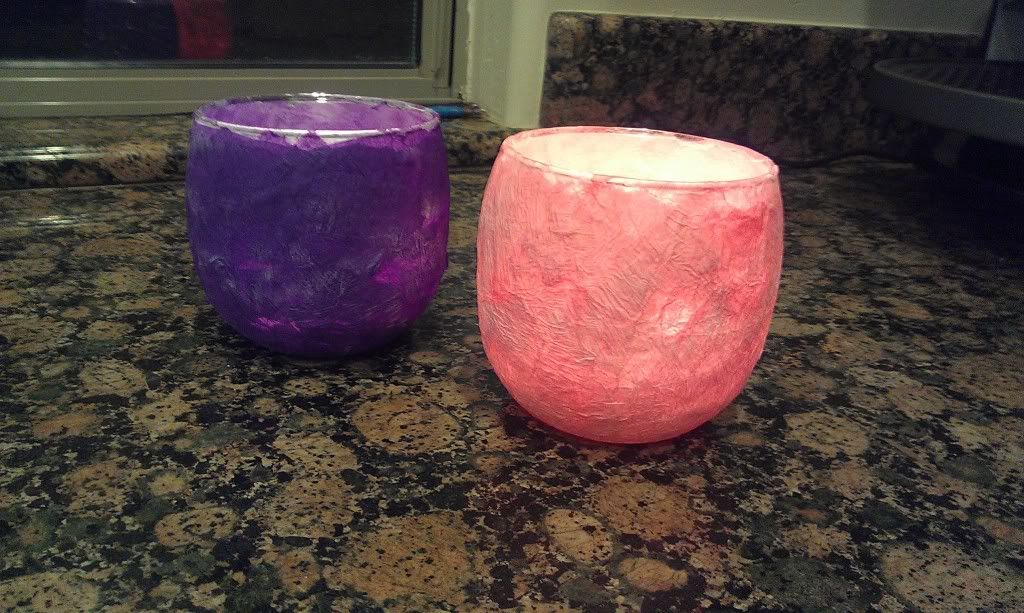
The Craft Diva has tried out her own projects too.  We bought some pink and purple crepe paper (because you know Advent is pink and purple) and did some mache on a glass candle holder using a watered down glue.  They turned out really pretty and were so easy!


Finally, I came home tonight to a little project she did with glue on construction paper and salt:


She specifically asked for this one to be featured on Mom's blog.  Here's to you Craft Diva!

cindy

Wednesday, August 24, 2011

DIY - Finger Paints

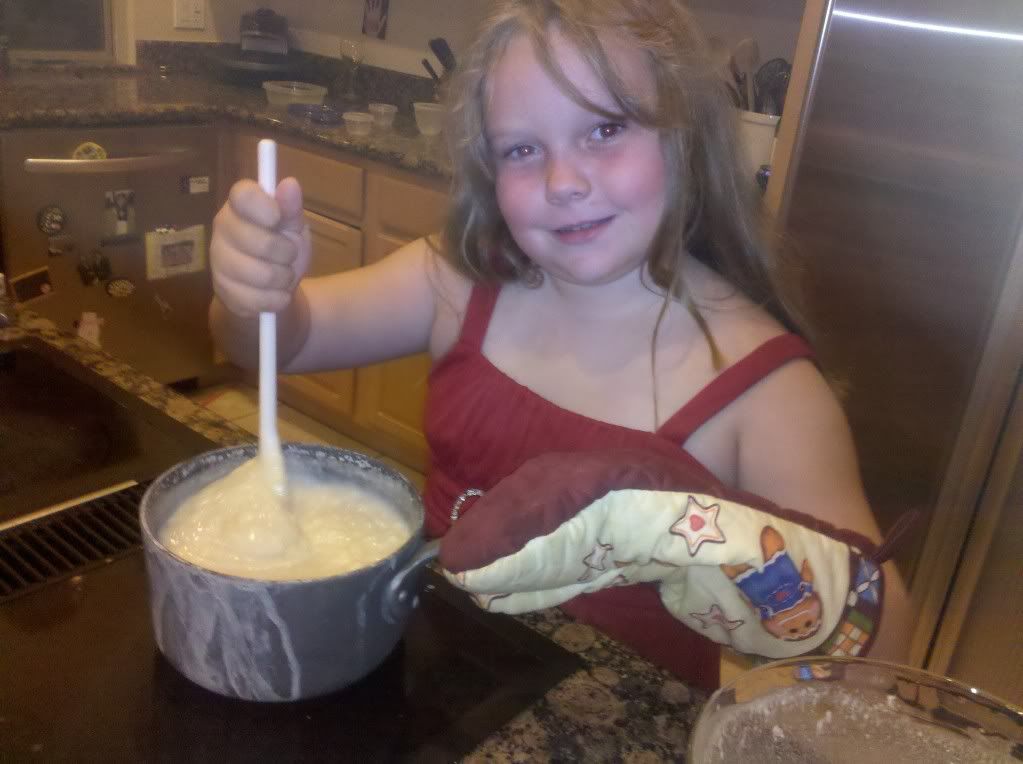
My daughter Kenzie is a Craft Diva.  She is incredibly creative and loves to try new things.  She found this "recipe" on About.com.  We tried it out and have some "comments" of our own.

You  need 2 cups of flour and 2 teaspoons of salt in a mixing bowl.


Pour 2 1/2 cups of cold water in and mix THOROUGHLY.  It will take a while, but you need to get the clumps out.  Mix until smooth.


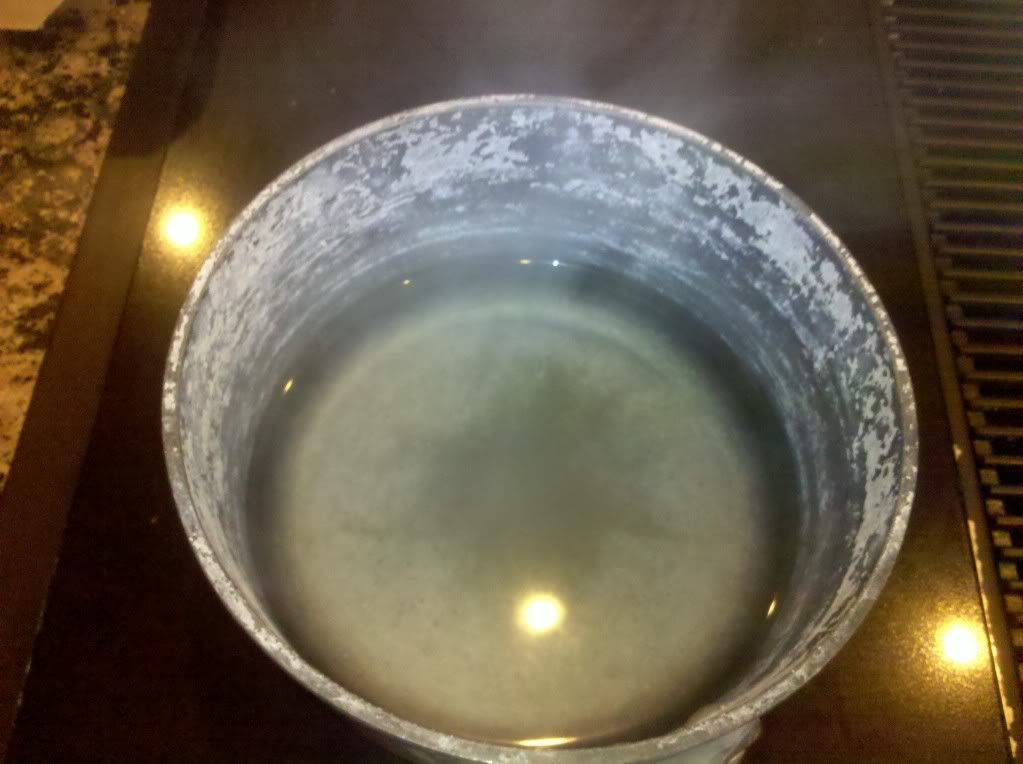
 Boil 2 cups of water in pan


Pour the flour mixture SLOWLY into the boiling water (so it doesn't clump).  Stir constantly over medium heat until the mixture becomes thick (like Cream-o-Wheat).  (It might take a little while)


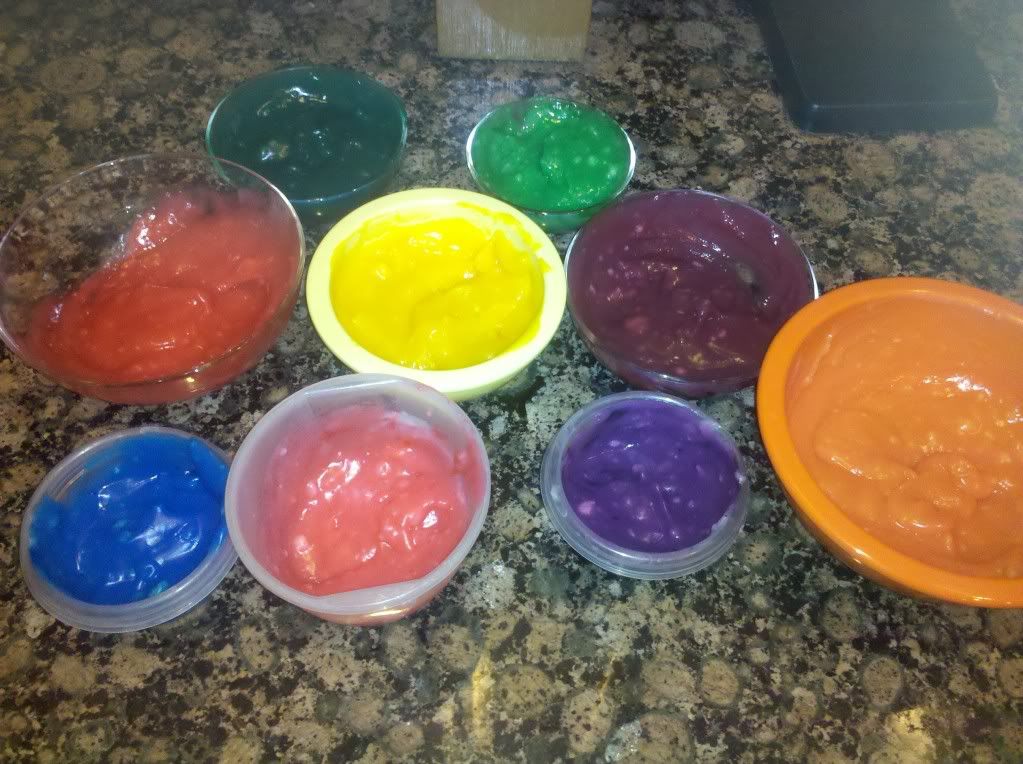
Pour the mixture into multiple containers.  Glass works best because the mixture is so hot.  You will have enough to make A LOT of paint.  Use food coloring, but use very little.  If your package describes how much to use for dyeing eggs, use half that amount.  We probably used too much.  The colors were vivid, but I was a little concerned about getting the dye thoroughly mixed.


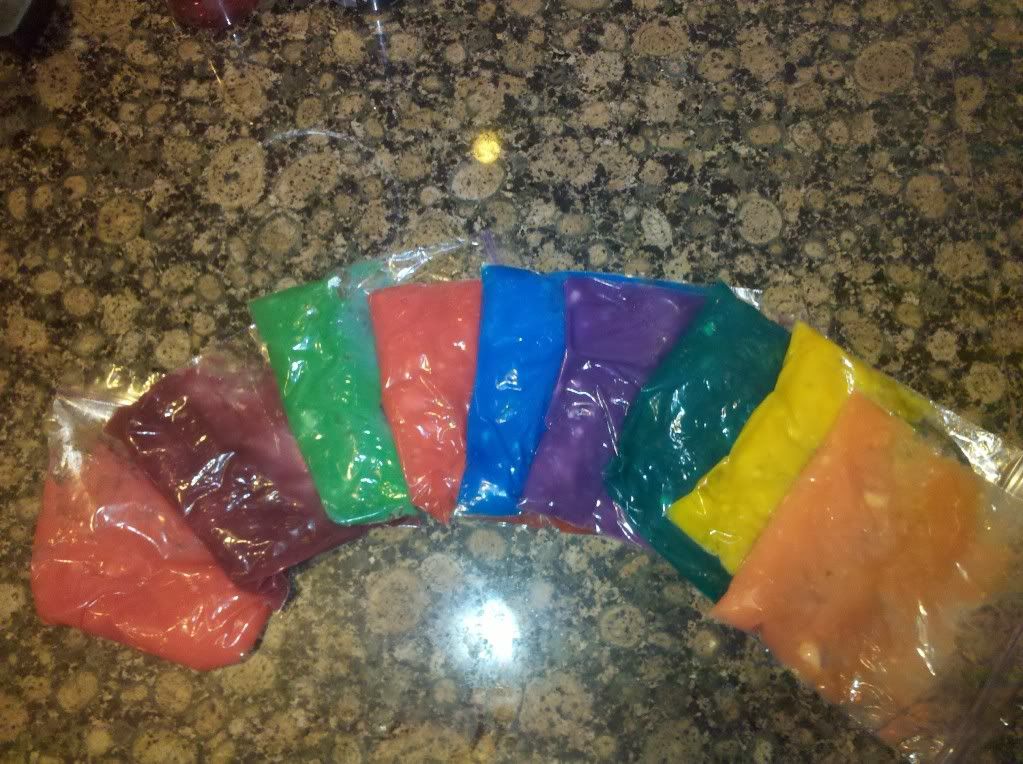
I didn't have lids to all of these containers, so I spooned each color into a Ziploc bag.  That actually works very well because you can squeeze out only as much as your little artist needs.  Make sure, however, that you wait until these paints are completely cooled, because I may have put ours in too soon.  The bags didn't melt, but there is a bit of a "chemical" smell on the bags after one day.


Have fun painting!

cindy