Showing posts with label fabric. Show all posts

Saturday, October 21, 2017

Upcycling Goodwill Challenge - Pillows!


I have been in a serious pillow-making mood lately.  I have a pillow obsession going on my Pinterest page - check it out.  While I don't sell pillows or pillow covers in my Etsy store, Pretty Pretty Cindy, I might someday.  I am starting to sell on Sundays on my Instagram Pretty Pretty Cindy account, so follow me there.  In the meantime, I need some pillows at my house!

I have been working on our master bedroom for a while and wanted to work in some pillows on our blue/green-gray bedding.  The bedding set came with two European shams, but I wanted throw pillows for color too.  But have you seen the prices of home decorating fabric, and worse yet, pillow forms? My pillow fetish could easily break the bank.  Goodwill to the rescue!


Last month I visited our local Goodwill store on a half-price Saturday.  For only $22, I brought home the following stash:

2 26x26" European pillows
2 18x18" pillows
2 14" round pillows
2 large pieces of fabric
Large scarf (it's that pink silk in the corner)
Minky baby blanket (not shown)


Obviously I bought the pillows for the forms, but not everyone is comfortable buying used pillows.  I pick pretty carefully.  Once you get them home and remove the fabric covers, you can always spray them with a diluted bleach solution and put them in the sun.  I was lucky these pillows (while ugly) were very clean.  I think the two pieces of fabric were originally a table cloth and maybe some curtains.  By looking in slightly different places for fabric and pillow forms, I was able to engage my pillow obsession without breaking the bank!  Here's the result:


For the two big pillows in the back I used the forms from the Goodwill pillows and the shams that came with the bedding.  Buying ONE pillow form alone in a 26x26" size could cost more than $22.  I made the pillow covers on the other four pillows.  Two of the pillows came from forms I bought at Goodwill and the fabric mostly came from Goodwill.  I didn't buy any new fabric or trim for these pillows.  Isn't that awesome?  These are also all "envelope" style pillow covers, so I can remove them to dry clean or just change for a different design.  


I'll post how I made these pillows, but I will admit that I shamelessly copied designs I found on Pinterest.  

The best part - this isn't even using the whole Goodwill haul!  I still have other pillows and was able to recycle some of fabric from the Goodwill pillow covers.  Upcycle!

More pillows to come.

cindy


Monday, April 29, 2013

Yo-Yo Sewing

I love the look of a yo-yo.  No, not the toy on a string, but a fabric yo-yo.  Just Google "fabric yo-yo" and check out all of the cool images and uses for yo-yos.  You can also find some great DIY posts on making yo-yos without a form.  I'm going for the easy route - making yo-yos with store bought forms - gasp!

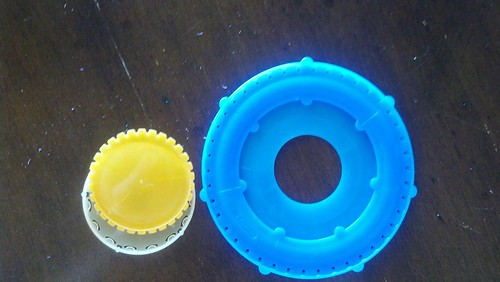
yoyo makers

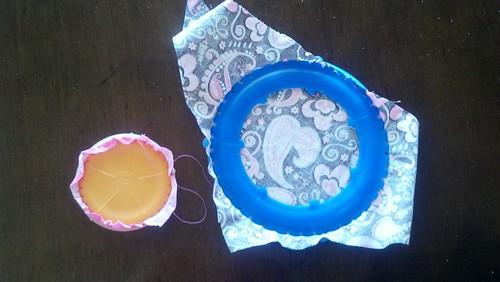
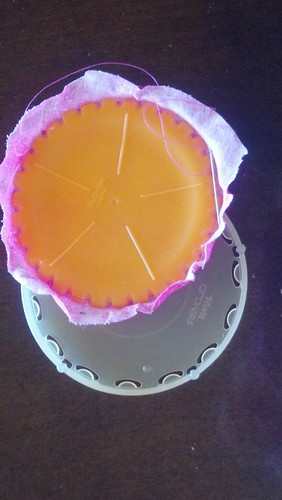
These are plastic yo-yo forms you can find in multiple sizes in most fabric stores.  I'll say it again - you don't need a form to make a yo-yo - but it sure makes things easier.  You take a piece of fabric and snap it between the two sides of the form, like this:


making 8

There are two distinct advantages to using plastic forms.  The first one is this: you don't need to cut a perfect circle before you pick up a needle.  In fact, you don't have to cut a perfect circle at all.  Using the plastic form guarantees a uniform size even with odd shaped scraps you see above.  You don't have to cut the circle until after the fabric is firmly held in the form.

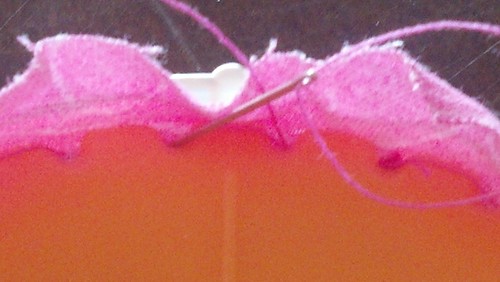
Once you snap the fabric into the form, it's time to start sewing.  Here's the second advantage.  You don't have to worry about sewing perfectly spaced uniform stitches.  The plastic forms have little notches in them so you can sew in and out of the notches to get perfect stitches.  It's a great activity for kids.

making 6

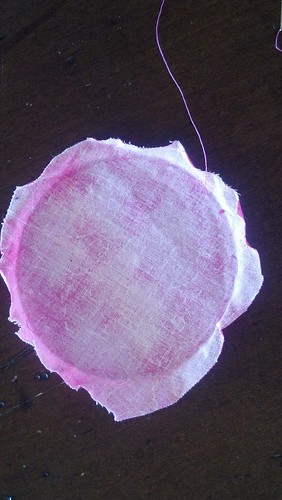
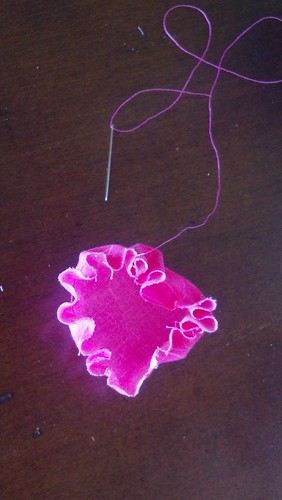
Once the stitches are all the way around and you cut out the circle, leave the needle in place and remove the plastic form.  You will be left with this:

making 4
making 5


making 1making 3

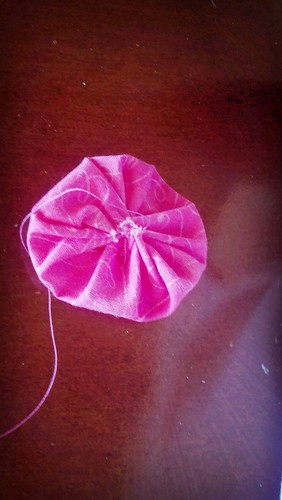
Pull the thread evenly and watch the circle come together.  Tie off the end and you have your first yo-yo.

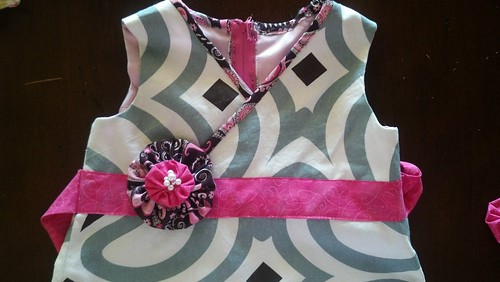
I really want to make some of the cool projects you can see if you look at the Google images, but I haven't made nearly enough yo-yos for that.  However, when I was recently making a little dress, I decided to use two different sizes of yo-yos with some little pearls I bought as an embellishment.


yoyo

Here is the whole bodice.  The dress is coming soon - a short tutorial on Straddling the Gap and the actual dress in my Etsy store, Pretty Pretty Cindy


bodice

cindy

Wednesday, February 20, 2013

Plans for the Wall of Fabric

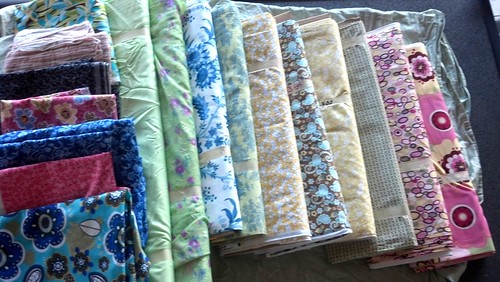
Years ago, before I knew how to sew, I visited my sister who is an awesome seamstress.  I opened a double closet in the guest bedroom and it was full of fabric!  Wow, I had never seen anything like it.  Fast forward to today at my house:


Untitled


Untitled


Fabric Stash

And this isn't all of it.  Our local JoAnn Fabrics went out of business last month and everything was 75% off.  Unfortunately, you had to buy it by the bolt.  Pretty stuff, though, including quilter's fabric and Waverly.

Anyway, with my forty day computer silence underway, my plan is to make as many items as I can.  I know my limitations, so it probably won't make even the smallest dent in my stash, but if you're wondering how I'm getting my craft fix, here is just a small example:


Untitled  Untitled Untitled


Untitled Untitled Untitled

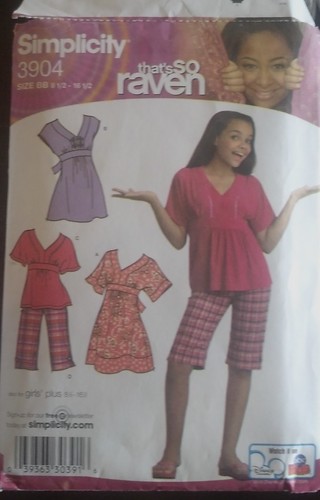
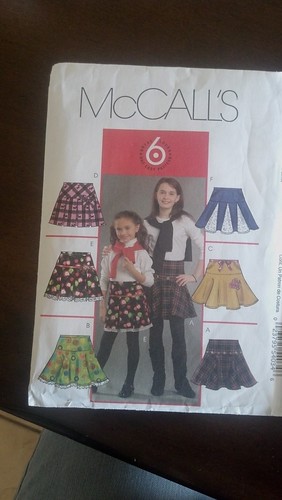
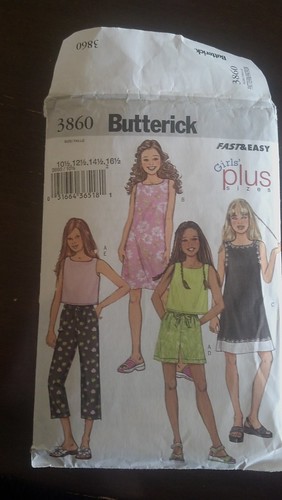
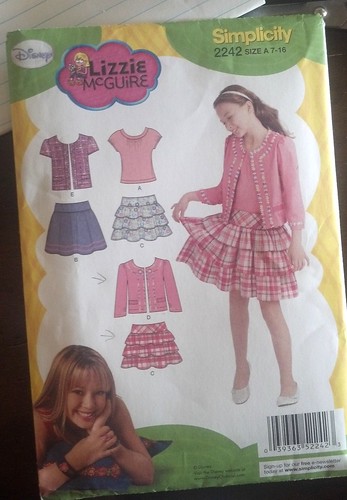
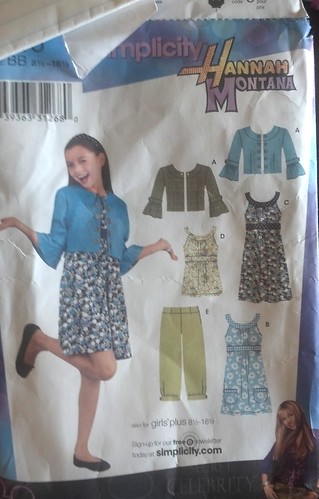
These are actually patterns for things for my daughter, but I'm also excited about making some pretty spring dresses for my Etsy store, Pretty Pretty Cindy.  After Easter, I'll come back to show some off.  In the meantime, if you're in the market for a girl's dress, drop by Pretty Pretty Cindy.

Happy sewing!

cindy

Monday, October 1, 2012

October Project List

As promised in my last post, I'm picking some projects for October.  As usual, I'm being ambitious with 5 projects, plus I would like to finish the projects I've been working on.  Well, at least I can try.  I've picked some I've been meaning to do for a while, but I also found a few new ones that look intriguing.  All are on Pinterest, so if anyone cares to join me, feel free (but let me see yours too!).  So without further ado, here are my five projects for October:

1.  Tutu - Oh man, I have to do this because Mackenzie has been begging for a while and I bought the tulle over a month ago.  There's no way I would hear the end of it if I decided to do a bunch of other projects first.  Like so many of these projects, this one is from Make-It-Love-It.


2.  Redo Sneakers  - This is one I just found, and it's actually two separate DIYs.  The first one is a fabric recover on some Toms (although I'm using my Target knock-offs) and the second is a recover of the soles.  These look fun because it's not anything I need, but if it works, I could use it.  This first one is from Elemental Carbon.  The re-sole is from Dream a Little Bigger


3.  Easy Elastic Band Skirt - This is another thing I've been wanting to do for a long time and I've had the elastic forever.  If this thing is as easy as it says (and they never are), I should be able to knock this out in an afternoon.  Yeah, right.  Again, this one is from Make-It-Love-It


4.  Fleece Hat and Scarf - I've got some fleece I need to use and this looks pretty easy.  I'm not completely sure what I will do with them because I'm in Arizona, but I can always throw them in my Etsy store.  The picture from the DIY is very bizarre because the lady who made these (Nebraska Views) doesn't show her grandchildren's faces.  So, here are some fleece scarves and hats on some smiley faces.


5.  Braided headbands - This is also a new thing I found that also looks so easy.  It should be a quick craft, but that's just not my way.  If these work, I'll also put some in the Etsy store, but I would definitely keep some for myself.  These beautiful items are from Alisa Burke, Redefining Creativity.


So there it is.  Five "simple" projects plus a couple quilts and afghans in progress (and a special project for a friend).  I'm getting a little excited.  Maybe this is a way to get me out of my crafter's block.  Cross your fingers.

cindy


Thursday, June 21, 2012

Craft Room Reveal - Sewing Area

I've been showing off parts of my Craft Room over the past few weeks and today I want to show you the part that is near and dear to my heart.  It's the sewing area.


It's really one entire side of the room, across from the scrapbook area.  I love JoAnn's generally, but really regret two (expensive) purchases I have in my craft room.  First, this sewing table - almost $200.  It's small, and the drawers don't open well.  The other thing that is more frustrating (especially tonight) is the ribbon storage unit I bought.  It wasn't well made and I struggled with it until I finally gave up tonight.  (See my solution below).  I am happy with the painted pails that hold needles, bobbins, pins and buttons.


This is the corner next to the main sewing table.  It has my serger and some items I bought at a garage sale. I'm using the lanterns for supplies for headband making and elastic.


As of tonight it is also storing my ribbon after the epic fail of the ribbon holder.  I have some styrofoam balls recycled from Christmas ornaments that I used in another craft.  I took the dowel rods from the ribbon holder and sunk them vertically into the balls.  I put the ribbon on and lined them up on the table shelf.  (BTW, that little table was made by my dad in high school back in the 1940s.)


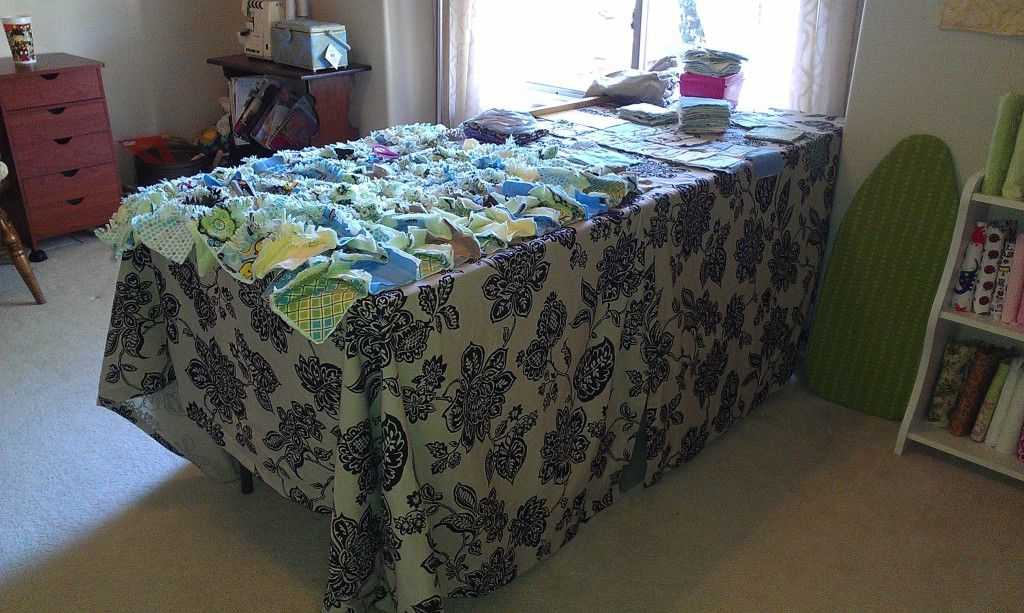
This is my cutting table.  I bought it at a Blockbuster that was closing for $30.  It's 6 feet long with a durable plastic top.  I covered it with two curtains I bought on sale at Target.  I covered it so I could use the area underneath for bin storage for scrap fabric and yarn.  It works really well with a plastic cutting mat on top of the fabric cover.


Last but not least is my fabric storage.  I described the shelf fabric storage in another post, but I've combined it with the shelves in my closet.  I've said it before, but I'll say it again - I have too much fabric and need to start using it before I buy anymore.


So, that's it!  It is my new favorite place - where my family knows I'm at when they can't find me.  Yep, I have everything but a bed in here.  Let the creativity begin in earnest!

cindy

Friday, June 8, 2012

Craft Room Reveal!

The day is finally here - my new craft room is DONE!!  I've been working in there and I love it.  Over the next couple of weeks, I'll show some detailed features of the new craft room, but in the meantime, here's some before, during and after pictures:
BEFORE

DURING

AFTER


I have too much fabric!

BEFORE

DURING

AFTER


My new cutting table where the couch (and mess) used to be.  There is storage under the table for scrap fabrics and extra yarn in bins.  The table cover is made from two curtain panels from Target.  The beer can collection is gone!


BEFORE

DURING

AFTER


Finally, a functional sewing area!  Now I don't have to drag my sewing projects into the dining room and keep them spread out for weeks at a time.  My favorite part of the room.

BEFORE

AFTER


I'm really proud of this part.  I've never had a place to scrapbook and now I have a scrapbook section of the room!  This was another big revelation - I have WAYYY too much paper!  I think I have enough for 20 scrapbooks, maybe more!

So there it is!  I'm so happy it's done, and frankly, so is my family.  It's my very own room for creativity.  Over the next couple weeks, I'll show all the sections of the room and how I organized them.

cindy