Showing posts with label yo yo. Show all posts

Tuesday, June 18, 2013

The Hippie Dress

I'm not sure what to call this dress.  It started off as a simple A-line dress (my favorite style to sew) and I changed it - several times.  It's easy when you have an inspiration.  I found this great book "Absolutely A-Line" in a Barnes & Noble.  It's from Wendi Gratz the author of an awesome blog Shiny Happy World and the teacher of all things sewing and embroidering.  Wendi's book is great because it launches you into the creativity to take one simple A-line pattern and transform it in almost as many variations as you can imagine!  (This is my photo of the actual book - Wendi's advertising photo certainly looks better than this!)


I've already done a few for my Etsy store, PrettyPrettyCindy.   (The paisley dress is still available in size 4).


This time I was ready for another variation (or two).


First of all, the base fabric is a (lean in close 'cause I'm whispering) a . . . tablecloth.  It is new, but I just loved the fabric and couldn't resist!  As much as I liked the fabric, it needed some serious contrast, so I chose the pink and brown/pink paisley fabrics.  Next, I changed the neckline to make a more wrap-like look.  I did use a trick from Wendi's book to have the bias tape (the brown paisley fabric) show around the neckline.  Because I kept the bias fabric thin, it almost looks like cording.

When I separated the bodice from the skirt, that left a "waist" that I really did not want to see in the main fabric because I like the illusion of a single straight A-line dress.  Solution?  Create a "sash" at the waistline that ties in the back.  That wasn't too hard to do using another piece of another dress pattern.
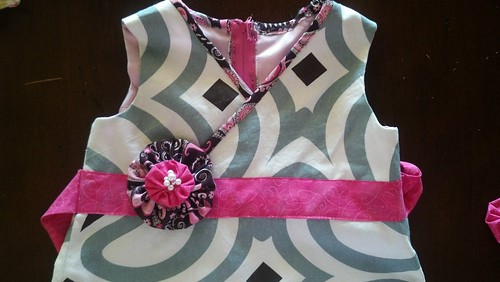
bodice

I still needed more contrast at the bottom and after adding the first strip, wanted more length so another strip was added.  I wanted one more "touch" to make the dress different and special.  I've been making yo-yos (those little flower thingies) for a while, but haven't had much use for them yet.  You can see how to make yo-yos here.  I layered two sizes of yo-yos and added a few seed pearls.


yoyo

It may seem a little funny to start with one idea and end up with another.  That's what I like about Wendi's book.  She's not wed to specific design functions which leaves me comfortable with experimenting with different elements.  I like the outcome.  If you like it too, it's available in my Etsy store in a size 5.


cindy

Monday, April 29, 2013

Yo-Yo Sewing

I love the look of a yo-yo.  No, not the toy on a string, but a fabric yo-yo.  Just Google "fabric yo-yo" and check out all of the cool images and uses for yo-yos.  You can also find some great DIY posts on making yo-yos without a form.  I'm going for the easy route - making yo-yos with store bought forms - gasp!

yoyo makers

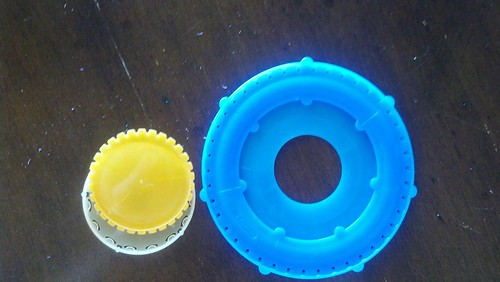
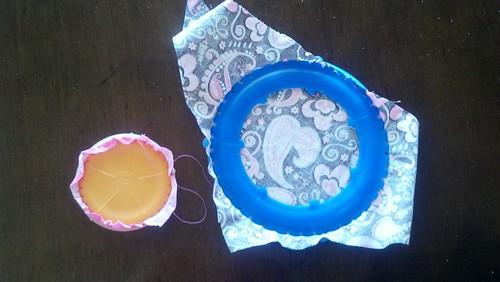
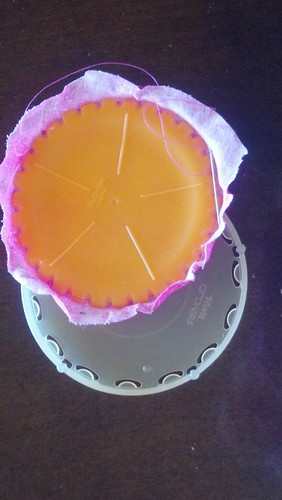
These are plastic yo-yo forms you can find in multiple sizes in most fabric stores.  I'll say it again - you don't need a form to make a yo-yo - but it sure makes things easier.  You take a piece of fabric and snap it between the two sides of the form, like this:


making 8

There are two distinct advantages to using plastic forms.  The first one is this: you don't need to cut a perfect circle before you pick up a needle.  In fact, you don't have to cut a perfect circle at all.  Using the plastic form guarantees a uniform size even with odd shaped scraps you see above.  You don't have to cut the circle until after the fabric is firmly held in the form.

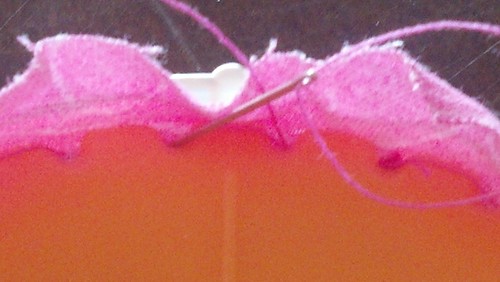
Once you snap the fabric into the form, it's time to start sewing.  Here's the second advantage.  You don't have to worry about sewing perfectly spaced uniform stitches.  The plastic forms have little notches in them so you can sew in and out of the notches to get perfect stitches.  It's a great activity for kids.

making 6

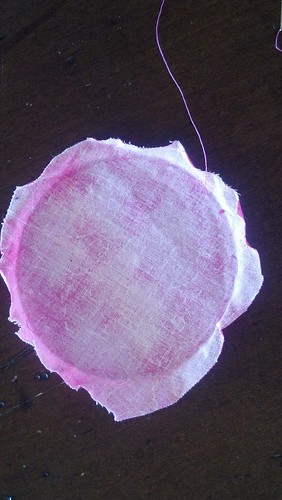
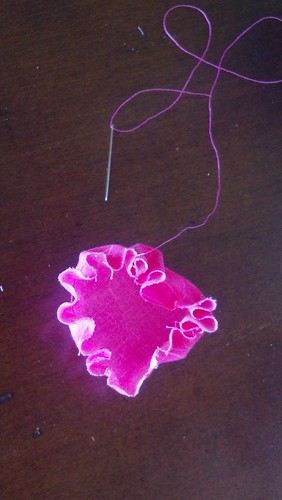
Once the stitches are all the way around and you cut out the circle, leave the needle in place and remove the plastic form.  You will be left with this:

making 4
making 5


making 1making 3

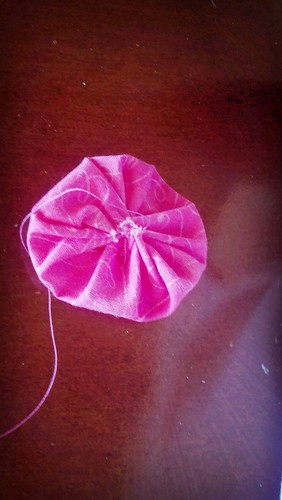
Pull the thread evenly and watch the circle come together.  Tie off the end and you have your first yo-yo.

I really want to make some of the cool projects you can see if you look at the Google images, but I haven't made nearly enough yo-yos for that.  However, when I was recently making a little dress, I decided to use two different sizes of yo-yos with some little pearls I bought as an embellishment.


yoyo

Here is the whole bodice.  The dress is coming soon - a short tutorial on Straddling the Gap and the actual dress in my Etsy store, Pretty Pretty Cindy


bodice

cindy