Showing posts with label Project-a-Day. Show all posts

Thursday, November 10, 2011

Pinterest Challenge

I recently saw a blog where someone tried to replicate some of their pins from Pinterest.  It does make sense - isn't that why so many of us like Pinterest for DIY?  I want to take the challenge to make a few items that I've seen on Pinterest.  I'm not challenging myself to make them exactly as they appear in the pin, and I'm not setting a time limit.  (This is supposed to be a challenge, not a chore).  Here's the pins I want to do:
Source: etsy.com via Cindy on Pinterest

This button idea looks labor intensive, but might be cool in my office.


I don't have a baby, but I think this would be great to make for a group of unwed mothers.


I know mine definitely won't look like these, but I do have a pattern for a pincushion I want to try!


This would be great for a holiday meal!

OK, I think that's as many as I dare to take on!  Again, no promises as to when I will get this challenge going, but now that I've put myself out there, I have to try.  By the way, all of the pictures above go back to my Pinterest boards and ultimately back to the websites of origin.  I did not take any of these pictures and claim no attributes, but leave that with the original sources which you can see yourself.

Wish me luck!

cindy

Sunday, July 31, 2011

Project-A-Day Postmortem

Whew!  July is finally over and so "Project-A-Day" ends too.  What a relief!  I loved everything I made (or finished) this month, but there just weren't enough hours in the day to do a project per day.  I also tend to do projects that take more than a day.  There were projects or recipes that I didn't include on the Project-a-Day page, some of which I will feature in upcoming blog entries.  In the meantime, I do want to remember (memorialize) those items I actually DID do during July (click on the picture to see if there is an associated blog entry):

No Sew Bed Canopy
Holiday T-Shirts
No Seam Pillowcase
Glitter Nails
Dry Erase Marker Pouch
Easy Button Shades
Chinese Chicken Salad
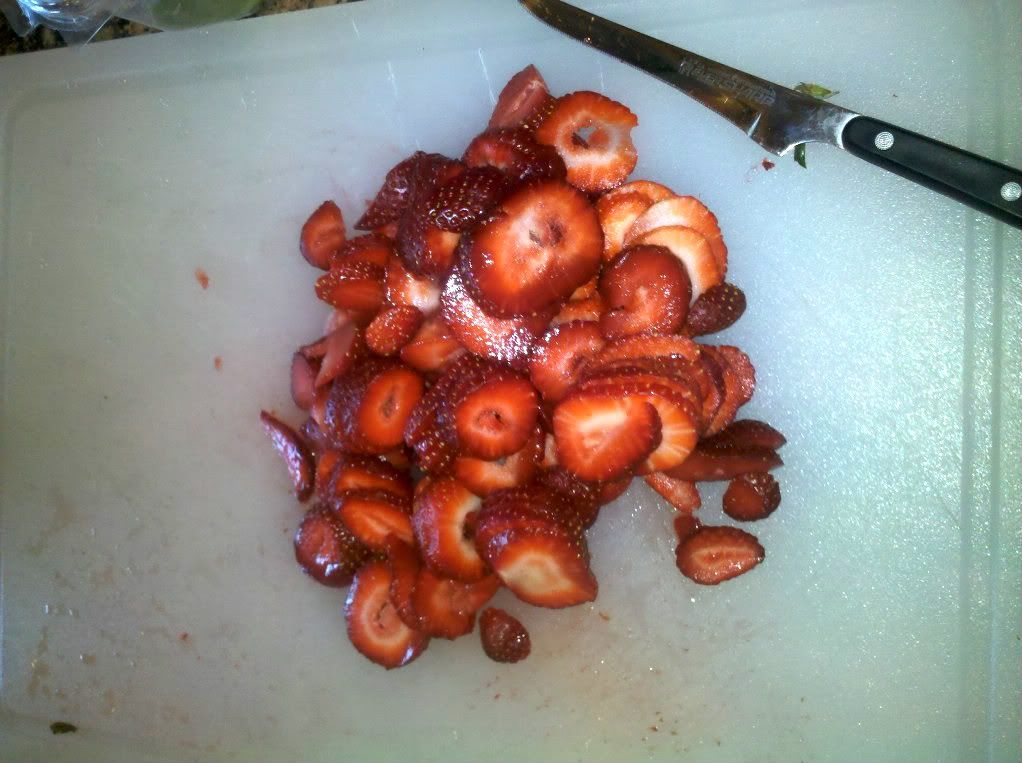
Strawberry Spinach Salad
Beach Study Station
I'll be changing the "Project-a-Day" page to a permanent DIY page where I will put pictures and titles of projects with links to the blog post.  I will also be starting a separate recipe page for my favorite recipes.  I don't create recipes, but I'm happy to share good ones :) 

cindy


Friday, July 29, 2011

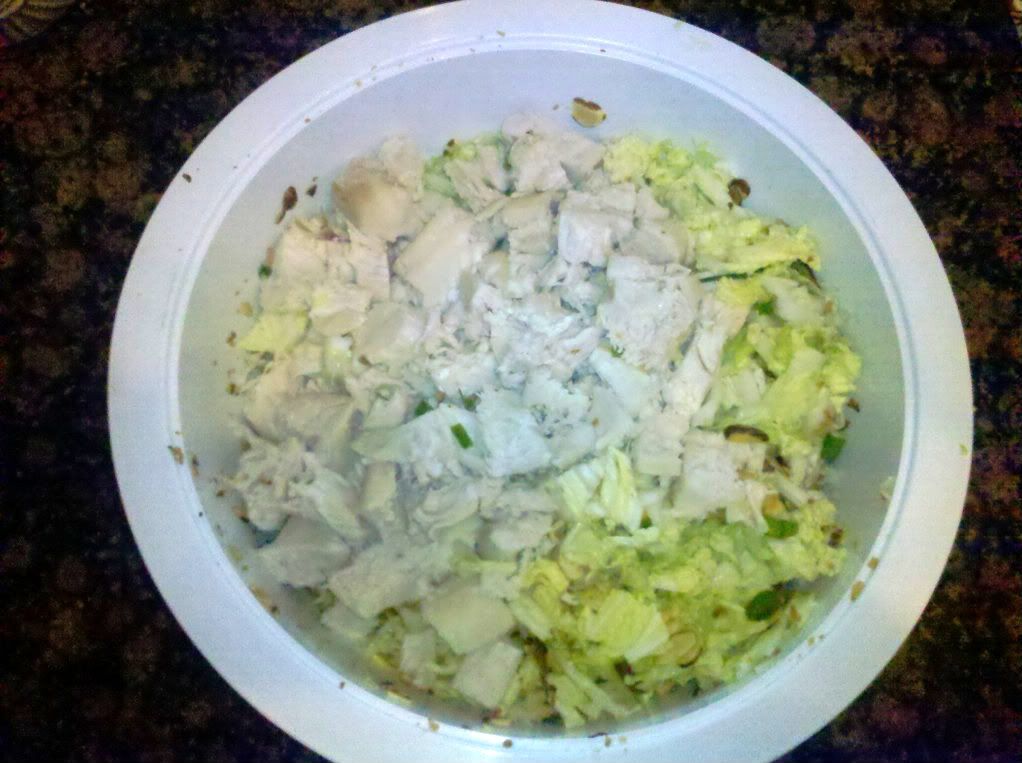
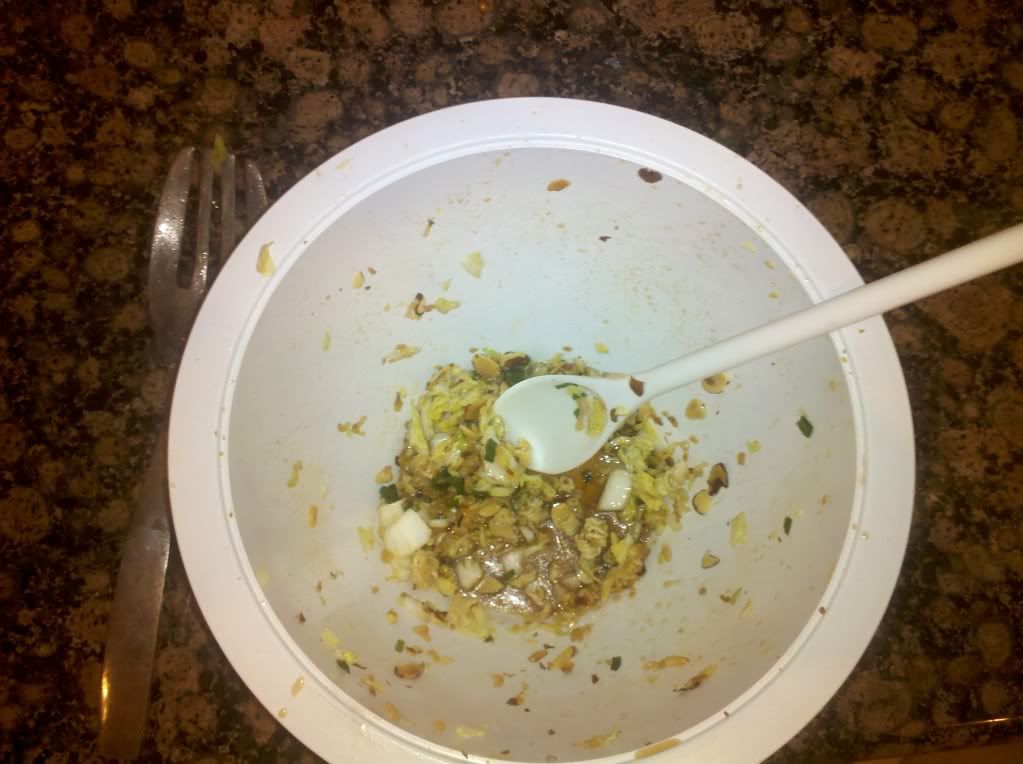
Recipe - Chinese Chicken Salad

This is a great summer salad that is a complete meal with chicken.  It's also easy to make in advance, especially the night before or in the morning.  The entire salad can be mixed in advance, but make sure NOT to add the dressing until you are ready to eat.

Chinese Chicken Salad

               1 Napa cabbage          
1 bunch green onions
1-2 packages of ramen noodles (soup)
2 Tablespoons sesame seeds
1 cup sliced almonds
1/4 cup olive oil
1-2 pounds boneless skinless chicken breasts

1/2 cup sugar
1/4 cup rice wine vinegar
3/4 cup canola oil
2 Tablespoons soy sauce

Boil chicken breasts until cooked through and set aside to cool.  Combine sugar, vinegar, canola oil and soy sauce in small saucepan over medium heat.  Heat to boil and allow liquid to boil for 1 minute.  Remove from heat and allow liquid to cool thoroughly.  Brown ramen noodles in olive oil in frying pan.  (Discard ramen noodle flavor packet.)  Add sesame seeds and almonds and brown.  Let the mixture cool.  Chop cabbage and onions and combine with noodle mixture.  Cut the chicken into chunks and add to salad.  Mix or shake liquid dressing and mix with salad immediately before serving.

Enjoy!

cindy

Saturday, July 23, 2011

DIY - Easy Button Window Shades


A year ago before I learned to sew I could never imagine making window treatments - with or without sewing.  This DIY involves minimal sewing and has a special "trick".  Here we go:

1.  Measure the inner portion of the window (width + length).

2.  You need fabric the width of window x 2 + 4" (e.g. window width= 36"; 36 x 2= 72" + 4" = 76" wide).  You're not going to be able to find fabric 76" wide, so plan on purchasing more length to compensate for a vertical seam).  The length of your fabric will be length of window x 4 + 4" (if the width of your window is more than width of fabric, you will need length x 6 +6") (e.g. window length is 60"; 60 x 4=240" + 6" = 246" (about 7 yards for length).

My laundry room window is somewhat narrow, so for purposes of this tutorial, I'm assuming that the width of the window was less than the width of fabric, so I don't need to buy the extra length or sew a seam down the middle of the curtain to create the appropriate width.

3.  Cut your fabric in 2 identical pieces: width + 2" and length x 2 + 2".

4.  Sew around the fabric close to the edges of the fabric OR use a serger on the edges of the fabric.  This will keep your fabric from fraying, which was very important for me because I was using a canvas fabric.  I used a regular stitch because I was too lazy to take out the serger.


5.  Place the two pieces on top of each other, right sides facing.  Sew a 5/8" seam down the length on each side, LEAVING THE LAST 2" OF FABRIC FROM THE END UNFINISHED.  This should leave you with the two length wide sides of the pieces sewed together except for the last 2" which are still raw openings.  (Make sure the resulting width will be equal to the width of the window - if not, make the seam allowances a little bigger.)

6.  Sew a 1" seam across the other end on the width of the fabric.  This will be the bottom of your curtain.  You should have something that looks a little like an inside-out pillow case.  The last two inches on the sides of the "pillow case" should still be open and unfinished.  (Don't look too closely at this picture because I didn't do it that way and had to rip seams later.)


7.  Iron the seams open.  Now sew small (1/2" or less) hems in each of the 2" unfinished edges mentioned in steps 5 and 6 (4 seams in all).


8.  Turn the curtain right side out.  With the right side up, turn the raw edge under 5/8" and sew a hem all the way around so the curtain is still open like a pillowcase.  In the alternative, you can turn the raw edges under and use a single seam to hem the edges AND close the width of the curtain.  I just wanted to make sure the raw edges got under, so I ended up sewing the seam once to turn the edge under and then again over the first seam to close the open end.

8.  Now sew another seam across the curtain 1" below the first seam.  This will create the pocket for a spring rod (the curtain rod).  Insert the spring rod through the pocket.


9.  Fold up the bottom of the curtain and mark where you want to put the buttons.  You can use as many or as few buttons as you want because they will only be decorations.


10.  Using your buttonhole attachment, put buttonholes in the locations you marked for buttons.  If you are not comfortable with your buttonhole attachment, this is a great opportunity because you don't have to worry about mistakes or misplacement - it's all decorative.


11.  Sew the buttons on top of the buttonholes, but don't go through both thicknesses of fabric.  Again the buttons are only for decoration, so there is no need to attach them to the back portion of the curtain.


12.  Cut small lengths of Velcro.  Make sure to get the Velcro for fabric (sew on without adhesive).  I made the mistake of using the adhesive version and it won't hold with fabrics and if you try to sew it on, the needle can stick in the adhesive.  (Please note that if you buy the correct Velcro, there is no adhesive or paper backing on either side like you see below.)  Sew the Velcro on the backside of the button locations.


13.  Sew the soft side of the Velcro onto the back portion of the curtain where you want the "buttons" to "fasten".

And there you have it . . . an inexpensive curtain you can make yourself.  It has been several years since I originally wrote this tutorial, and that curtain is holding up well.  I would not suggest this pattern for large or wide windows unless you are using a lightweight fabric.

I'd love your feedback or pictures of your button shades.

cindy

Thursday, July 21, 2011

DIY - Holiday (or Anytime) T-Shirts

For the Fourth of July we had some friends over and I had this fabulous idea of making patriotic t-shirts for the whole family - me, Kentster, CJ and Kenzie.  It was such a fabulous idea I stayed up late on the 3rd to make them with brand new t-shirts I purchased - 2 navy blue, 1 red and 1 white.  Briana at Sweet Peas and Bumblebees was the inspiration for the project and I used the awesome digital graphics she suggested from Summertime Designs.  In fact, it was such a great idea that I also found a graphic online to use for Kentster's shirt.

First, you do need to launder the shirts before putting transfers on them.  For the transfer, I used fabric transfer paper from Avery.  They come in different versions for light colored and dark colored fabrics.  That's where I went wrong.  I didn't realize there was a difference and I had some fabric transfers left over from a previous project and I didn't bother to read that they were for light  colors.  Here's what happens when you use the wrong fabric transfer:

The picture can barely be seen.  In fact, the photograph looks better than the real thing.  So make sure you have the right kind of fabric transfer before you get started and make sure to carefully read the directions.

Another point - you need to make sure you reverse the graphic image on your computer before you print it on the transfer paper, otherwise, your shirt will have a backwards transfer which can be very problematic with words.  You also need to make sure when you place the image on the shirt you have it oriented properly, which can be a little confusing when it's backwards.  Here's what happens when you put the image on the wrong way.  The image is not backwards, it's actually upside down!  Ack!!

By this point I had ruined two new t-shirts and had two more I couldn't use because I had dark shirts and fabric transfers for light colors.  I had to improvise.  I managed to find a white shirt for CJ and a gray one for Kenzie in their drawers.  I used the graphic from Summertime Designs and added my own sayings in fonts I liked and voila! they look great!

I really enjoyed taking individual elements of the designs and putting them together!  It made me feel like a graphic designer!  This opens up all types of ideas for making fabric transfers.  You can transfer designs onto shirts, totes, aprons - pretty much any fabric.  You can find designs on the web, including individual pieces you can put together in Photoshop or other similar programs.  We have a Mac and I just put them together in Preview - SO EASY!!  Another idea is to scan scrapbook items - paper, stickers, tags, etc or use photos!  Be sure to honor copyrights where applicable (no reselling).
I know I will be doing more of these types of fabric transfers in the future.  Maybe the next vacation instead of buying the obligatory souvenir t-shirt, why not take a picture or make a scrapbook page to scan and put on a t-shirt.  It will be more meaningful and representative of your trip.  Let me know if you have any other ideas to use with fabric transfers.

cindy

Wednesday, July 13, 2011

DIY - Scrappy Flowers

I hate waste.  I love bright, bold colors.  That pretty much sums up this crochet throw.  I haven't worked much with flowers/circles, but I wanted to give it a try.

I loved everything about making this blanket.  Everytime I picked out another yarn, I thought of the original project for which it was used.  Combining the colors without the constraints of a pattern was a bit liberating for me.  (I'm a bit of a Garanimals person, needing "matching" colors.)  It was also easy to do a little at a time because you make each "flower" separately and piece them together at the end.
It makes me so happy to use up leftover yarn and make something bright and cheery in the process!  Isn't that why we love making things?  Creating beautiful things, especially from ordinary things, brings me joy.  
Hope you have some joy creating today!
cindy


Thursday, July 7, 2011

DIY - No Sew Bed Canopy


Kenzie has been after me for weeks to get her a canopy for her bed.  I considered making one using a large wooden quilt hoop and tulle, but I just could never get around to it.  Finally, I purchased one on Ebay for $8.15 (including shipping).  It wasn't too fancy, just white mosquito netting over a wire hoop with a metal ring on top.

On Saturday, Kenzie and I went to one of my favorite places in central Phoenix - SAS fabric warehouse.  SAS is a scary place for a fabric junkie, but Kenzie kept me moving.  We bought 12 yards of pink tulle for $0.75 per yard!  (She also had to have a hoop skirt, something she has been wanting for a long time.  It enhanced the romantic, southern feeling we were trying to evoke.)

I cut the tulle into strips 3-4' wide by 10-12' and tied it just below the metal ring at the top of the existing canopy.  I repeated this several times, layering it all the way around the hoop and over the existing white netting.  The tulle knots created the little pouf you see at the top of the picture.  Then I tied some pink satin ribbon to the metal ring and hung the canopy from a sash hook I screwed into the ceiling.  I embellished the canopy with lengths of pink and white satin ribbon and put a couple of Kenzie's old fairy crowns over the top.


If you have a serger you can finish the tulle edges.  (I have one but I'm lazy.)  So this canopy was "no sew".  Every little girl's dream canopy and it cost less than $20!!!  The hoop skirt cost more than that!  As a bonus, she is ready when the big mosquito infestation hits Phoenix :-)

cindy

Wednesday, July 6, 2011

Project-a-Day Month

Well, this is a post I've been trying to write for about 5 days.  I started it before midnight on the 5th, but it's now well into the 6th.  I decided on the 1st that it would be fun to feature one project/craft each day in July.  It's very ambitious, but I'm going to give it a try.  The only problem is that I've been so busy trying to get enough projects for the first 5 days that I haven't had time to write the blog entries.  (I hope you are LOL because I certainly am!)

So here's the deal:  Each day in July I'm putting a picture of a project on a new page on my blog entitled "Project-a-Day".  The idea is for the picture to "link up" to a blog post from me describing the project, or at least the tutorial for the project from someone else in the blogosphere.  I'm not promising I will actually complete a project each day during July (check that, I KNOW I won't finish a project each day during July), but I will try to have photos of 31 projects by the end of July.  (You just might have to wait for Christmas after next before I post a description of each project.)  The projects could be sewing, crafting, crochet, scrapbooking, quilting, recipes or hey, maybe I'll give you all a power point presentation on the Clean Water Act.  It's my creativity.  Insane, I know, but what the heck.

I promise not to make every post this month about a project, so if you hate the project a day thing, don't leave!  If you like the Project-a-day thing, here are pictures of the projects I've posted under the Project-a-Day tab for the first 6 days.

cindy

Day 1 - Cute Icepack Cover
Day 2 - No Seam Pillowcase

Day 3 - Bed Canopy
Day 4 - Holiday T-Shirts
Day 5 - Glitter Nails
Day 6 - Granny Scraps