Showing posts with label Quilting. Show all posts

Sunday, November 5, 2017

Sew Practical: Quilted Water Bottle Carrier


Knowing how to sew means you can create those little items you can use everyday out of fabric you like and in sizes that work best for you.  Here is another one of those little items that I learned to make and now I can whip one up in a half hour or so (which is great if you lose water bottles like I do).  This same idea can work with a lot of sizes of bottles and have shorter straps for kids.  This bottle carrier will hold many standard size manufactured bottles, but if you want one to fit a specific bottle, you can alter the pattern by using the circumference of the bottom of the bottle and its height as a guide.  Here is the pattern I used to make mine.  I borrowed heavily from this pattern from ilovefabric.com.

You need:
2 pieces of fabric 12" x 10.5" (I use home decorating fabric.)
1 piece of batting 10.5" x 9.5"
2 fabric circles 4" in diameter
1 batting circle 3" in diameter
1 strip of fabric 3.5" x 50" for adult size strap (Use 42" long for child)

The 2 main pieces of fabric can be the same design or if you want to have a coordinating fabric as a liner, you can use 2 different fabric designs (which is what I did on this bottle carrier). 


As a cheat, you can use a roll of duct tape or other circle to get that circle pattern. 


You can use twill tape or heavy ribbon for the strap.  I chose to use the coordinating fabric because I think the straps hold up better.  If your strap fabric isn't 50" long, don't worry - here's how to piece strips.  Take two pieces of fabric and lay them perpendicular with right sides together.  Sew a line diagonal across the area where the pieces intersect and then cut the selvage.


Taking your new 50" strip, sew the ends under and then fold the long side in half, right sides of fabric facing each other.  Sew a seam with a 1/4" seam allowance from end to end, leaving the ends open on either end of the strap. 


Using a safety pin attached to one end of the strap as a guide, turn the inside of the strap out so the right side of the fabric is showing.  Iron the seam.  At this point you can topstitch the lengths of the strap if you wish.  That gives the strap a flat look.

Next, lay the 2 main fabric pieces, right sides together and sew a 5/8" seam along the top (one of the 12" sides).  Iron the seam open.  (This would have been an ideal place to sew the strap onto the main fabric by placing either end of the strap between the outer and lining fabrics with about 1-2" of strap sticking out when you put the outer and lining fabrics right sides together.  The ends of the straps should be about 2" from either side of the fabrics.  You would then sew the ends of the straps to the wrong side of the liner fabric.  I didn't so it that way, so I'll continue with instructions for the straps sewn on top of the liner fabric.)


Pin the batting to the wrong side of the outer fabric.  This will hold it temporarily as you get started on quilting.  If you didn't already sew the straps onto the fabric, sew them onto the right side of the lining fabric, about 1-2" from the edges.  Be sure you are only sewing onto the lining fabric so the seams don't show through on the outer fabric.


Fold the lining fabric over the batting so the right side of the liner fabric is showing.  Topstitch along the top, right next to the seam you sewed to join the outer and inner fabrics.


Starting at the topstitch line, sew straight lines (about 1.5" apart) to the open bottom so the batting is evenly quilted.  Don't worry if you are sewing over the portions of the strap that are already sewn on.  I wish I knew the name of the tool, but see the metal doohickey in the picture to the right of the presser foot?  It has a bar that attaches to the machine and acts as a guide for sewing straight lines equidistant from each other.  You can also draw lines using a fabric marking pen (ink disappears).  Once you finish, if your batting is sticking out at the bottom, trim it back and sew the bottom closed. (Don't worry that the wrong sides are together and the seam shows.)


Take the circle pieces, right sides together, and sew around the circumference, leaving a 2" opening.  Turn inside out:


Gently insert the circle batting into the opening.  Hand sew the opening closed and then sew the circle with seams like a pie - 4 seams in all.


Take the main bottle piece and fold it in half WRONG sides together.  You will use a French seam to make the circular shape, and that is a two-step process.  First sew a narrow (1/4") seam along the raw edges to join the sides.


Now turn the tube inside out and sew another seam on the same edge, this time using a 5/8" seam allowance.  That will have the effect of "capturing" the first seam in a way that looks really clean.


Now you're ready for the hardest part - sewing the circular bottom on the open end of the tube.  Carefully pin the circle onto the bottom of the inside-out tube (striped side in the pictures).  Slowly sew it onto the bottom of the tube.  You can also hand sew it on if that is easier for you.


This is what it looks like when it's done.  It's not pretty, but it's the inside of the bottle carrier.


Turn your bottle carrier inside out and you're done!


cindy

Sunday, November 4, 2012

Revisit October Project List

I've tried several times to announce a project list for a given month.  Last month I used Pinterest to come up with a project list for October.  Each one of my project lists has something in common - I have never finished one.  It seems that establishing a project list is a death wish for those projects.  So what the heck did I do in October?  Well I did a few things, several of which are not completed:

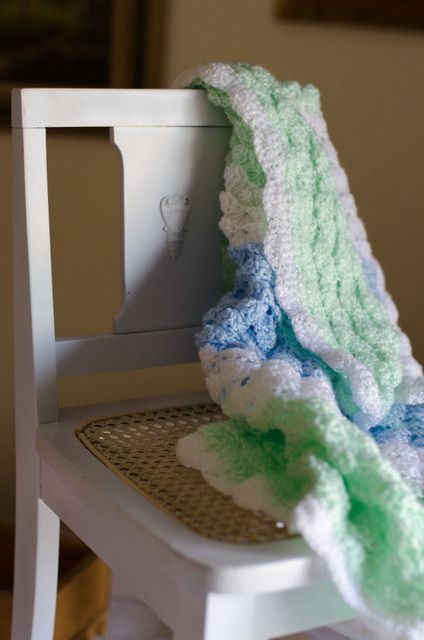
1.  Tranquil Sea Baby Afghan - I referred to this in my October project list as one of the afghans I needed to finish.  I finished it - and I'm pretty happy with the result, so much so that it's in my Etsy store.


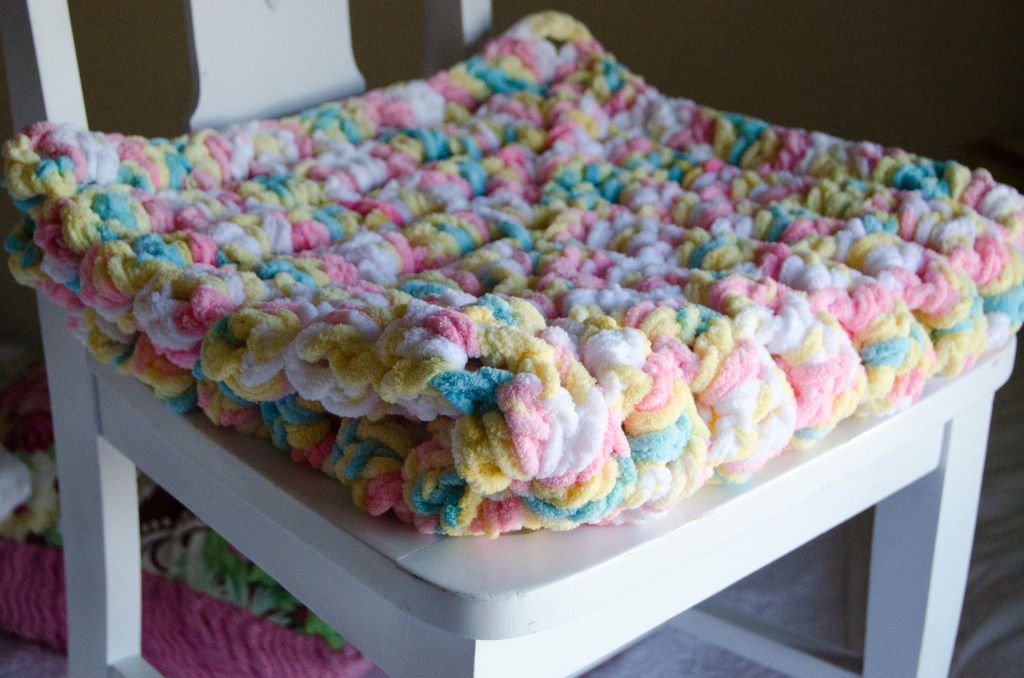
2.  Softest Baby Afghan Ever - I'm bragging now.  I not only finished this afghan, I made another exactly like it - all in October.  The first one was for a friend's baby shower and she loved it.  She also agreed that it was the softest baby afghan ever.  This second one is at Pretty Pretty Cindy.  


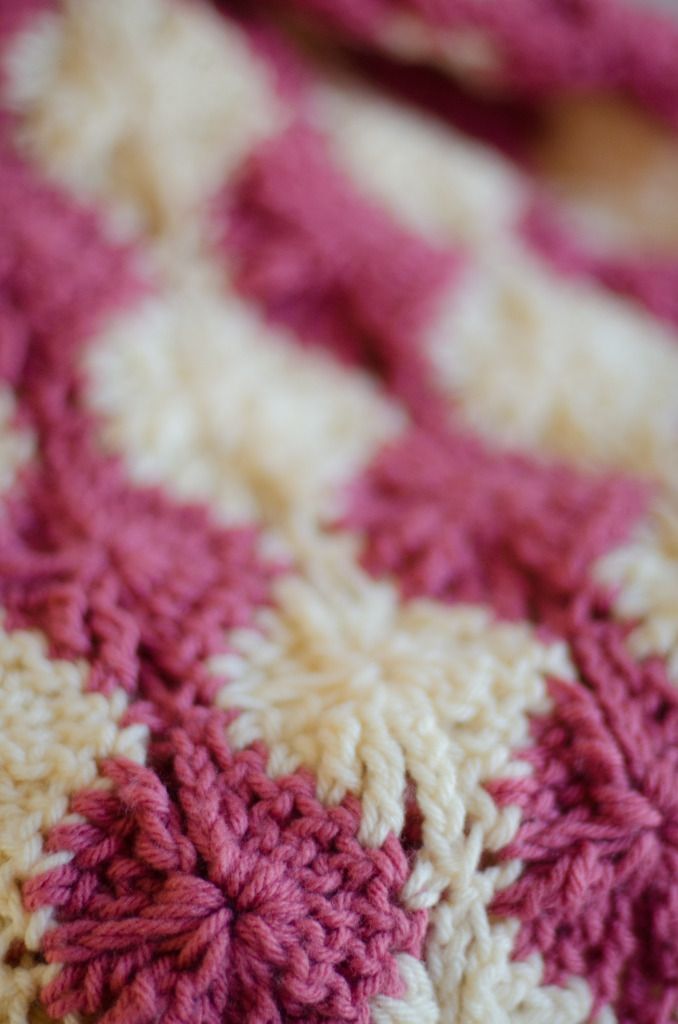
3.  Catherine Wheel Scarf.  I can't show you a picture of this one quite yet because it's out being photographed for my Etsy store.  As the title infers, this scarf is made using a cream yarn in the Catherine Wheel stitch.  I will be showing this one off soon, but if you want to see an example of a Catherine Wheel stitch, check out the most popular item at Pretty Pretty Cindy - Raspberry Sherbet Catherine Wheel Afghan


Now begins the started, but uncompleted items.  Some are really close, but others not so much:

4.  Scrap afghan - this one is sooo easy.  It's just double crochet with scrap yarn.  You change the colors at random.  You tie them together (which you would normally never do).  The extra strings you tie together to get a look like a tied quilt.  This one should be done soon.


5.  Pastel Baby Granny Squares.  This is more scrap yarn.  I love the colors, but haven't quite figured out how I want to put them together.  I am thinking of sashing like you would see in a quilt, but I haven't quite figured out how to do that yet.  Once I do, this project should be done quickly.


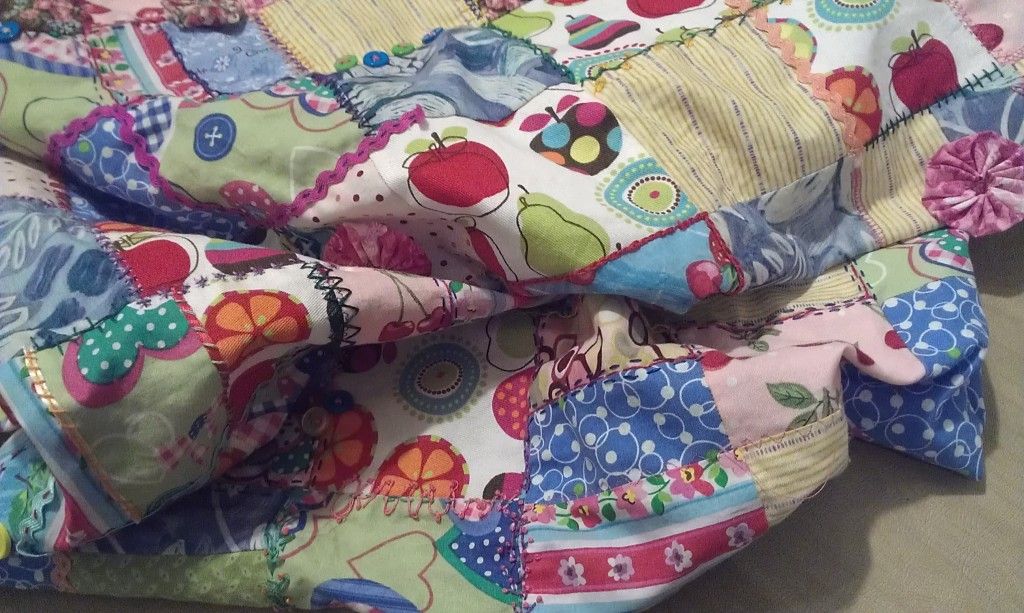
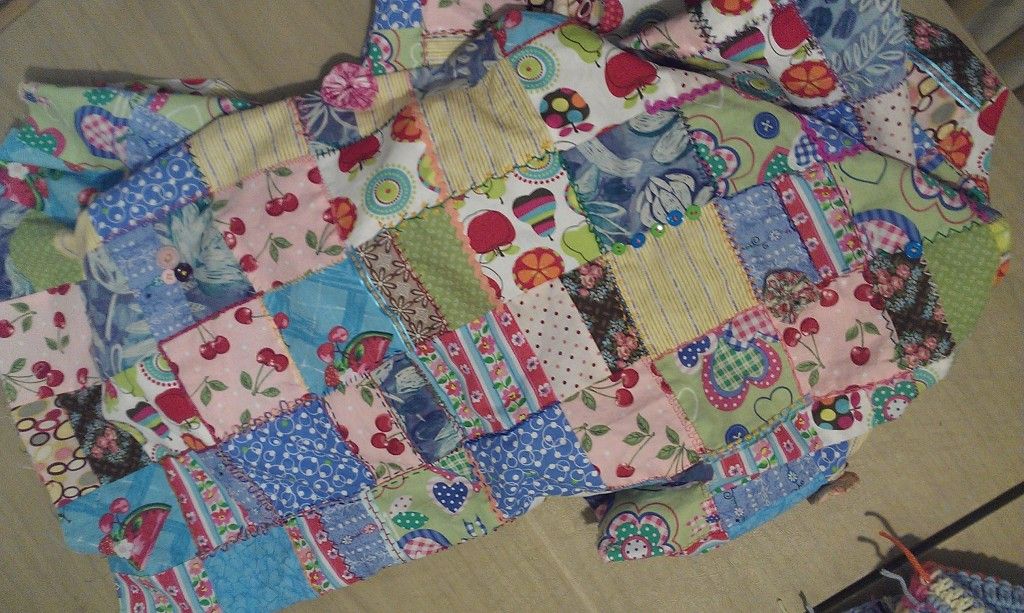
6.  Crazy Crazy Quilt.  I have been working on this for months and I can't decide whether I like it or not.  Either it will be one of those heirloom, one-of-a-kind quilts, or just a hot mess.  I used scraps for the patchwork and hand stitched the embroidery between the squares.  My embroidery is less than rudimentary, so I added some ribbons, ric-rac, buttons and fabric yo-yos randomly.  I better like it by the time I'm done, because I've spent far too many hours at this not to like it.


I'm not sure I want to do a November project list.  I need to start thinking about Christmas - make or buy?  I do think I'm past my crafter's block, but haven't figured out how to get more time to sew.  

Have a good Monday!

cindy


Monday, October 1, 2012

October Project List

As promised in my last post, I'm picking some projects for October.  As usual, I'm being ambitious with 5 projects, plus I would like to finish the projects I've been working on.  Well, at least I can try.  I've picked some I've been meaning to do for a while, but I also found a few new ones that look intriguing.  All are on Pinterest, so if anyone cares to join me, feel free (but let me see yours too!).  So without further ado, here are my five projects for October:

1.  Tutu - Oh man, I have to do this because Mackenzie has been begging for a while and I bought the tulle over a month ago.  There's no way I would hear the end of it if I decided to do a bunch of other projects first.  Like so many of these projects, this one is from Make-It-Love-It.


2.  Redo Sneakers  - This is one I just found, and it's actually two separate DIYs.  The first one is a fabric recover on some Toms (although I'm using my Target knock-offs) and the second is a recover of the soles.  These look fun because it's not anything I need, but if it works, I could use it.  This first one is from Elemental Carbon.  The re-sole is from Dream a Little Bigger


3.  Easy Elastic Band Skirt - This is another thing I've been wanting to do for a long time and I've had the elastic forever.  If this thing is as easy as it says (and they never are), I should be able to knock this out in an afternoon.  Yeah, right.  Again, this one is from Make-It-Love-It


4.  Fleece Hat and Scarf - I've got some fleece I need to use and this looks pretty easy.  I'm not completely sure what I will do with them because I'm in Arizona, but I can always throw them in my Etsy store.  The picture from the DIY is very bizarre because the lady who made these (Nebraska Views) doesn't show her grandchildren's faces.  So, here are some fleece scarves and hats on some smiley faces.


5.  Braided headbands - This is also a new thing I found that also looks so easy.  It should be a quick craft, but that's just not my way.  If these work, I'll also put some in the Etsy store, but I would definitely keep some for myself.  These beautiful items are from Alisa Burke, Redefining Creativity.


So there it is.  Five "simple" projects plus a couple quilts and afghans in progress (and a special project for a friend).  I'm getting a little excited.  Maybe this is a way to get me out of my crafter's block.  Cross your fingers.

cindy


Thursday, August 30, 2012

Shaking the Tree

I've been working on a quilt - it's one crazy quilt.  There are lots of fabric colors and designs, and I had this insane idea to hand embroider over the seams.  The squares are uneven and the embroidery is crude.  It's a bit of a hot mess, but one of a kind.  And I am spending a LOT of time to finish it.

When my dad died, I realized I knew almost nothing about my family name.  My dad was the only child of essentially a single mother.  That's when I became interested in genealogy.  I've been shaking the trees on both sides of my family since then and I've been amazed and amused at what I have found.  I have learned that even though it's exciting to know you are a descendant of Charlemagne, Holy Roman Emperor (really!), at some point the names become meaningless without some backstory.

Wednesday, July 11, 2012

Etsy - Pretty Pretty Cindy

O.K., I've been talking about it for a while now, I'm sure some folks are thinking it would never happen.  But it did!  Pretty Pretty Cindy is open for business!  There are only a few items in the store right now, including:


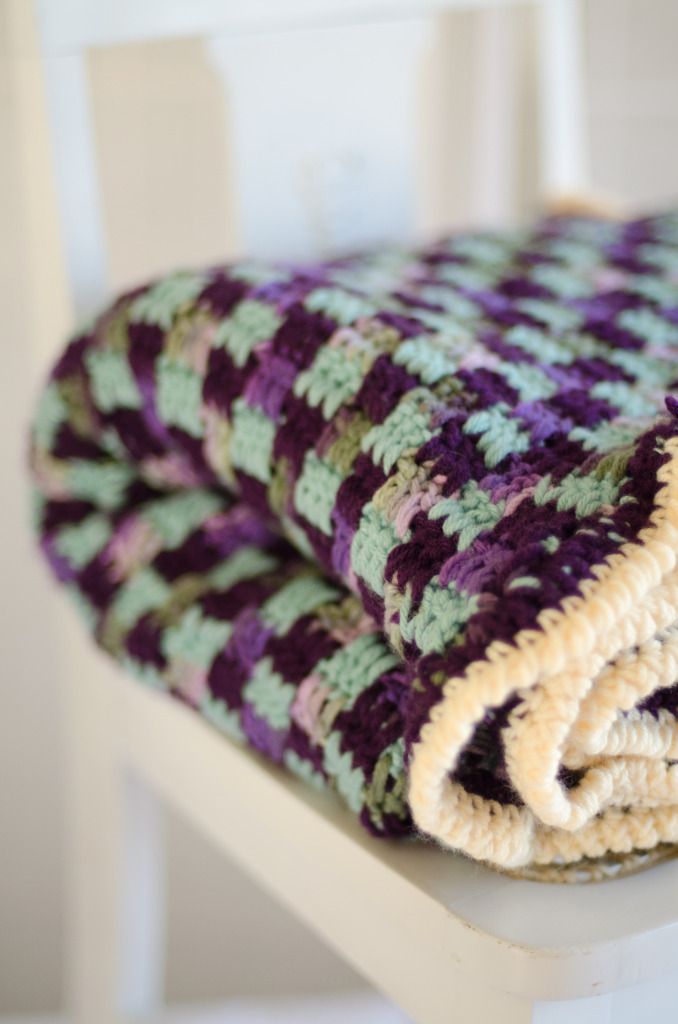
and a Boucan Checker Afghan I haven't written about yet (but will soon!).
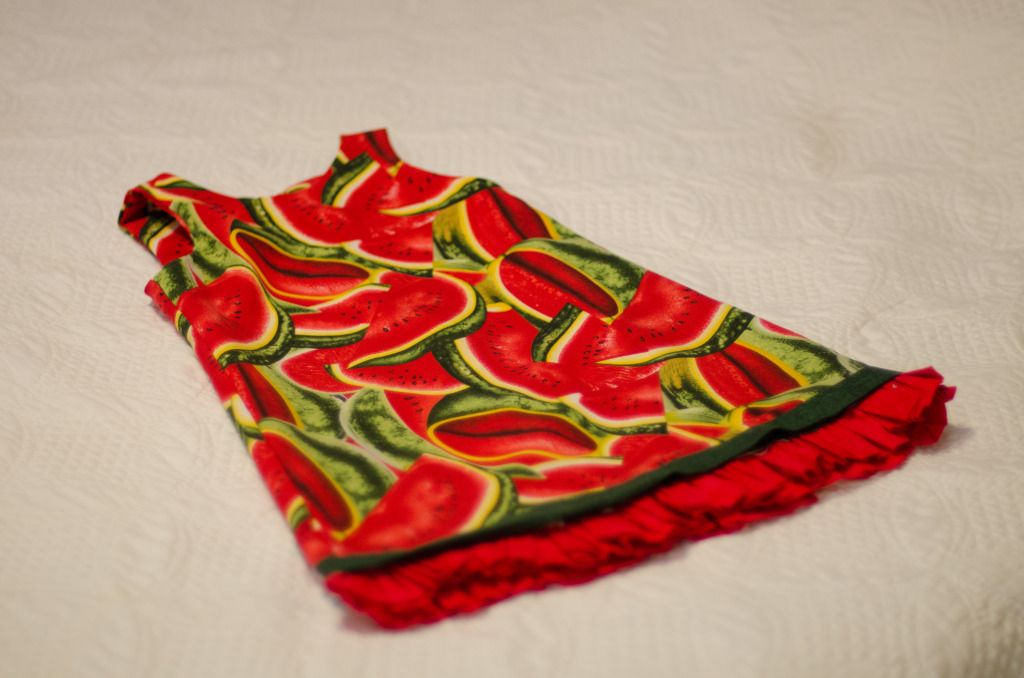
I've got more coming - some cute little girl dresses and lots of headbands.
I have to give credit to my fabulous product photographer Kate from Songs Kate Sang.  She has the most beautiful blog - gorgeous photography and inspiring messages.  Make sure to visit her and tell her I said Hi!


I would love it if you could come by and check out Pretty Pretty Cindy. If you've already visited, thanks! Come back often - you never know what "pretties" you might find.

cindy

Saturday, June 23, 2012

Raggedy Rag Quilt

Do you really like rag quilts?  Love that look of raggedy edges?  This is the rag quilt for you.


I'm still using my favorite fabric (flannel) and I used another piece of flannel in the middle of the square "sandwich."  I used 5 inch square blocks and a 1" seam allowance on each side.  Yes, that means the end measurement of the block was 3" square.

 
It produces a dense, warm (heavy) quilt with lots of rags.  I'm not sure I would do a 1" seam allowance again, and if I did, I would definitely start with a minimum size of 6" square block.  This is still a very pretty quilt, but it takes a lot of squares to get to a crib or toddler bed size.  

One very cool trick I learned was the stitch I used to make the "X".  I used a "S" curve, which I bet is a stitch on almost every sewing machine.  By using the "S" I ended up with an effect on the smooth side of the quilt that I really love (and didn't anticipate).


My picture is not great, but each block matched curves and I didn't do anything special in using the "S" stitch.  Here's another view that might be a little better


I still like these rag quilts and can't wait to try more variations.  Next time I'll try some big squares.  My sewing machine will thank me.

If you are looking for more basic tutorials on rag quilts, check out my post here.  I also have some additional tips on making rag quilts here.

cindy

Wednesday, June 20, 2012

June Project List Update


We're more than halfway through June, so I thought I should make myself accountable and check on that June project list.  As of today it looks like this:

1.  Finish the baby rag quilt/lovies.
2.  Open my Etsy store
3.  Make two dresses for my daughter
4.  Make a headband
5.  Finish the two step afghan
6.  Finish the checker afghan.
7.  Make a pincushion
8.  Finish the craft room
9.  Scrapbook enough pages to get my kids to age 3 (they are 9 and 11 now)
10. Make a new rag quilt

Hmmm, about 40% done.  Now this is the point I rationalize.  I did finish the baby rag quilt (which I will post about soon), but I didn't make any loves.  I did make one dress for Mackenzie (which I will post about soon), but didn't start another.  I did, however, make two other dresses for other kids (which I will post about soon), so if I don't get another dress for Mackenzie before the end of the month, I'm going to count those.  I'm sooo close to opening the Etsy store (Pretty Pretty Cindy), I just need to give my photographer a little time to take pictures.  The "two step" afghan is the never-ending-project, but I am seeing light at the end of that tunnel.  Pincushion?  Scrapbook?  New rag quilt?  Ummm, looking dim.

I do like going through this exercise because it brings some sense to my creative wanderlust.  Yes, there is some method to my madness.  Let's see how much I can cram in finish before July.

On a side note, I started a new little blog on Tumblr.  It's called Just a DIY Junkie and you can find it HERE.  It's a blog where I compile the awesome DIY blogs I have discovered into lists and categories.  I already have a post about quilting tutorials, so if you want to find the best blogs for quilting tutorials, head over to Just a DIY Junkie and check them out.

Stay cool in the summer heat!

cindy

Friday, June 8, 2012

Craft Room Reveal!

The day is finally here - my new craft room is DONE!!  I've been working in there and I love it.  Over the next couple of weeks, I'll show some detailed features of the new craft room, but in the meantime, here's some before, during and after pictures:
BEFORE

DURING

AFTER


I have too much fabric!

BEFORE

DURING

AFTER


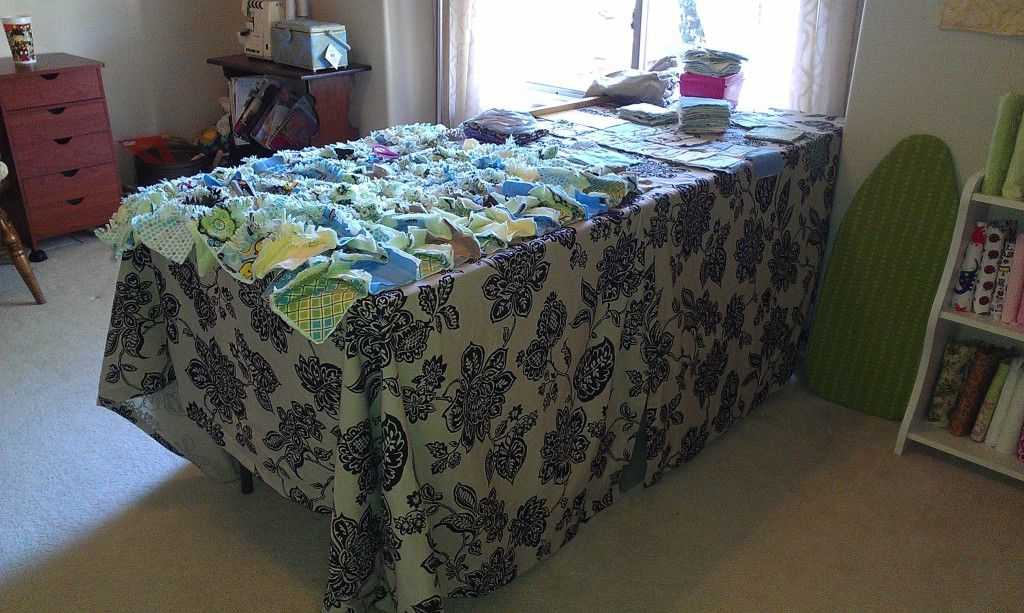
My new cutting table where the couch (and mess) used to be.  There is storage under the table for scrap fabrics and extra yarn in bins.  The table cover is made from two curtain panels from Target.  The beer can collection is gone!


BEFORE

DURING

AFTER


Finally, a functional sewing area!  Now I don't have to drag my sewing projects into the dining room and keep them spread out for weeks at a time.  My favorite part of the room.

BEFORE

AFTER


I'm really proud of this part.  I've never had a place to scrapbook and now I have a scrapbook section of the room!  This was another big revelation - I have WAYYY too much paper!  I think I have enough for 20 scrapbooks, maybe more!

So there it is!  I'm so happy it's done, and frankly, so is my family.  It's my very own room for creativity.  Over the next couple weeks, I'll show all the sections of the room and how I organized them.

cindy