Showing posts with label Upcycling. Show all posts

Monday, May 13, 2019

SOM Costumes - Nightgowns and Pajamas

"One little girl in a pale pink coat . . ."

I know I posted in January that I would be making costumes for Sound of Music and I thought I would be able to post as I made the costumes through the Spring.  Uh, not possible.  So now I can go back after the production is over and go through the various costumes I made.

In the musical, the Von Trapp children gather in Maria's bedroom during a thunderstorm to sing "The Lonely Goatherd."


These were the first costumes I made because they were the easiest.  Bright colored cotton nightgowns in the same pattern from Simplicity:


This was a great opportunity to clear some of my cotton stash and the rest I found at my favorite discount fabric store in Phoenix - SAS Fabrics.  Because I already had the pattern and some of the fabric, I was able to make all 7 Von Trapp kids nightclothes for about $4.00 per costume!


The boys' pajamas were even more interesting because I was able to find plaid cotton pajamas in men's sizes at Goodwill on half-price Saturday (about $3.00 each).  It's almost easier to choose pajamas that are several sizes too big because cutting them down is not a precise endeavor.  I took measurements at the chest, waist and hips, as well as the rise (waist to crotch).  Then the cutting began.  You want to keep the stuff that is hard to reproduce - collar, lapels and buttons, sleeves and sometimes the waistband (although I didn't use the waistband on either set I altered).  

First I cut off the sleeves right above the seam.


Then I cut a few inches on each side of the torso from the side seams.  Don't bother to open the seams when you are cutting this much, just cut the whole seam off (with an inch or two on the front and back) and then resew a new seam on each side.


For the pants, I had to convert them from an adult large to a boy's large.  That required cutting off the waistband (because of the size of the waist and the rise between the waist and crotch being too large); cutting some of the width of the legs and cutting length from the bottom.

I turned the pants inside out and then folded them so the crotch was on one side and the side seams were opposite.  Then I was able to cut just an inch or two from both legs (make sure you need to cut that much!).  I needed to cut off the waistband, but had to leave enough length above the crotch to create a new casing for a new elastic waistband.


Once I finished with the other parts of the pants, I cut off the length to fit.  And that's it!


This project was perfect for me because the combination of creating something new and upcycling is very satisfying.  This was a great start to the other costumes too because I started with the easiest Von Trapp costume.  Only 4 more sets to go!

cindy

Saturday, October 21, 2017

Upcycling Goodwill Challenge - Pillows!


I have been in a serious pillow-making mood lately.  I have a pillow obsession going on my Pinterest page - check it out.  While I don't sell pillows or pillow covers in my Etsy store, Pretty Pretty Cindy, I might someday.  I am starting to sell on Sundays on my Instagram Pretty Pretty Cindy account, so follow me there.  In the meantime, I need some pillows at my house!

I have been working on our master bedroom for a while and wanted to work in some pillows on our blue/green-gray bedding.  The bedding set came with two European shams, but I wanted throw pillows for color too.  But have you seen the prices of home decorating fabric, and worse yet, pillow forms? My pillow fetish could easily break the bank.  Goodwill to the rescue!


Last month I visited our local Goodwill store on a half-price Saturday.  For only $22, I brought home the following stash:

2 26x26" European pillows
2 18x18" pillows
2 14" round pillows
2 large pieces of fabric
Large scarf (it's that pink silk in the corner)
Minky baby blanket (not shown)


Obviously I bought the pillows for the forms, but not everyone is comfortable buying used pillows.  I pick pretty carefully.  Once you get them home and remove the fabric covers, you can always spray them with a diluted bleach solution and put them in the sun.  I was lucky these pillows (while ugly) were very clean.  I think the two pieces of fabric were originally a table cloth and maybe some curtains.  By looking in slightly different places for fabric and pillow forms, I was able to engage my pillow obsession without breaking the bank!  Here's the result:


For the two big pillows in the back I used the forms from the Goodwill pillows and the shams that came with the bedding.  Buying ONE pillow form alone in a 26x26" size could cost more than $22.  I made the pillow covers on the other four pillows.  Two of the pillows came from forms I bought at Goodwill and the fabric mostly came from Goodwill.  I didn't buy any new fabric or trim for these pillows.  Isn't that awesome?  These are also all "envelope" style pillow covers, so I can remove them to dry clean or just change for a different design.  


I'll post how I made these pillows, but I will admit that I shamelessly copied designs I found on Pinterest.  

The best part - this isn't even using the whole Goodwill haul!  I still have other pillows and was able to recycle some of fabric from the Goodwill pillow covers.  Upcycle!

More pillows to come.

cindy


Tuesday, July 18, 2017

DIY - Upcycling Denim Cowgirl Skirt Costume


I originally wrote this post five years ago, but wanted to repost with updated pictures.  My first attempt at costume making through upcycling!  I highly recommend it!

I've seen a lot of projects where people alter or upcycle used items, but I've never tried it.  Last week my husband had his church music camp where the kids performed "Jonah's Druthers".  It was a cute show set in the Wild Wild West.  I offered to get costumes for some of the girls and headed out to Goodwill.  I found this cute long denim skirt in a junior size 13/14.  It just had a little white spot near the ruffle.


I wasn't completely sure how to do this, but quickly decided I was NOT going to cut the side seams.  Instead, I took the girl's waist and length measurements and started by cutting the length to equal the length provided plus two inches for an elastic casing.  I measured from the bottom (to keep the ruffle intact) and cut off the top.  This was a little scary and I'm not sure I would recommend this way if it weren't for the ruffle.  The reason is that I was left with an even bigger waist to fit a size 8 girl.


Shockingly, it wasn't nearly as hard as I expected.  I made the casing by folding the top of the skirt to the inside and sewing a casing 1 inch wide.  I didn't completely close the casing, leaving open about 2 inches in the back so I could insert the elastic.  I used 5/8" elastic and a safety pin to thread it through the casing.  This is normally my least favorite part, but this time it was a breeze.  I just had to make sure the elastic didn't twist.  One I was done I pulled the elastic 4" shorter than the waist measurement and sewed the ends of the elastic together in an overlap.  I tucked it into the casing and sewed it up.  I then topstitched the top of the skirt, stitching a little into the top of the elastic so it wouldn't twist in the casing.  Voila - done!


It made for a really twirly long denim skirt and this little cowgirl loved it!


Used skirt = $4.99.  Time = less than 1 hour.  Satisfaction for two people = priceless.  I like upcycling.

cindy

Tuesday, December 4, 2012

Wreath Recycling in Phoenix

Recently seen in Phoenix City Hall - lots of junk:


The Public Works Department put together a great display of wreaths made from recycled materials.  The wreath above is made from magazine or book pages cut in the shape of leaves and glued to a cardboard round form.  This one is the most interesting:


It's a wire wreath form that goes through each of these plastic water bottles.  The bottles are filled with little bits of colored paper or items and then the caps are corked with recycled corks.  Isn't that clever?

When I first saw this one, I thought it was recycled bows and ribbons.  I still think that would be a great way to recycle, especially after Christmas.  But it's not ribbons and bows.


These are aluminum cans cut into strips and curled.  See the Diet Coke, Coke and Seven Up cans?  I was so impressed with the creativity expressed in these displays, but what was more important was that it opened up lots of ideas about reusing items we normally think of as trash.

Full Disclosure Here - I am watching "Hoarders Buried Alive" while I'm writing this, so I don't want to suggest that anyone collect trash in an effort to find some use for it in the future.

This was the prettiest wreath I saw and is a great way to recycle after Christmas.  They used white tissue paper dipped in a little blue paint, blue cardstock cut into stars and balled up aluminum foil for the star centers.  Around the edges are cut up plastic water bottles.


Again, I wouldn't suggest that anyone pile up stuff just to find a way to reuse it (I'm still watching "Hoarders"), but we could keep so much out of a landfill with just a little effort and creativity.  Isn't this what bloggers are good at anyway?

cindy

Thursday, July 5, 2012

Upcycled Girl's Gauze Dress

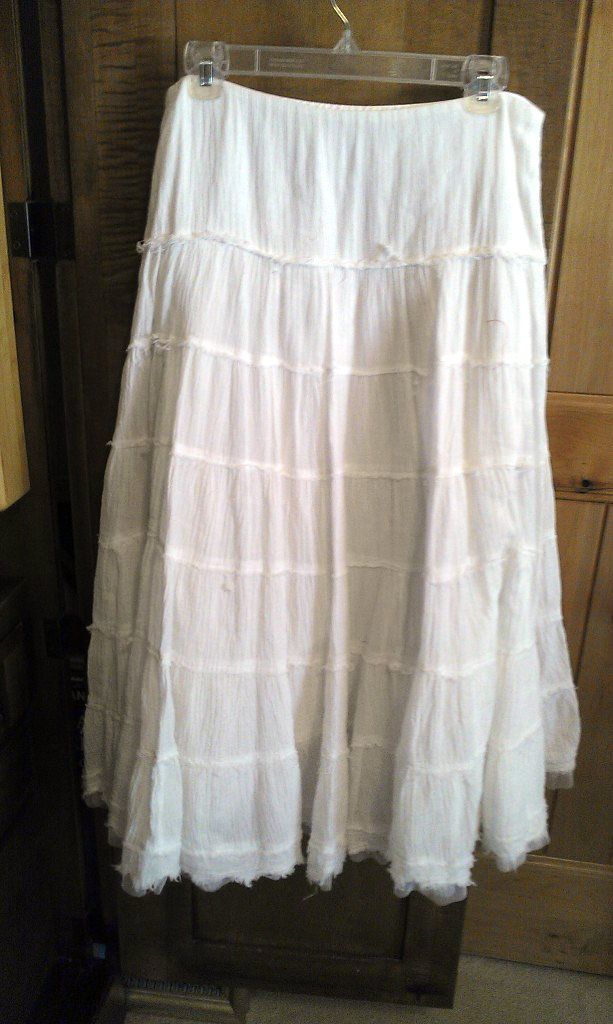
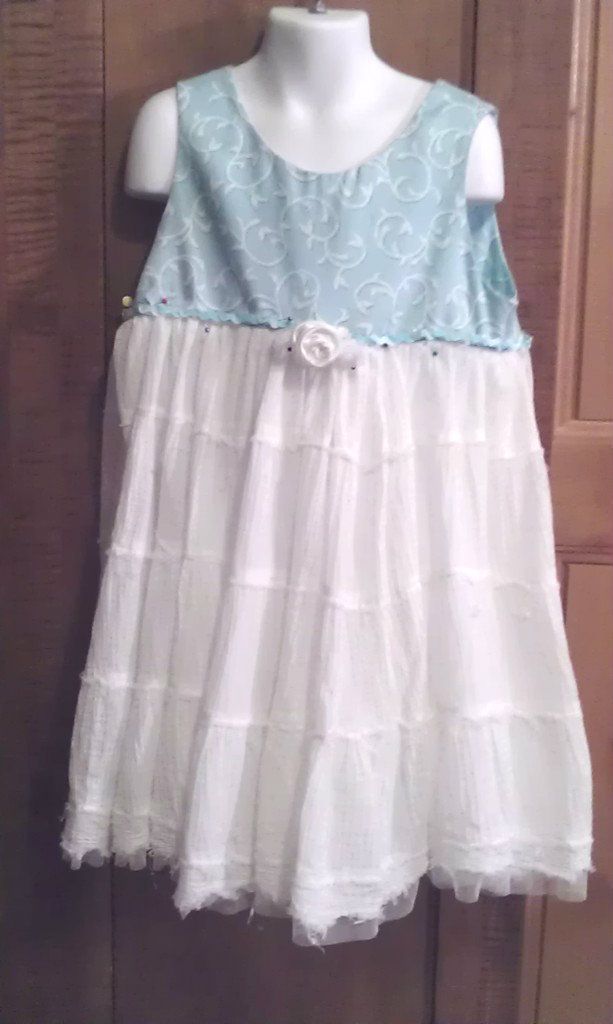
I haven't done much up cycling (taking old clothes and making new ones), but after doing a simple project with a denim skirt, I wanted to do something a little more challenging.  I found this adorable white gauze skirt at Goodwill in a junior size 9-11 without any stains or rips.


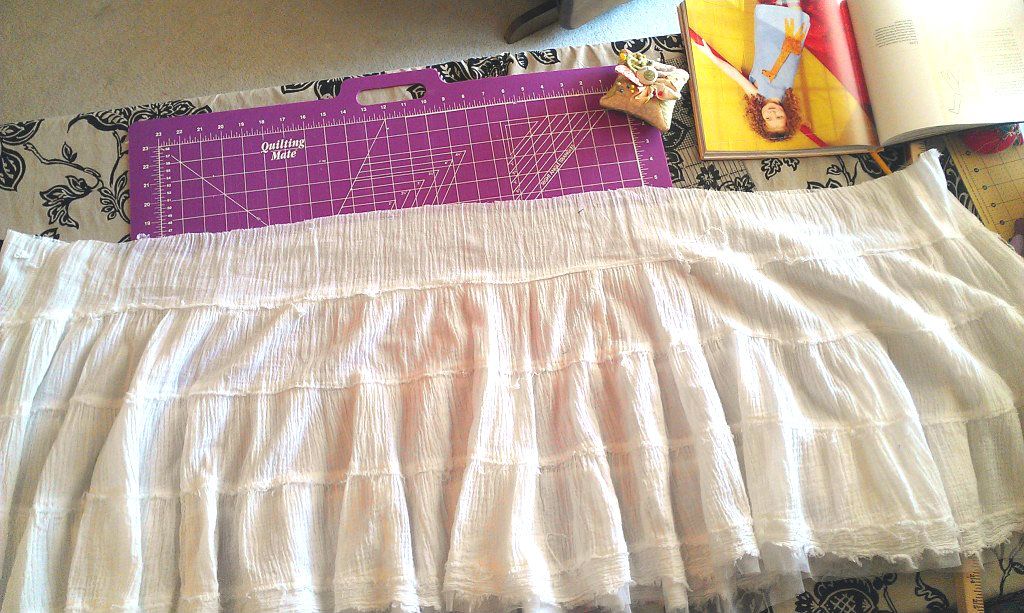
I wanted to downsize the skirt so it could be the bottom portion of a girl's size 6 dress.  I also wanted to keep the hem of the skirt because of the pretty tulle on the bottom.  I cut off the top of the skirt so I had the length I needed for the length from the bottom of the bodice to the hem.


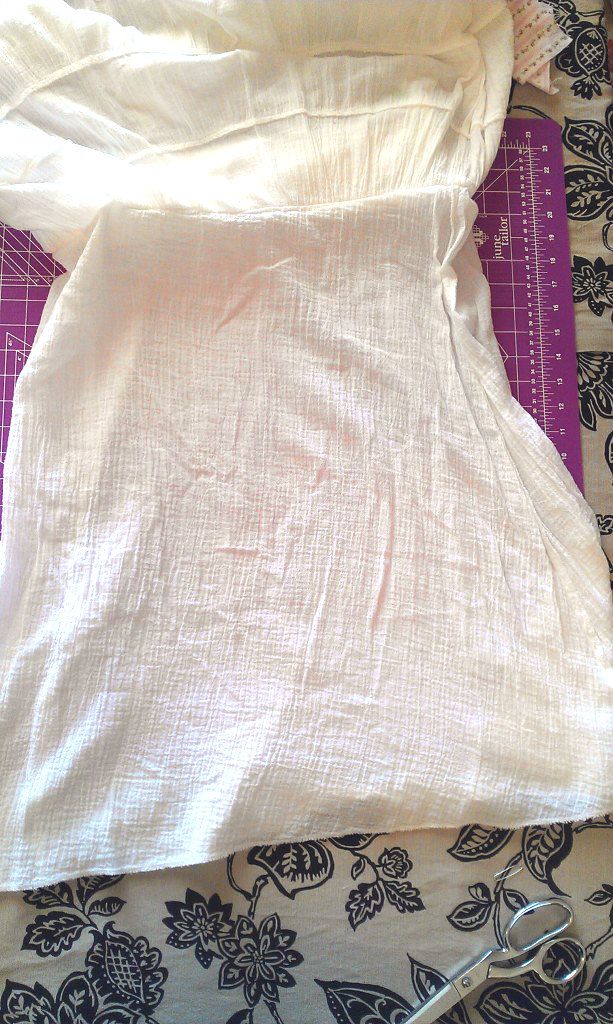
For the bodice, I used an A-line pattern, although it might be easier to use a pattern that has separate bodice and skirt pieces.  I cut out the underskirt so I could use it with the new skirt.


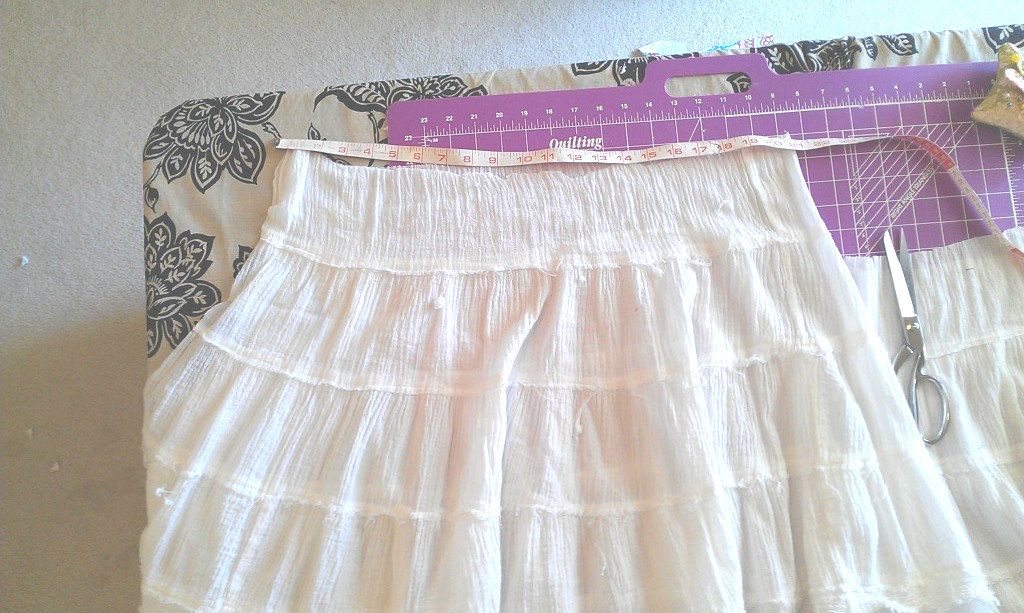
I measured the bottom of the bodice and compared it to the circumference on the top of the skirt.  I figured the measurement on the skirt should be double the measurement of the bodice so I could put in gathers at the top of the skirt.


The measurement of the top of the skirt was way too big, so big in fact that I cut the side seam and then cut the excess (vertically).  I did the same thing with the underskirt, although I cut it so the waist measurement was much closer to what I needed.  I sewed up the side seams of the new skirt and underskirt separately (do not sew them together at the side).  

I used a new tool on this project - a ruffle foot for my sewing machine.  It looks like an implement of torture and isn't the easiest to attach or use - but I'm getting used to it.  I will admit it does make the process go faster.  I made the gathers so the skirt fit the bodice.  I sewed the underskirt and the bodice to the gathered skirt at the same time - a little difficult to keep it all even while sewing, but then I only had to have two seams at the top of the skirt.  I made a couple of rolled satin roses and braided (twisted) some rid-rac for the waist.  Here's the (almost) finished picture.  (I really thought I took another picture of the finished product, but evidently I didn't.)  Here it is with the pins still in the rid-rac:


I couldn't be more pleased with it.  It's so airy and comfy.  I would hate working with gauze and tiers from scratch, so this was an easy and inexpensive alternative.  Can't wait to see it on one of my little models before I get it in my Etsy store.

cindy