Wednesday, August 21, 2013

Hot and Cold

I'm still wearing my fashion-statement boot and sporting crutches.  If you don't know what this is all about, you can read the whole story here.  My ankle is taking longer to heal than either I or my doctor anticipated.  

In addition to physical therapy, which hasn't started yet, he asked me to do "hot and cold." This is a form of medieval torture.

It starts with two buckets of water, one hot and one cold.  I mean REALLY hot and ICE cold.  Pretend you are water boarding your foot and plunge it first into the hot water.


Keep it in there for 3 minutes as you watch it turn a beautiful shade of hot pink.  Then the real fun begins.  Plunge your foot into the bucket of ice water.


This is an entirely new level of pain.  Cramping, to be more precise.  Kent was timing my 3 minute intervals and I asked if it was almost over 30 seconds in.  Yes, it was time for mind over matter, except I did mind and it definitely mattered.

Finally, the torture ended after one minute.  Wait, no, it continued for 3 more CYCLES of 30 second intervals in each bucket.  Yikes!

Seriously, I have to admit that it does get the blood flowing through my foot.  I think that promotes healing (at least that's what the doctor said).  If it means I can get out of the boot sooner, I'm all for that.

Next form of torture - physical therapy manipulation.  Stay tuned.

cindy

Tuesday, August 20, 2013

Try It Tuesday - Rainbow Popcorn

Try it Tuesday is my opportunity to try a recipe or project, especially one I found on Pinterest.  This is one Mackenzie found on YouTube.  She was looking for "Bibble" which I still don't think we have ever found.  We did find Rainbow Popcorn.  If you like carmel corn, this is similar.


You need 2-4 cups of plain popcorn (no butter or seasonings) for each color (depending on how much color you want).  We used about 4 cups per color.  You can also add nuts (or other add-ins after the baking is complete).  You also need Jello, Caro syrup, granulated or brown sugar and butter.


Grease or spray non-stick spray into the bottom of a shallow dish, preferably a glass dish.  You can also line a pan with parchment paper, which will definitely be my preference next time.  Spread the popcorn in the pan and set aside.

Place 2 tablespoons of butter in a small saucepan and add 1 1/2 tablespoons of corn syrup.  Heat over medium heat, stirring constantly.  Add 1/4 cup granulated or brown sugar and half of a 3 oz package of Jello, your choice of flavor (color).  Stir until caramelized, being careful not to burn.  Remove from heat and immediately drizzle over popcorn.  (Don't be slow, this stuff clumps very fast.)  You can toss it a little to coat as much as you can.

Bake in the oven at 250 degrees for 12-15 minutes, stirring a couple of times during baking.  Pour onto wax paper, spread out and let it cool.


The Jello flavors make it really fruity.  I liked combining the flavors - it was like Skittles.  You can store it in Ziploc bags and it will last about a week.

I think the first time you try a recipe it's a good idea to keep some notes about what you would do differently:
1.  I would use less popcorn for each color so you get more coated.
2.  Substitute brown sugar for granulated sugar
3.  Use parchment paper to line the pan for baking.  You can then move the parchment paper around to stir the popcorn during baking.
4.  Important clean up tip - pour boiling water to rinse/clean pans and spoons.  You will never be able to scrub this stuff from the bottom of your pans, but pouring boiling water into the pans will work very nicely.

Enjoy!

cindy

Monday, August 19, 2013

Kenzie Does Crafts - DIY Finger Paints

Kenzie found this "recipe" on About.com.  We tried it out and have some "comments" of our own.

You  need 2 cups of flour and 2 teaspoons of salt in a mixing bowl.


Pour 2 1/2 cups of cold water in and mix THOROUGHLY.  It will take a while, but you need to get the clumps out.  Mix until smooth.


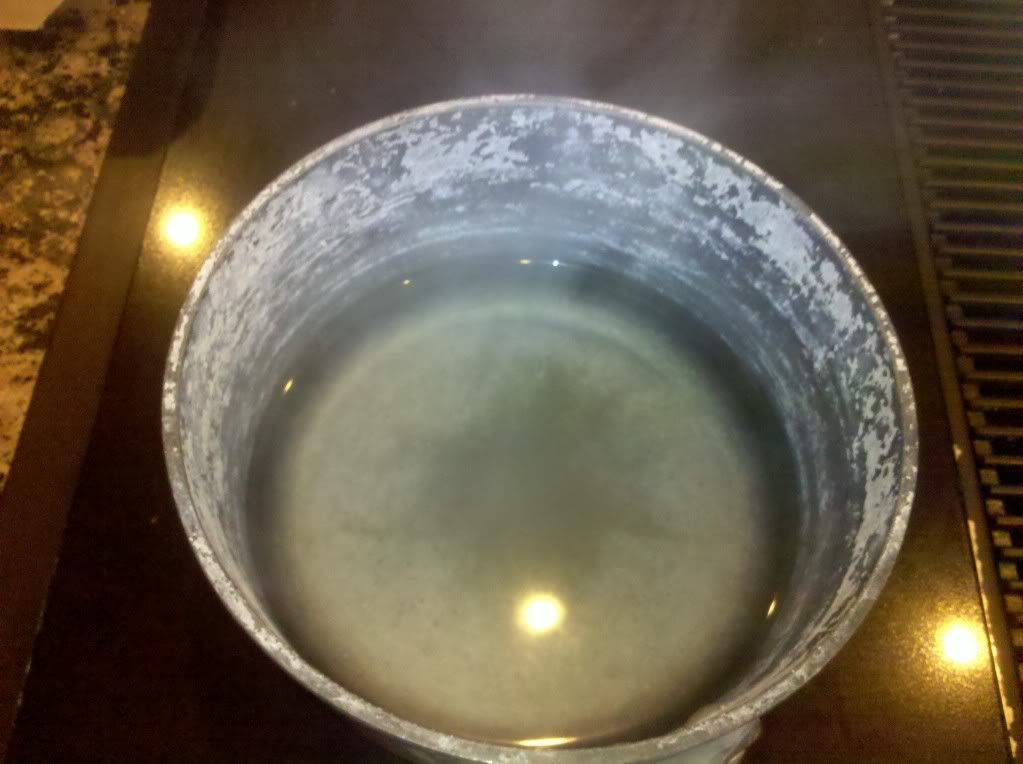
 Boil 2 cups of water in pan


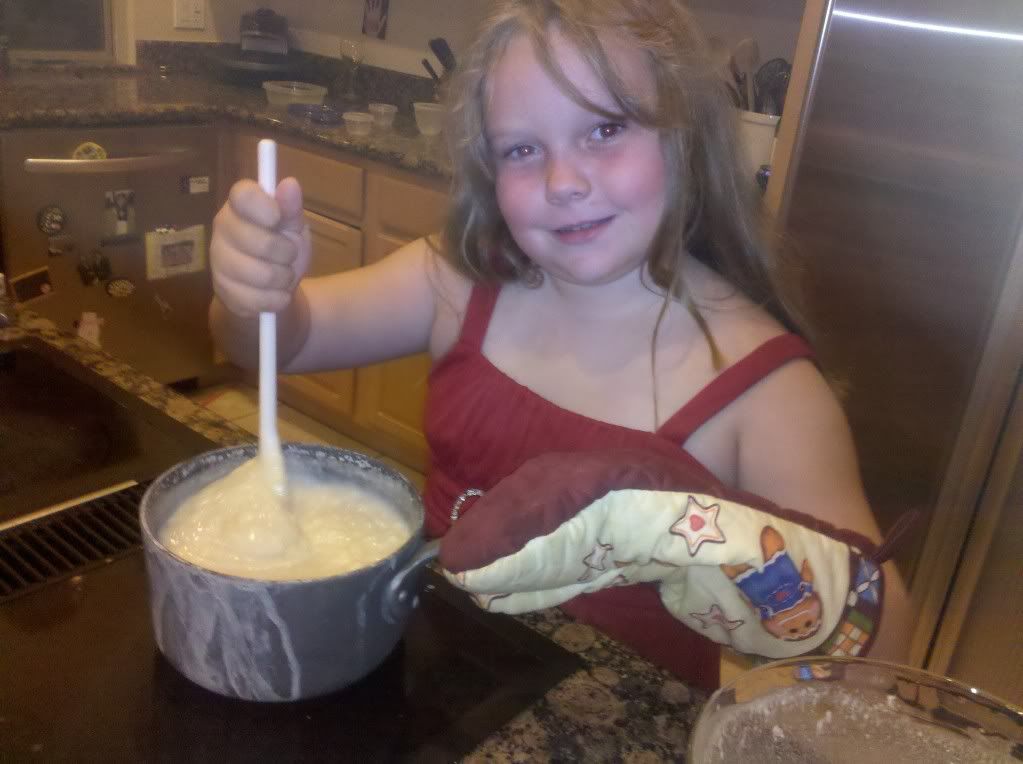
Pour the flour mixture SLOWLY into the boiling water (so it doesn't clump).  Stir constantly over medium heat until the mixture becomes thick (like Cream-o-Wheat).  (It might take a little while)


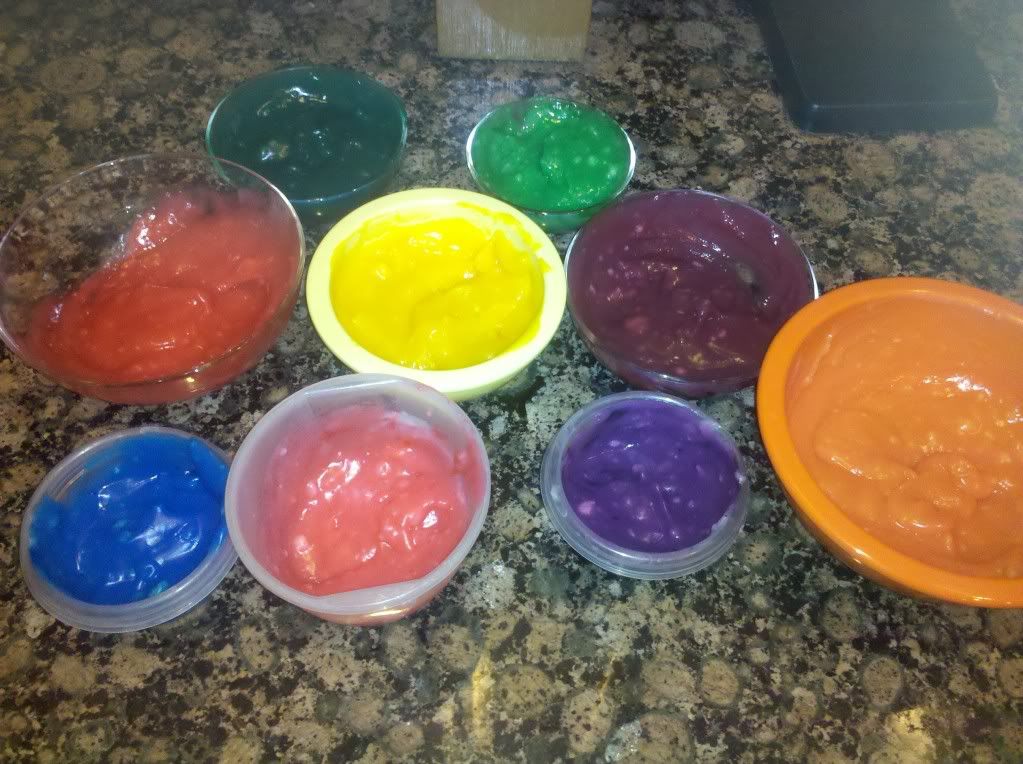
Pour the mixture into multiple containers.  Glass works best because the mixture is so hot.  You will have enough to make A LOT of paint.  Use food coloring, but use very little.  If your package describes how much to use for dyeing eggs, use half that amount.  We probably used too much.  The colors were vivid, but I was a little concerned about getting the dye thoroughly mixed.


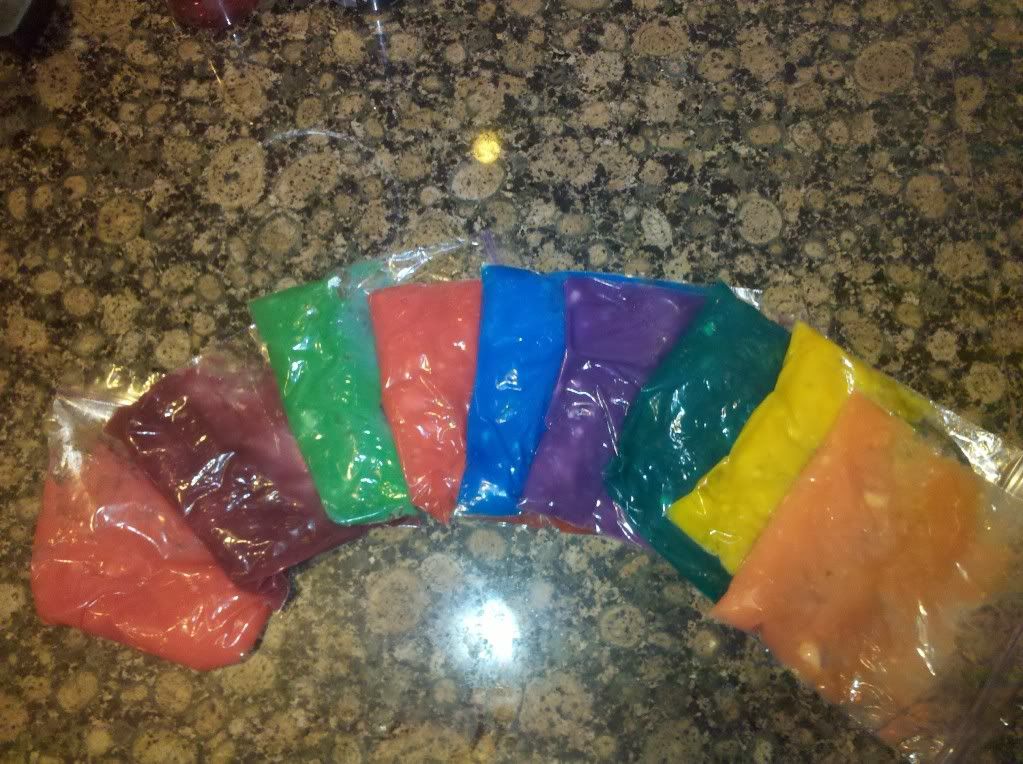
I didn't have lids to all of these containers, so I spooned each color into a Ziploc bag.  That actually works very well because you can squeeze out only as much as your little artist needs.  Make sure, however, that you wait until these paints are completely cooled, because I may have put ours in too soon.  The bags didn't melt, but there is a bit of a "chemical" smell on the bags after one day.


One word of caution - these finger paints are food based (flour, salt and food coloring) which makes them great for even little ones.  However, food coloring can stain.  Also, and most importantly, because these are food based, they will "spoil" in less than a week.  Don't keep them too long because we learned the hard way - they will STINK.

Have fun painting!

cindy