Showing posts with label Goodwill. Show all posts

Saturday, October 21, 2017

Upcycling Goodwill Challenge - Pillows!


I have been in a serious pillow-making mood lately.  I have a pillow obsession going on my Pinterest page - check it out.  While I don't sell pillows or pillow covers in my Etsy store, Pretty Pretty Cindy, I might someday.  I am starting to sell on Sundays on my Instagram Pretty Pretty Cindy account, so follow me there.  In the meantime, I need some pillows at my house!

I have been working on our master bedroom for a while and wanted to work in some pillows on our blue/green-gray bedding.  The bedding set came with two European shams, but I wanted throw pillows for color too.  But have you seen the prices of home decorating fabric, and worse yet, pillow forms? My pillow fetish could easily break the bank.  Goodwill to the rescue!


Last month I visited our local Goodwill store on a half-price Saturday.  For only $22, I brought home the following stash:

2 26x26" European pillows
2 18x18" pillows
2 14" round pillows
2 large pieces of fabric
Large scarf (it's that pink silk in the corner)
Minky baby blanket (not shown)


Obviously I bought the pillows for the forms, but not everyone is comfortable buying used pillows.  I pick pretty carefully.  Once you get them home and remove the fabric covers, you can always spray them with a diluted bleach solution and put them in the sun.  I was lucky these pillows (while ugly) were very clean.  I think the two pieces of fabric were originally a table cloth and maybe some curtains.  By looking in slightly different places for fabric and pillow forms, I was able to engage my pillow obsession without breaking the bank!  Here's the result:


For the two big pillows in the back I used the forms from the Goodwill pillows and the shams that came with the bedding.  Buying ONE pillow form alone in a 26x26" size could cost more than $22.  I made the pillow covers on the other four pillows.  Two of the pillows came from forms I bought at Goodwill and the fabric mostly came from Goodwill.  I didn't buy any new fabric or trim for these pillows.  Isn't that awesome?  These are also all "envelope" style pillow covers, so I can remove them to dry clean or just change for a different design.  


I'll post how I made these pillows, but I will admit that I shamelessly copied designs I found on Pinterest.  

The best part - this isn't even using the whole Goodwill haul!  I still have other pillows and was able to recycle some of fabric from the Goodwill pillow covers.  Upcycle!

More pillows to come.

cindy


Tuesday, July 18, 2017

DIY - Upcycling Denim Cowgirl Skirt Costume


I originally wrote this post five years ago, but wanted to repost with updated pictures.  My first attempt at costume making through upcycling!  I highly recommend it!

I've seen a lot of projects where people alter or upcycle used items, but I've never tried it.  Last week my husband had his church music camp where the kids performed "Jonah's Druthers".  It was a cute show set in the Wild Wild West.  I offered to get costumes for some of the girls and headed out to Goodwill.  I found this cute long denim skirt in a junior size 13/14.  It just had a little white spot near the ruffle.


I wasn't completely sure how to do this, but quickly decided I was NOT going to cut the side seams.  Instead, I took the girl's waist and length measurements and started by cutting the length to equal the length provided plus two inches for an elastic casing.  I measured from the bottom (to keep the ruffle intact) and cut off the top.  This was a little scary and I'm not sure I would recommend this way if it weren't for the ruffle.  The reason is that I was left with an even bigger waist to fit a size 8 girl.


Shockingly, it wasn't nearly as hard as I expected.  I made the casing by folding the top of the skirt to the inside and sewing a casing 1 inch wide.  I didn't completely close the casing, leaving open about 2 inches in the back so I could insert the elastic.  I used 5/8" elastic and a safety pin to thread it through the casing.  This is normally my least favorite part, but this time it was a breeze.  I just had to make sure the elastic didn't twist.  One I was done I pulled the elastic 4" shorter than the waist measurement and sewed the ends of the elastic together in an overlap.  I tucked it into the casing and sewed it up.  I then topstitched the top of the skirt, stitching a little into the top of the elastic so it wouldn't twist in the casing.  Voila - done!


It made for a really twirly long denim skirt and this little cowgirl loved it!


Used skirt = $4.99.  Time = less than 1 hour.  Satisfaction for two people = priceless.  I like upcycling.

cindy

Friday, May 30, 2014

Shakespeare Costume - Goodwill's the Thing!


To be or not to be?  Hamlet, Act III, Scene I.  To sew or not to sew?  Christian plays Shakespeare in the modern world trying to sell his plays to Hollywood producers.  Enter stage left - a Shakespeare costume!  I considered it a personal challenge for me and Goodwill.  "Do you think I am easier to be played on than a pipe?"  Hamlet, Act III, Scene II.

I looked through lots of pictures on the internet and decided I wanted a long sleeve "flowing" shirt, a vest, tights and a slouchy beret.  I had the fabric to make the vest, so I started with that.  No pattern?  No problem!  I used one of Christian's shirts and outlined the width of the shoulders, arm holes and neck opening.  No need to be too exact - it's not fitted.  "Though this be madness, yet there is method in 't."  Hamlet, Act II, Scene II.


Next - on to Goodwill.  "I like this place and willingly could waste my time in it.  As You Like It, Act II, Scene IV.  I make a MAJOR score and found the perfect shirt!  I cut off the buttons, opened up some "buttonholes" and threaded some leather cording I found.


I also found some black leggings and a women's fleece slouch beret.  Finally, I found the coolest brown double belt with an elastic back for a guaranteed fit for my skinny guy.  "As good luck would have it." The Merry Wives of Windsor, Act III, Scene V.   Now back to costume construction.

I found some great maroon velvety stretch fabric I had in the closet and covered the sides of basketball shorts to wear over the tights.


Then I covered the slouch hat loosely with the same fabric.  First I covered the band and then made a large circle of fabric that would go over the top and gather back at the hat band.


Put it all together and Will Shakespeare has entered the room!  "What's in a name?  That which we call a rose by any other name would smell as sweet."  Romeo and Juliet Act II, Scene II.


He looked great, he was awesome and I was proud of that costume!  

"All the world's a stage, and all the men and women merely players.  They have their exits and their entrances; And one man in his time plays many parts."  As You Like It, Act II, Scene VII.

cindy

Monday, March 11, 2013

Declutter Challenge - Closet Cleanup

Decluttering is one of my personal New Year's Resolutions and because more than a month of 2013 is behind us, I should be able to report some progress.  Well, it's been slow.  However, I do have some encouraging news to report.  Two recent situations resulted in some significant progress in the kids' rooms.

First, Mackenzie announced she no longer has anything to wear.  While most mothers have heard this cry from their 9 year old, in this case, it's true.  I have a very hard time keeping Mackenzie in clothes.  She is somewhat hard to fit, so clothes shopping is not pleasant.  In addition, when I buy her items, she decides after she has worn it once that "it doesn't fit," "it's too long" "it's too short" "it's itchy" or "I don't like it".  ACK!  It is a huge disincentive to shopping.  You can read more about how we addressed that in my recent post "What Not to Wear".  Despite the fact she had nothing to wear, her drawers were overflowing with clothes.

At the same time, I have a friend who called to see if Christian had some clothes he could "hand down."  Yes!  Christian is exactly the opposite of Mackenzie.  She fluctuates in size about twice a year, while he hasn't grown much in 2 years.  That has been changing for him in the last year or so as he is getting taller.  Now, it seems like the pants/jeans I bought a couple of months ago are ready for the flood.  Shirts, however, stick around a LONG time.  So, it was time for a closet clean out for both of them.

I would like to say I used the opportunity to provide my children with an educational experience in purging, but I'm just not that patient, especially because there was some urgency attached with both rooms.  Also, my kids are natural pack rats (I have no idea where that came from - seriously).  So I pulled out some trash bags and went to work.

It took three full trash bags in each room, but I am happy to say they are decluttered and ready for some new clothes.  I didn't take a picture of the "before" because I needed to get it done, but you can see what it looks like when the only clothes that remain are the ones that fit, you like and are not ruined.

This experiences reminds me once again the same lesson I learn every time I declutter - you can't be sentimental or unrealistic ("I know I will use that sometime.")  If you can't or won't use it now, get rid of it.  Space in your home is valuable and you deserve to live in a clean and orderly space.  I think I'm going to stitch that saying and hang it on the wall.

One baby step at a time . . .

cindy

Thursday, July 5, 2012

Upcycled Girl's Gauze Dress

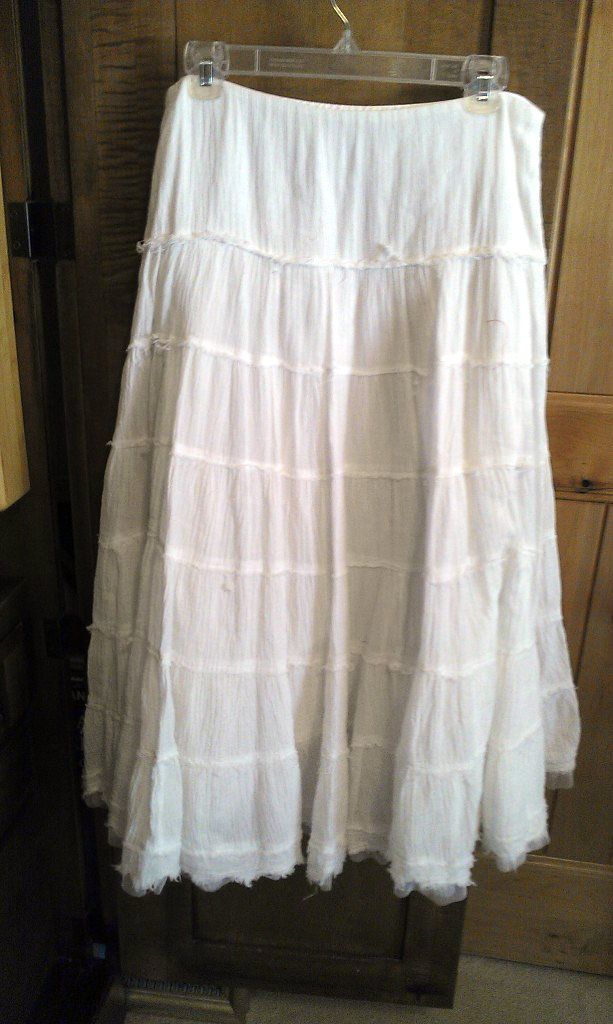
I haven't done much up cycling (taking old clothes and making new ones), but after doing a simple project with a denim skirt, I wanted to do something a little more challenging.  I found this adorable white gauze skirt at Goodwill in a junior size 9-11 without any stains or rips.


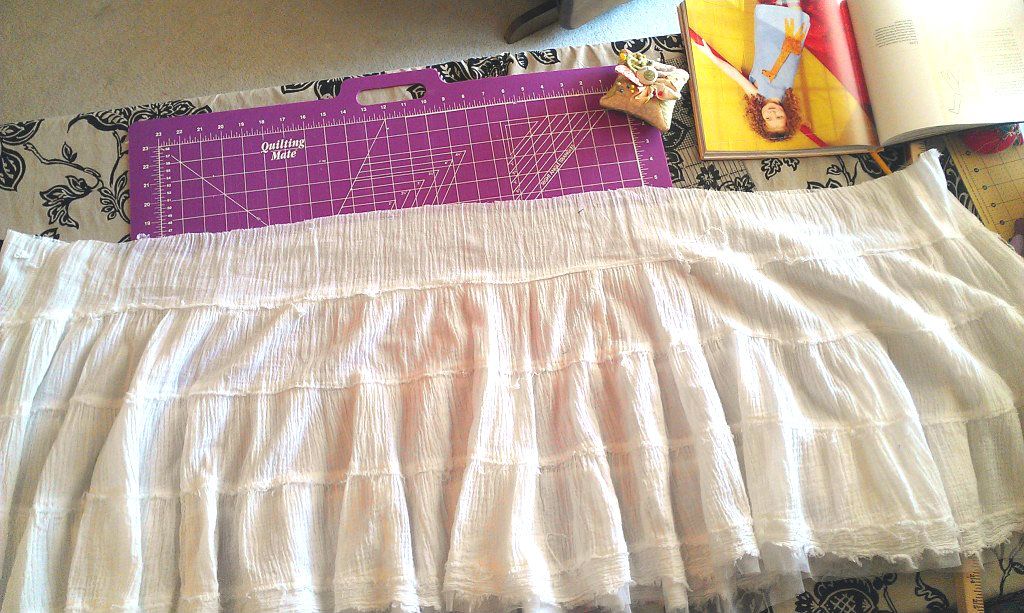
I wanted to downsize the skirt so it could be the bottom portion of a girl's size 6 dress.  I also wanted to keep the hem of the skirt because of the pretty tulle on the bottom.  I cut off the top of the skirt so I had the length I needed for the length from the bottom of the bodice to the hem.


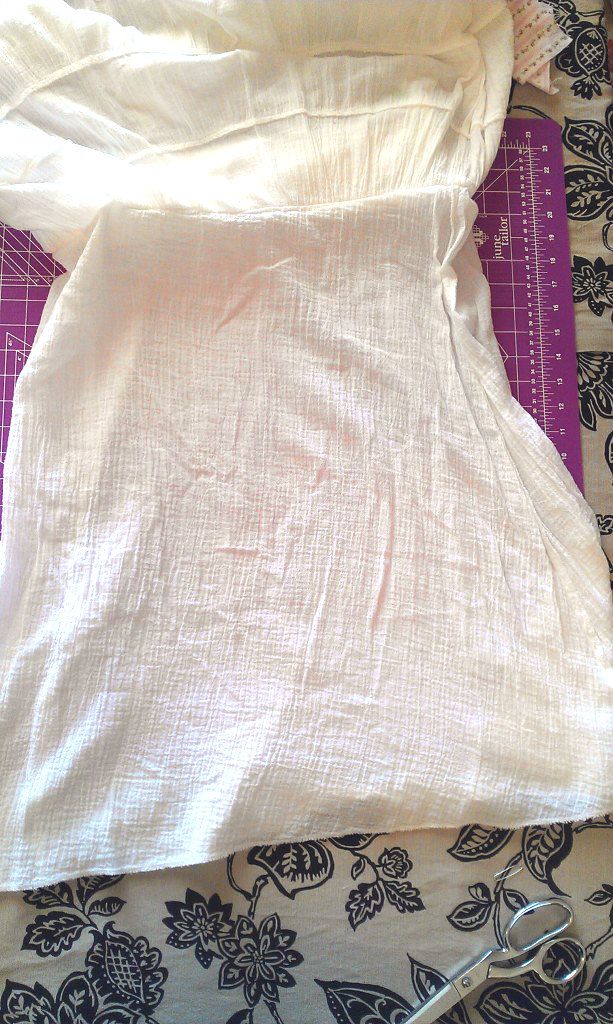
For the bodice, I used an A-line pattern, although it might be easier to use a pattern that has separate bodice and skirt pieces.  I cut out the underskirt so I could use it with the new skirt.


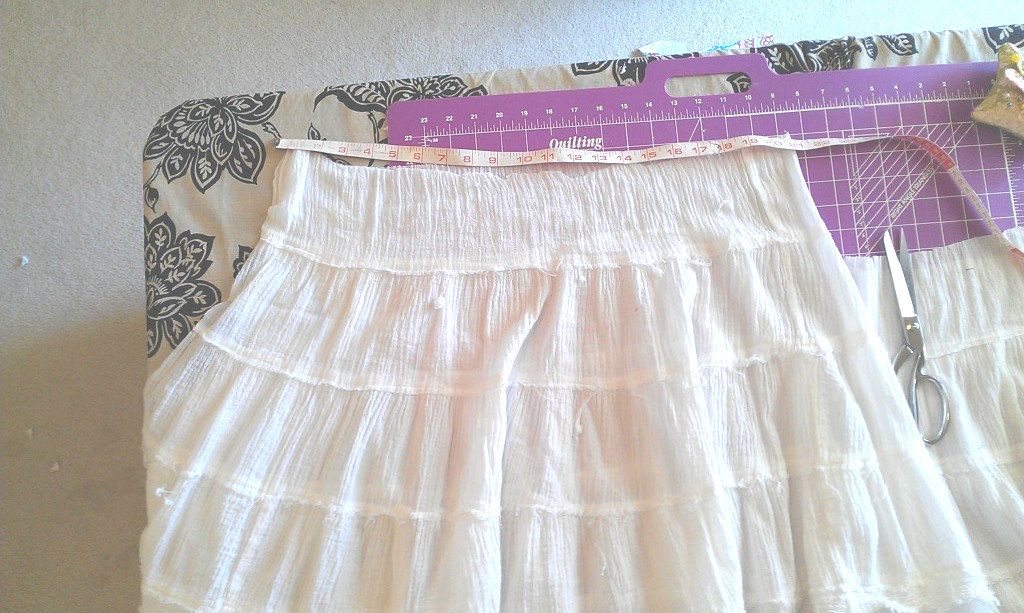
I measured the bottom of the bodice and compared it to the circumference on the top of the skirt.  I figured the measurement on the skirt should be double the measurement of the bodice so I could put in gathers at the top of the skirt.


The measurement of the top of the skirt was way too big, so big in fact that I cut the side seam and then cut the excess (vertically).  I did the same thing with the underskirt, although I cut it so the waist measurement was much closer to what I needed.  I sewed up the side seams of the new skirt and underskirt separately (do not sew them together at the side).  

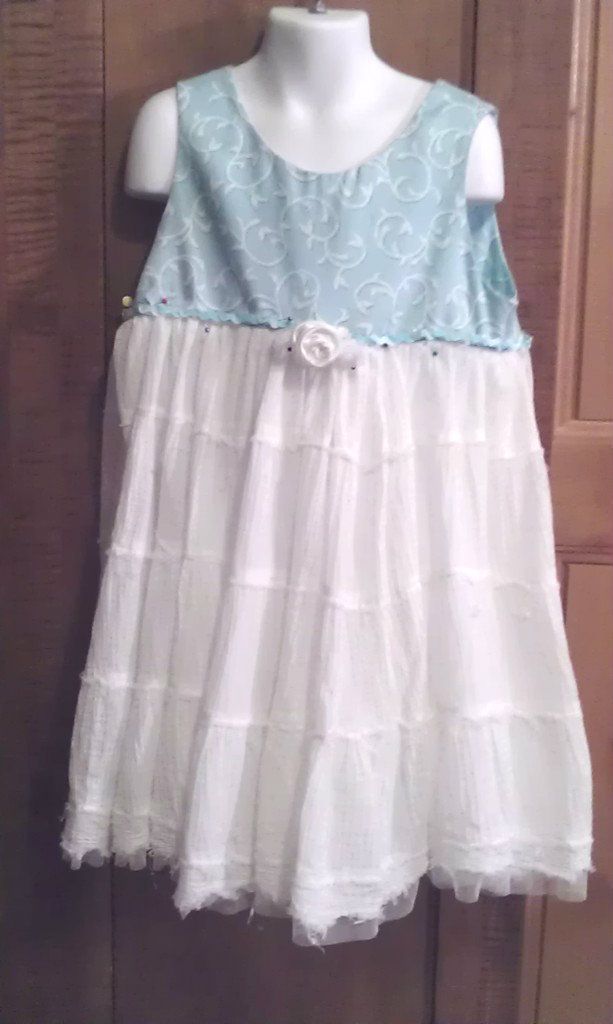
I used a new tool on this project - a ruffle foot for my sewing machine.  It looks like an implement of torture and isn't the easiest to attach or use - but I'm getting used to it.  I will admit it does make the process go faster.  I made the gathers so the skirt fit the bodice.  I sewed the underskirt and the bodice to the gathered skirt at the same time - a little difficult to keep it all even while sewing, but then I only had to have two seams at the top of the skirt.  I made a couple of rolled satin roses and braided (twisted) some rid-rac for the waist.  Here's the (almost) finished picture.  (I really thought I took another picture of the finished product, but evidently I didn't.)  Here it is with the pins still in the rid-rac:


I couldn't be more pleased with it.  It's so airy and comfy.  I would hate working with gauze and tiers from scratch, so this was an easy and inexpensive alternative.  Can't wait to see it on one of my little models before I get it in my Etsy store.

cindy

Wednesday, June 27, 2012

Dress Making Madness

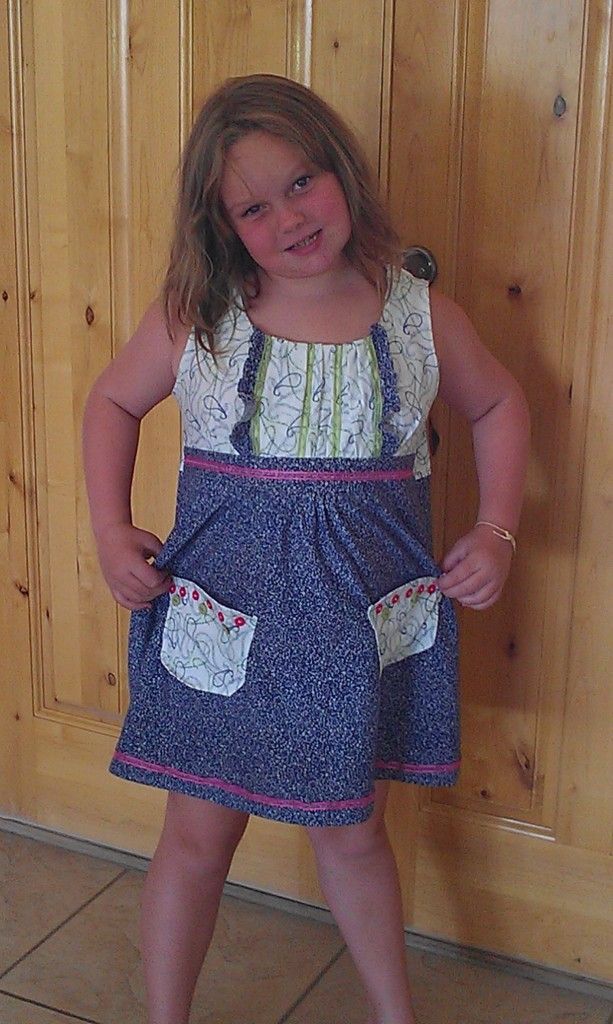
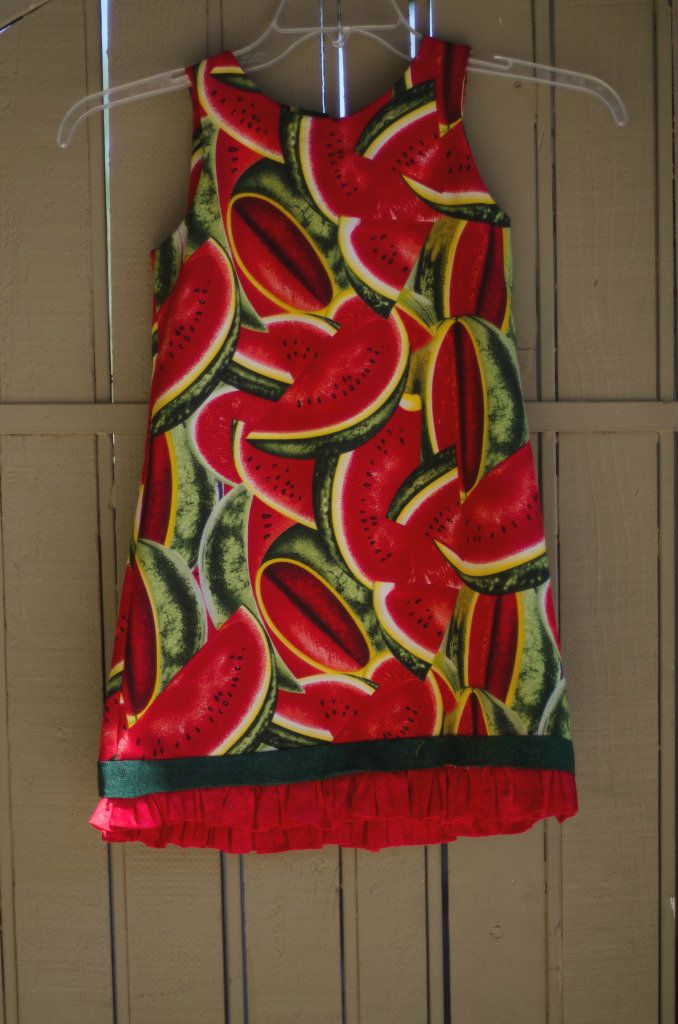
I'm in a dress making mood.  I made one for Mackenzie because she's been asking for something "stretchy" for casual wear.


I love the fact that I was able to "play" with the pattern and the embellishments.  Mackenzie loves it:


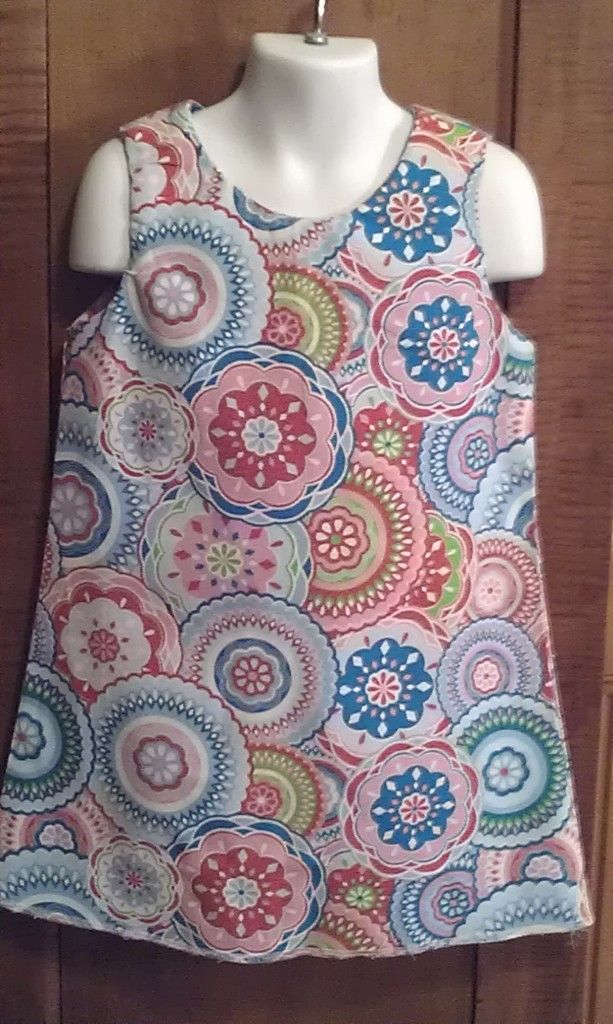
It was that ability to "play" that got me going.  I bought a book Absolutely A-Line by Wendi Gratz that has 26 variations on a basic A-line dress.  A-line dresses are my all time favorites - easy to make and easy to wear.  I gave it a try:


Here's another one with a ruffle


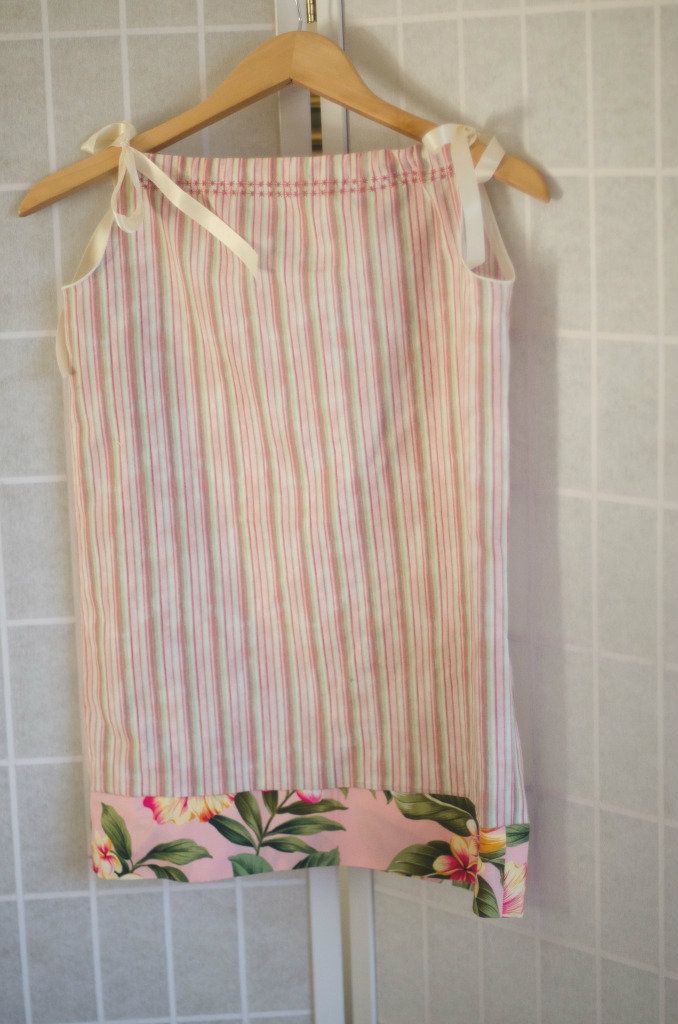
I tried a pillowcase dress:


And, I found a cute ladies white gauze skirt at Goodwill that I turned into a little girl dress.  I'm especially happy with this one.  It's not quite done - see the pins?


These are all going in the new Etsy store (Pretty Pretty Cindy).  I'm having a great time breaking into my large fabric stash.  Now can you see why I haven't posted much lately?

cindy

Monday, June 11, 2012

Scrapbook Station

I've been so busy trying to finish a few projects before opening the Etsy store (Pretty Pretty Cindy), I haven't had time to post, but I'm excited about showing one of the best parts of the new craft room - the scrapbook station.

 I started with this armoire/computer station which I didn't want to move out of the room.  The first challenge was getting the corkboard to stick to the back of the cabinet. After a lot of fits and starts, I came up with VELCRO!

Next was finding a place for all my stamps.  This cabinet has a double pull out tray, one for the computer keyboard and the other a work area.  I used the computer keyboard tray, put on some non-stick/non-slip shelf liner and arranged the stamps in a small antique drawer in a way I can see them all.


Next, I had this old two-sided hanging thing for jewely. I turned it into a sticker/embellishment holder. Again, I can see everything and it's double sided!


I moved on to these plastic baskets I found at Goodwill and attached them to the corkboard with push pins -perfect for little items.


I used an old letter holder to keep bigger items.

I found these 4 glass candle holders at a garage sale and turned them into cute storage for ribbon and adhesives.


I bought a scrapbook/photo album and used it to keep all my letter stickers. You guessed it, I can see them all.  If you have a lot of letters, buy two books -mine is a little too full.


This was the one item I splurged on - a turning caddy. I bought it at Michaels, but I used a 50% off coupon to make the sticker shock go away.


I bought some pretty baskets at Michaels (on sale) and stored assorted items I want to keep out of sight.  An extra bonus is that the shelves are just a little deeper than the baskets, so when I pull out the basket, I can tilt it on the drawer so it stays accessible while I look through it.


Here's another item I am proud of.  I converted a shoe keeper we never used, took out a divider and it became instant paper storage!  I've heard that the best way to store paper is upright, but I'm not sure how to to that.  I did spend a tremendous amount of time sorting the paper by color.  You're looking at about 30 pounds (or more) of paper.  I need to give some away because I couldn't possibly use it all.


Well, that's it.  Here's the funny thing - although I have a good amount of scrapbooking stuff, I don't really get a chance to scrapbook much.  I've always worked out of travel containers on the dining room table.  My kids are 9 and 11, but in their scrapbooks they are 1 and 3.  I have more scrapbooking on my project list for June.  Now that I have an awesome place to work, maybe I'll get inspired.

cindy

Friday, February 3, 2012