This one has been a long time coming. It all started several years ago when I found these cute long curtains that fit my son's room perfectly at a garage sale. At only $3.00, they were something I could cut up without fear.
Next I found this amazing DIY for Roman shades, something I've always wanted. Using the existing wooden blinds, I cut them up, retaining just a few for the shade. I cut the fabric, glued it to the blinds and I was ready to hang. That process took me months, because on some level I was nervous about the whole project. In addition, my son wanted his room RED, which I agreed to do for one wall only.
After cursing my way through the painting (the reveal coming soon), I hung my fabulous shade
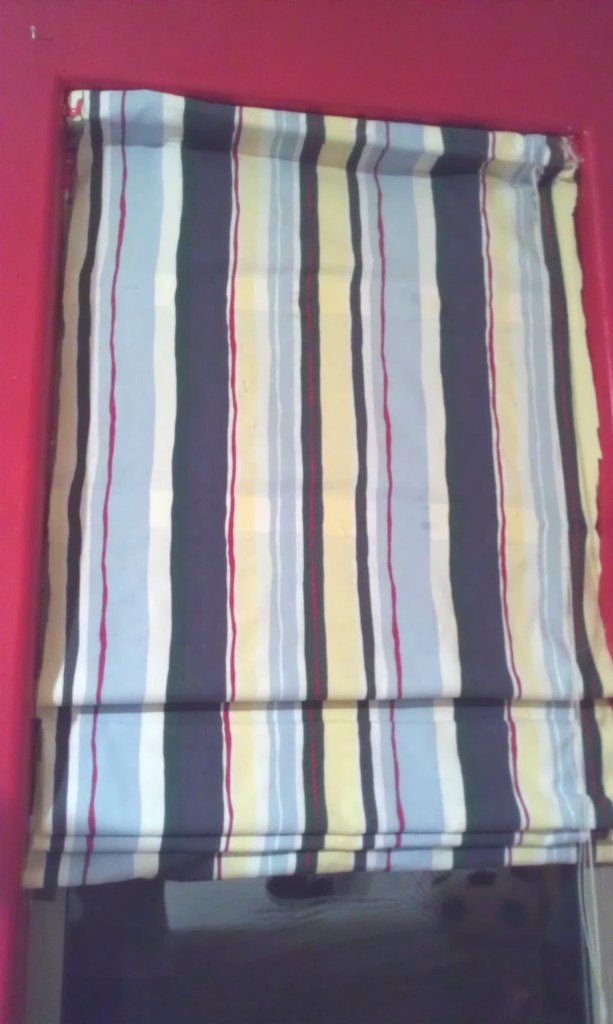
Ugggh! Where to begin? The width was too wide and the "shades" didn't work. This is about as good as I could get it positioned. I worked so hard, but just didn't have the heart to take it down. So I didn't. For months. Meanwhile, the other window had nothing on it for the same amount of time. (Don't worry, the room opens to the backyard, so there was no problems with anyone seeing inside.)
Finally, about a month ago I decided I needed tocorrect finish the job. I took the other matching curtain and tried to make it "look" like the other by sewing in pockets. Once again, lots of work, horrible results. This time I didn't even have the heart to take a picture of it. I ripped them down and the nightmare experiment crashed and burned ended.
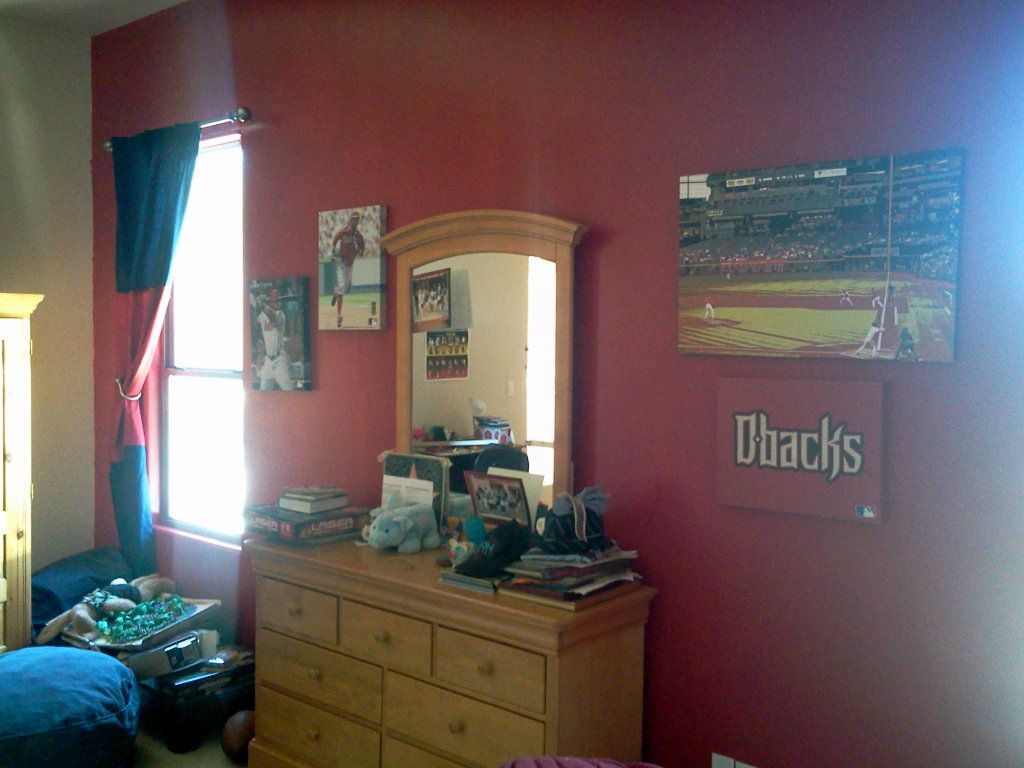
As an alternative, I thought I wanted to have straight long curtains. Again, I was so proud, because I found some solid navy blue and solid red sailcloth curtains at Target for about $3.50 each (big sale). My plan was to cut them up and sew the blue and red together in bands of color on the panels. Good plan. I bought them and got home to find I didn't have enough length for two panels on each window. I ended up making a long panel for each window and swag it on one side.
I hung the Diamondback canvas art I bought at Target and a garage sale (all for great prices) and FINALLY the red wall is done! It's not perfect, but I am so relieved to have it done!
cindy
Next I found this amazing DIY for Roman shades, something I've always wanted. Using the existing wooden blinds, I cut them up, retaining just a few for the shade. I cut the fabric, glued it to the blinds and I was ready to hang. That process took me months, because on some level I was nervous about the whole project. In addition, my son wanted his room RED, which I agreed to do for one wall only.
After cursing my way through the painting (the reveal coming soon), I hung my fabulous shade
Ugggh! Where to begin? The width was too wide and the "shades" didn't work. This is about as good as I could get it positioned. I worked so hard, but just didn't have the heart to take it down. So I didn't. For months. Meanwhile, the other window had nothing on it for the same amount of time. (Don't worry, the room opens to the backyard, so there was no problems with anyone seeing inside.)
Finally, about a month ago I decided I needed to
As an alternative, I thought I wanted to have straight long curtains. Again, I was so proud, because I found some solid navy blue and solid red sailcloth curtains at Target for about $3.50 each (big sale). My plan was to cut them up and sew the blue and red together in bands of color on the panels. Good plan. I bought them and got home to find I didn't have enough length for two panels on each window. I ended up making a long panel for each window and swag it on one side.
I hung the Diamondback canvas art I bought at Target and a garage sale (all for great prices) and FINALLY the red wall is done! It's not perfect, but I am so relieved to have it done!
cindy


It looks GREAT!
ReplyDelete