Showing posts with label Mache. Show all posts

Monday, December 12, 2011

The Craft Diva Strikes Again


It's been a very creative season this year.  My little craft diva is really enjoying all the creativity.  We've been working on some projects together and she's done a couple herself.  Mostly we've been working on candle projects, inspired by some of the candles on my Holiday Candles post.


My Craft Diva found the metal wreath thingies at Goodwill.  Believe it or not, they are aluminum pop tops weaved together with ribbons - very cool!  The candles were made from ordinary white candles covered with red acrylic paint and modpodge rolled in Epsom salts.  The balls were repurposed styrofoam from old thread covered ornaments.

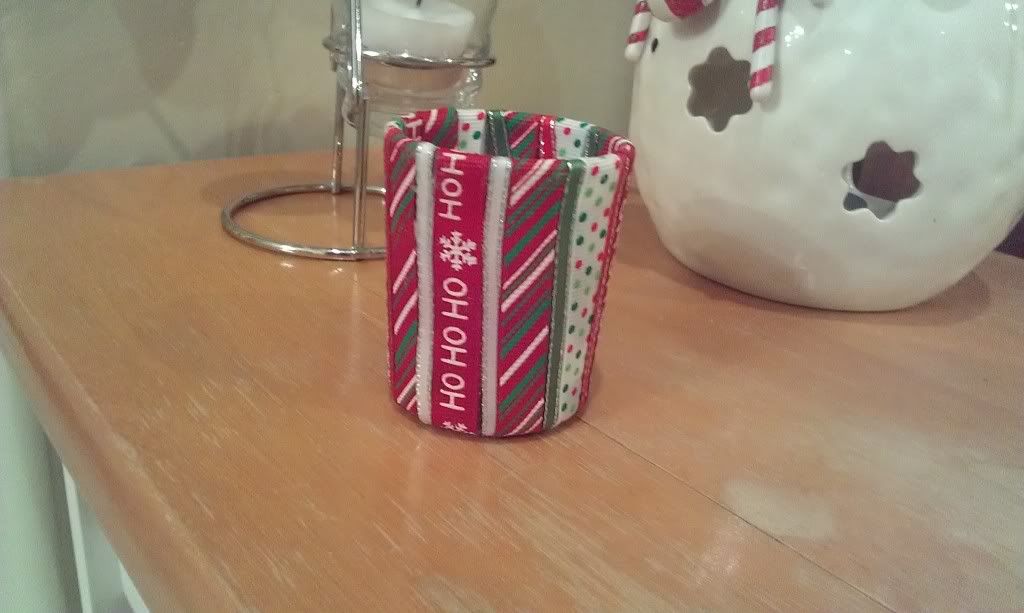
I tried out the ribbon covered candles - easy concept - strips of ribbon glued to the sides of a glass candle.  It was very time consuming, though, and I'm a little nervous about the ends of the ribbons catching on fire or the heat from the candle melting the glue.  It is pretty, so maybe I just won't ever burn the candle.

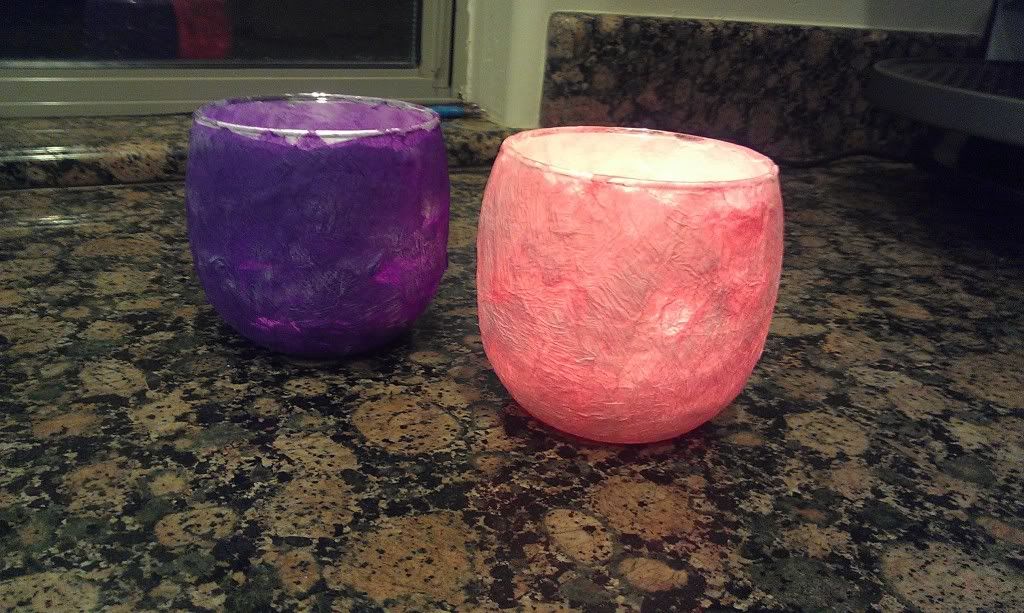
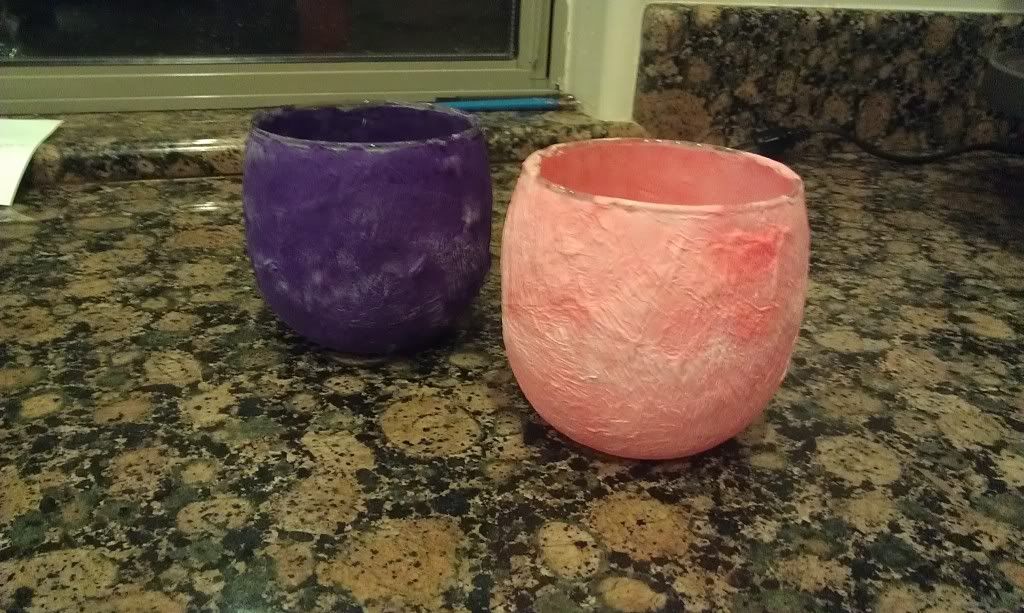
The Craft Diva has tried out her own projects too.  We bought some pink and purple crepe paper (because you know Advent is pink and purple) and did some mache on a glass candle holder using a watered down glue.  They turned out really pretty and were so easy!


Finally, I came home tonight to a little project she did with glue on construction paper and salt:


She specifically asked for this one to be featured on Mom's blog.  Here's to you Craft Diva!

cindy

Monday, September 5, 2011

DIY - Yarn Mache


I've seen several blogs with demonstrations of yarn bowls.  I call it yarn mache because it is the same technique and same paste you use with paper mache.  My craft diva is in full swing this holiday weekend and has been wanting to make paper mache.  We don't have any newspaper, so I thought it would be easy to try this.

First, you need the paste.  I've always used glue watered down, but after trying this recipe for paste, I like it much better.  I must give credit to carolynshomework for this recipe:

Combine 1/2 c. flour with 2 cups water
Boil 2 c. of water and add flour/water mixture to pan
Bring total mixture to boil (watch so it doesn't boil over)
Let mixture cool and then add 3 tablespoons sugar
Paste will thicken as it cools completely


You can use balloons to make paper mache or yarn mache, but I like to use a bowl to make a bowl.  Cover the bottom of the bowl in clear plastic wrap, so you protect your bowl.
 Pick your yarn.  I like a regular worsted weight, although a cotton would probably work very well.  I used a "homestyle" yarn, which wasn't the best choice because it started to unravel.


Cut the yarn in the lengths you want and dip each piece in to coat completely.  I wouldn't recommend immersing the yarn in the paste too much as it makes it harder to remove the paste.  As you take out each piece, strip the wet paste off and wrap the yarn around the bowl in any pattern you choose.


Use as much (or as little) yarn as you would like.  We tended to use a little more to make the bowl more substantial.


Once you have finished, allow the bowl to dry COMPLETELY, at least overnight.  If you live in a high humidity area, it may take longer.  Slowly remove the plastic wrap from the bowl and then carefully peel the plastic wrap off the yarn bowl.


We also tried a slightly bigger one in multiple colors:


This is a great activity for kids.  It's so easy and I think it's cleaner than paper mache.


cindy