Showing posts with label craft diva. Show all posts

Saturday, August 29, 2015

Tie Dye with Acryllics

I've been collecting a lot of pins on Pinterest and haven't had a chance to try all of those cool crafts. My extended family met at Kentucky Lake over the 4th of July, and never missing a chance to try a craft, my very own Craft Diva and I tried out this tie dye method from Ricochet and Away!  I found it to be easier than most dyeing methods I have seen and it's something kids can easily do.  However, I would not expect to wear the finished product for at least 24 hours due to drying (and possible need for re-dyeing.) I found everything I needed for this craft at Walmart:

White cotton shirts
Acryllic Paint (I used Waverly Inspirations Chalk Paint in Ocean, Peacock and Pool)
Plastic spray bottles (one for each color)
Package of rubber bands (office supply section)
Plastic gloves (acryllic will come off your hands, but the scrubbing is a pain)


I started with damp shirts and instead of rolling them the way described in the tutorial, I wadded them up into a ball.


This, my friends, is the wrong way.  I had to repeat the painting process more than once because I didn't roll the shirt, but wadded it up into a ball.

Next, combine the paint with some water in the spray bottle.  I used about 70/30 water to paint ratio, but you have to try for yourself.  Too much paint will result in a stiff mess.  Now spray.  We alternated these complimentary colors for the best effect.


After spaying them thoroughly, I put each shirt into a plastic shopping bag and squished them to get the paint distributed.  It didn't work as well as I wanted, because as I said, I wadded up the shirts the wrong way to start.  After removing the rubber bands and seeing big blank white spaces, I realized my mistake and had to roll the shirt up again for another round of spraying.


Once you get the desired amount of paint on the shirts, you need to let them dry completely before wearing (or you will wear the paint).  I also wanted to make sure my shirts didn't accidentally run in the laundry, so before I washed them, I soaked them in cold water and vinegar for an hour.  (It's probably not necessary, but it's the best way to set dye of any kind.)

I made shirts for all of the cousins, but here's the one that turned out best from my grand-nephew.


Awesomesauce!

cindy


Wednesday, August 26, 2015

STG Top 5 Kid Crafts

Creativity in kids should always have an outlet and my daughter is the original Craft Diva. Unfortunately, as she gets older, she's less interested in crafting although she is still really creative. Today I'm reliving the best Craft Diva crafts for kids.  These are easy to do and your kids will be proud of the results. Click on the title to see the original post with detailed instructions.

1.  Origami Ninja Stars - This has to be one of the most popular posts I ever wrote.  This is a craft Kenzie found on her own and her instructions are very simple because we managed to take some good pictures.  Use multicolored copier weight paper for the best results.


2.  Corn Syrup Painting - This is definitely one of my favorites.  You need to use a heavy sketch book paper for this one because the "paint" is heavy and thick.  You will love the shiny smooth effect you get using the paint, but don't forget - it needs lots of time to dry!


3.  Yarn Mache Bowls - These are messy, but even the youngest kids can do this craft (once you make the paste).  This is a great way to get rid of yarn stashes and your child will like having a functional bowl for small items.


4.  Tie Dye with Acrylic Paint - This is an easy tie-dye you can do with acrylic paints.  Great instructions that are easy to do, even with small kids.  It especially works well as an outdoor craft to avoid messy clean up.


5.  Melted Crayon Drawing - We saw this craft many times before we did it, so it wasn't too hard to do.  We were going with a slightly sophisticated product with a black canvas and black paper wrapped crayons from Michaels.  It's a little tricky to do it in a circular pattern like we did, so you might want to stick to the horizontal version.  Also, be careful with those hot glue guns, hair dryers and melted wax crayons with little ones.


So that's it!  While I've been writing this, my now-12-year-old Craft Diva noticed the post and commented that she wants to do more crafting.  We'll see, but if she does, you will see it right here.

Keep those kids crafty!

cindy
Monday, August 19, 2013

Kenzie Does Crafts - DIY Finger Paints

Kenzie found this "recipe" on About.com.  We tried it out and have some "comments" of our own.

You  need 2 cups of flour and 2 teaspoons of salt in a mixing bowl.


Pour 2 1/2 cups of cold water in and mix THOROUGHLY.  It will take a while, but you need to get the clumps out.  Mix until smooth.


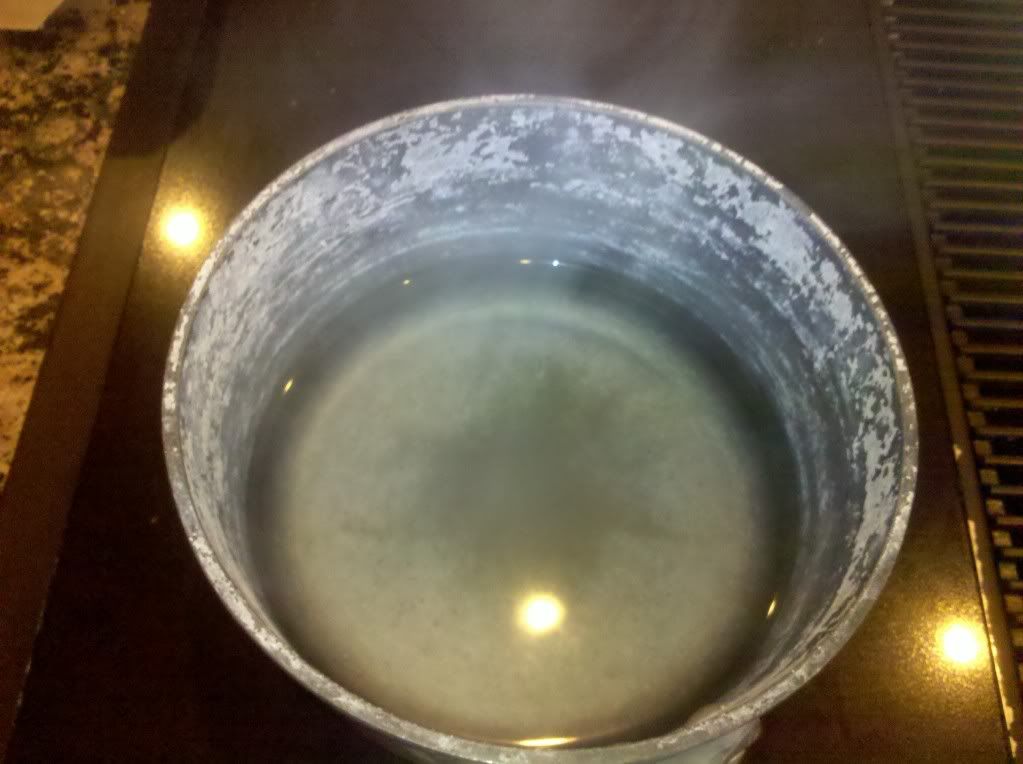
 Boil 2 cups of water in pan


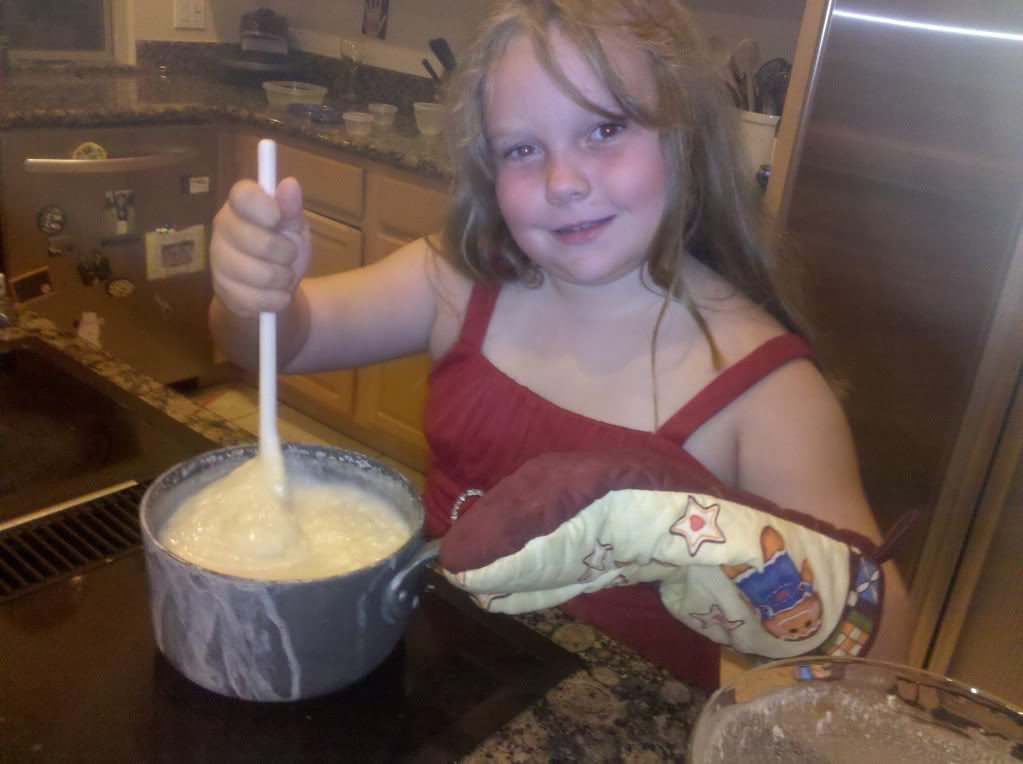
Pour the flour mixture SLOWLY into the boiling water (so it doesn't clump).  Stir constantly over medium heat until the mixture becomes thick (like Cream-o-Wheat).  (It might take a little while)


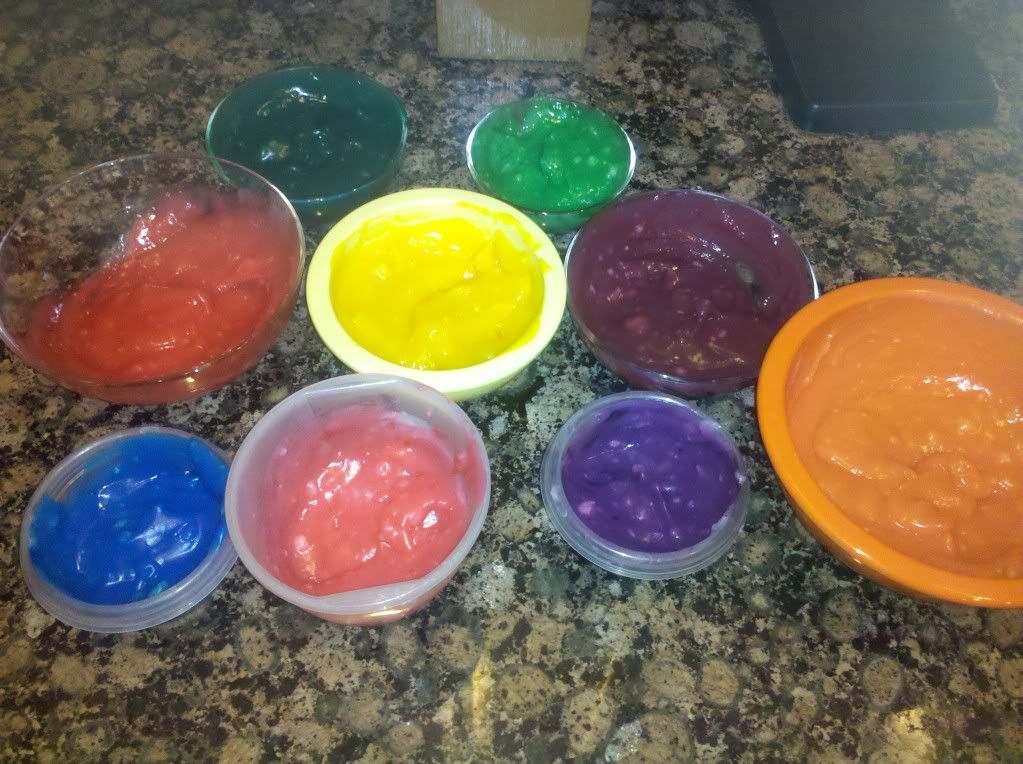
Pour the mixture into multiple containers.  Glass works best because the mixture is so hot.  You will have enough to make A LOT of paint.  Use food coloring, but use very little.  If your package describes how much to use for dyeing eggs, use half that amount.  We probably used too much.  The colors were vivid, but I was a little concerned about getting the dye thoroughly mixed.


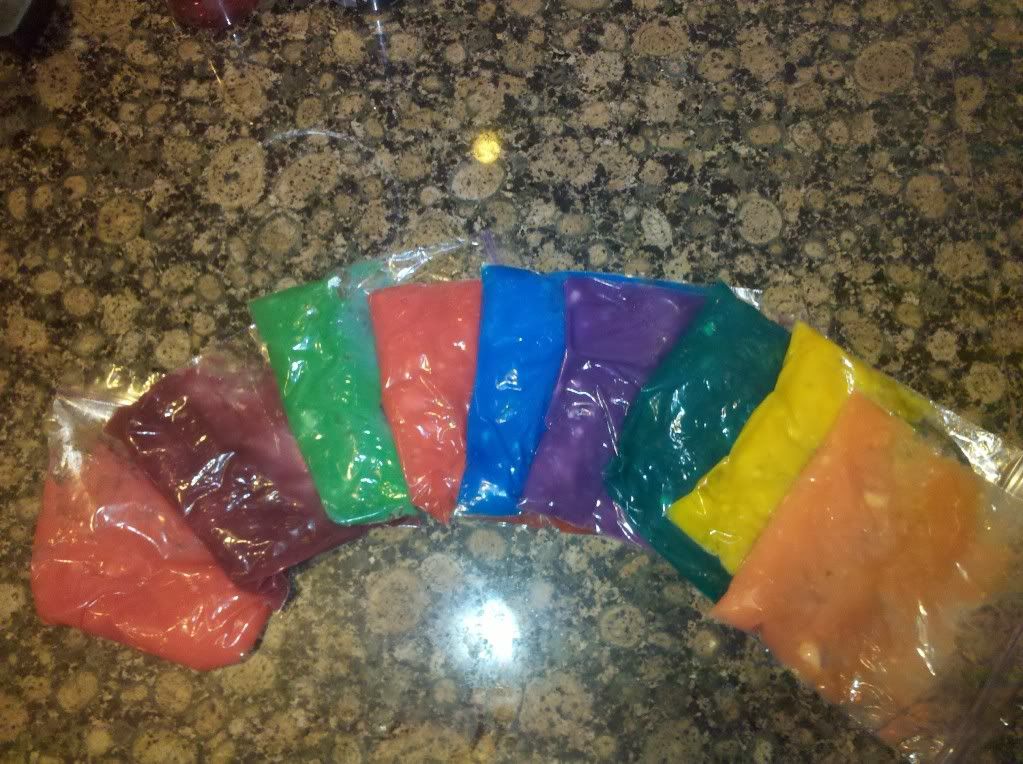
I didn't have lids to all of these containers, so I spooned each color into a Ziploc bag.  That actually works very well because you can squeeze out only as much as your little artist needs.  Make sure, however, that you wait until these paints are completely cooled, because I may have put ours in too soon.  The bags didn't melt, but there is a bit of a "chemical" smell on the bags after one day.


One word of caution - these finger paints are food based (flour, salt and food coloring) which makes them great for even little ones.  However, food coloring can stain.  Also, and most importantly, because these are food based, they will "spoil" in less than a week.  Don't keep them too long because we learned the hard way - they will STINK.

Have fun painting!

cindy


Monday, July 1, 2013

Kenzie Does Crafts - Melted Crayon Art

I'm not going to use many words for this one because I think the pictures tell it all.  We started with a black canvas and crayons from Michael's.  I was able to find the crayons at a very good price and because the paper was black and it only said "Crayon" I thought it would look cool.  We also had a glue gun and a heating tool for embossing.  You can use a hair dryer, especially if it is a small focused one, but because I had the tool it was easier.
Good idea to lay out the concept before you start gluing the crayons.


We started with the four quadrants and worked from there, melting each crayon separately, which is where the embossing tool was very helpful.


cindy

Monday, June 10, 2013

Kenzie Does Crafts - Duct Tape Bow

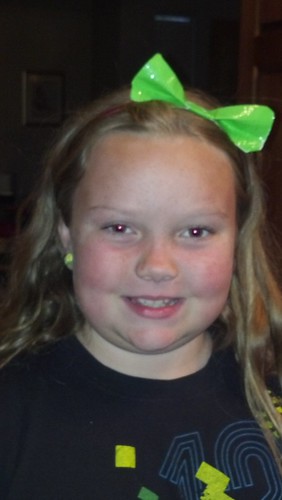
My Mackenzie is a crafty chick.  She loves making up her own creations, but also likes trying out things she finds on the internet or learns from her friends.  She's always asking to be featured on Straddling the Gap, so I'm giving her a weekly forum on Mondays - Kenzie Does Crafts.  Some projects will be videos and some, like today, will be pictures and written instructions.  Today the project is a duck tape hair bow.  Here's what you need:

barrette stuff


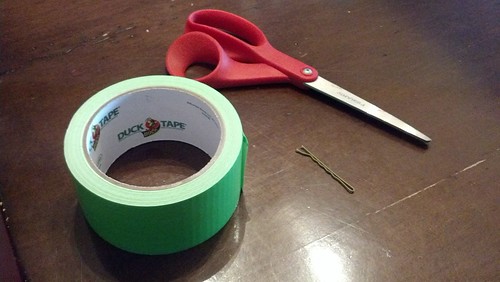
Duck tape, bobby pin, scissors and headband (optional).

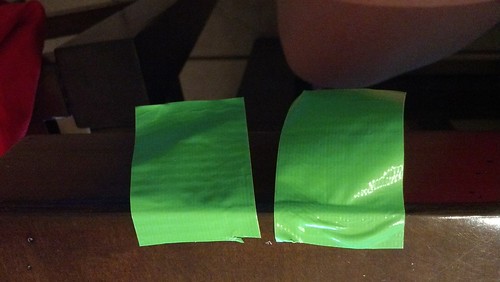
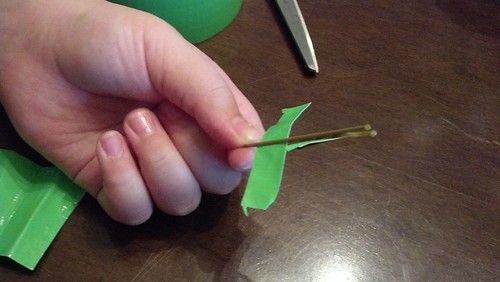
Cut two pieces of duck tape about 3 inches long.  Put the pieces together with the sticky sides.


barrette 9

barrette 7
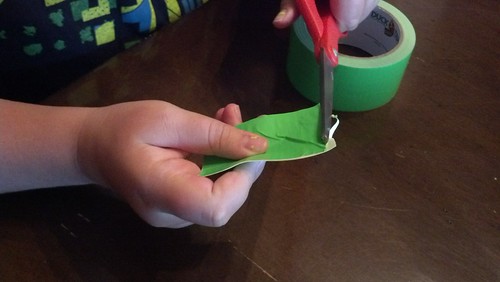
Cut the sides of the tape so the edges are even and no sticky part is showing.


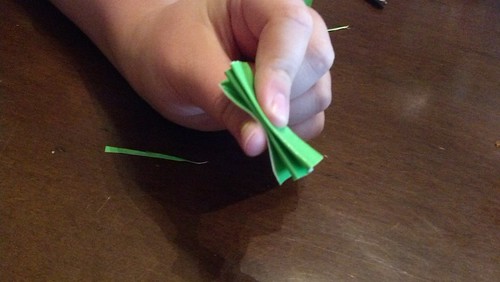
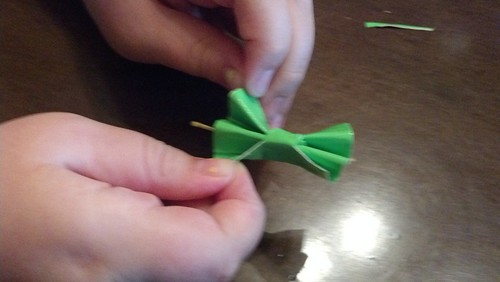
Fold the short side in accordion folds (back and forth).  Cut another piece of duck tape, using the width of the tape as the length and cutting the width to 1/2 inch.


 barrette 1

Untitled Insert the little strip between the bobby pin and wrap it around the folded piece.


barrette 4

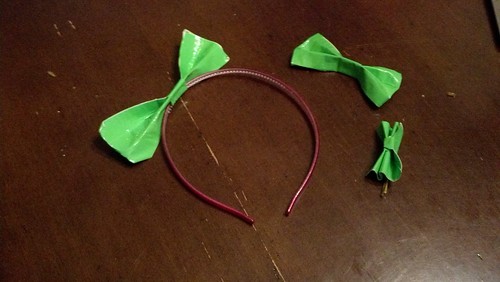
You can also do the same thing with larger pieces to make a larger bow for a headband.


Untitled

barrette 10barrette all done 

cindy

Tuesday, May 1, 2012

DIY - Origami Ninja Stars

My Craft Diva has struck again!  She learned to make origami ninja stars all on her own (with the help of YouTube and a friend at school).  They are so cute to make and will challenge you and your kids.  They also make cool banners. There are many photographs in this tutorial so please be patient while the page loads.


Here are the directions according to Mackenzie:

1.  You need 8 pieces of 8 1/2 x 11 paper, assorted colors (printer paper works great) and scissors


2.  Fold one piece of paper across on the diagonal evenly, which will leave an extra amount of paper at the bottom


3.  Cut the bottom of the paper off to make a clean triangle (or a perfect square when the paper is unfolded).

4.  Open the paper and fold across the other way to make another triangle.  Unfold the paper.  You should now have a square with fold lines making an "X".  It is important to make all of these creases.

5.  Fold the corners on one side of the square to the middle.

6.  Fold in half so it looks like a paper airplane with a single point "nose" on one end and open back.

7.  This is the tricky step: hold the "paper airplane" as if you are going to throw it with the "nose" of the plane farthest from you. Turn the plane upside down so you are looking at the back of the plane and it looks like an "A".  Put your index finger on the top of the "A" and push it down.  The creases you put in the paper earlier with fold and the top of the "A" will push down to the middle of a triangle, like this:

8.  Keep pushing down on that crease so it folds to the inside

9.  Turn the paper to the left and you should see a parallelogram with the left side sloping downward to a point.

10.  Repeat with each piece of paper (7 more times).  Arrange them in the circle design you want.


11.  To assemble the ninja star, start with two of the parallelograms.  Hold then in the direction of the parallelogram shown in Step 9 above, one behind the other with the left side sloping down and the crease on top.  Insert the parallelogram on the right into the back of the one on the left, aligning the left slope of the right parallelogram with the top crease of the left parallelogram.  It should look like an angle:

12.  Fold the tips of the top of parallelogram on the left over the one on the right.  In this case, fold the blue edges over the yellow paper, tucking them into the open fold.

13.  Repeat for the remaining parallelograms, working around to the right in a clockwise direction.  When you get to the last section, fold the last corners over both layers of paper to the center.


14.  Ninja star!!  (Wait a minute, that doesn't look like a star . . .)

Watch what this ninja star can do!

15.  Push one side in gently, and then the other sides:


There it is!

You should be able to move the pieces back and forth, but be gentle!  Enjoy!

cindy