
You need 2 cups of flour and 2 teaspoons of salt in a mixing bowl.

Pour 2 1/2 cups of cold water in and mix THOROUGHLY. It will take a while, but you need to get the clumps out. Mix until smooth.


Boil 2 cups of water in pan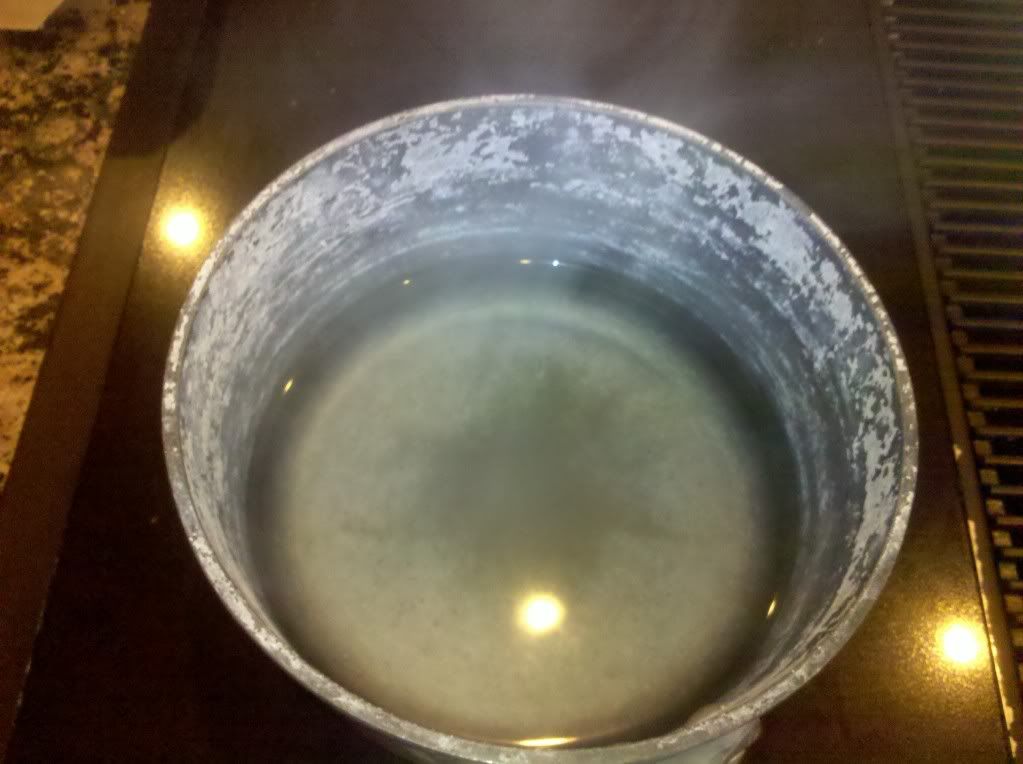
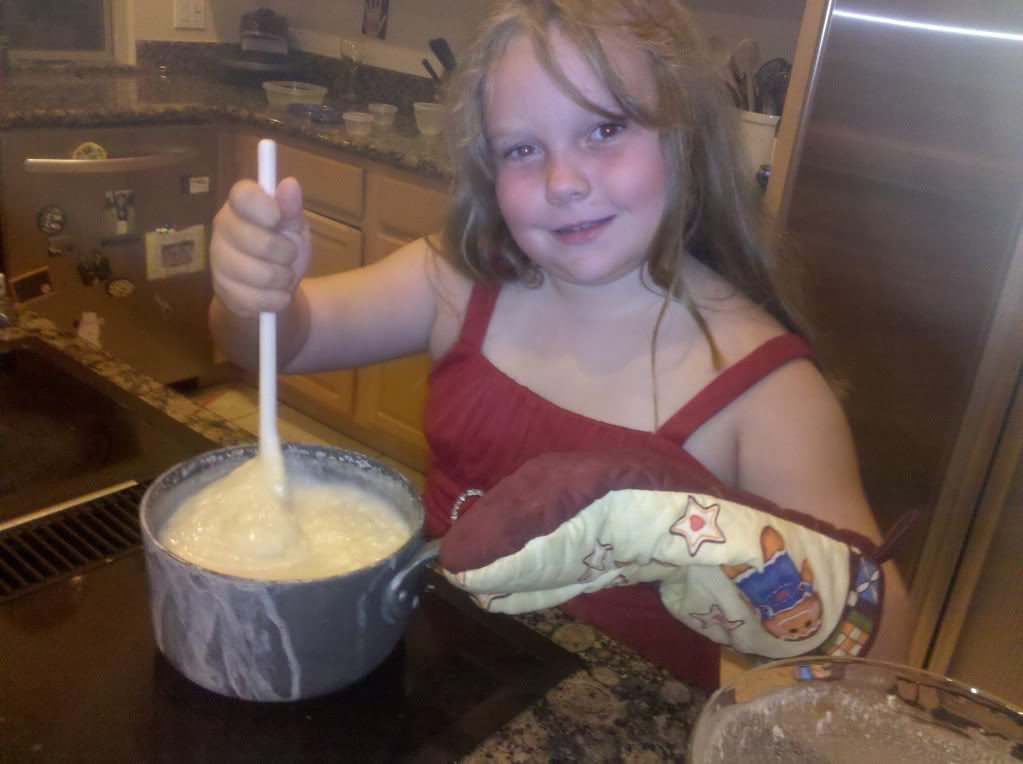
Pour the flour mixture SLOWLY into the boiling water (so it doesn't clump). Stir constantly over medium heat until the mixture becomes thick (like Cream-o-Wheat). (It might take a little while)
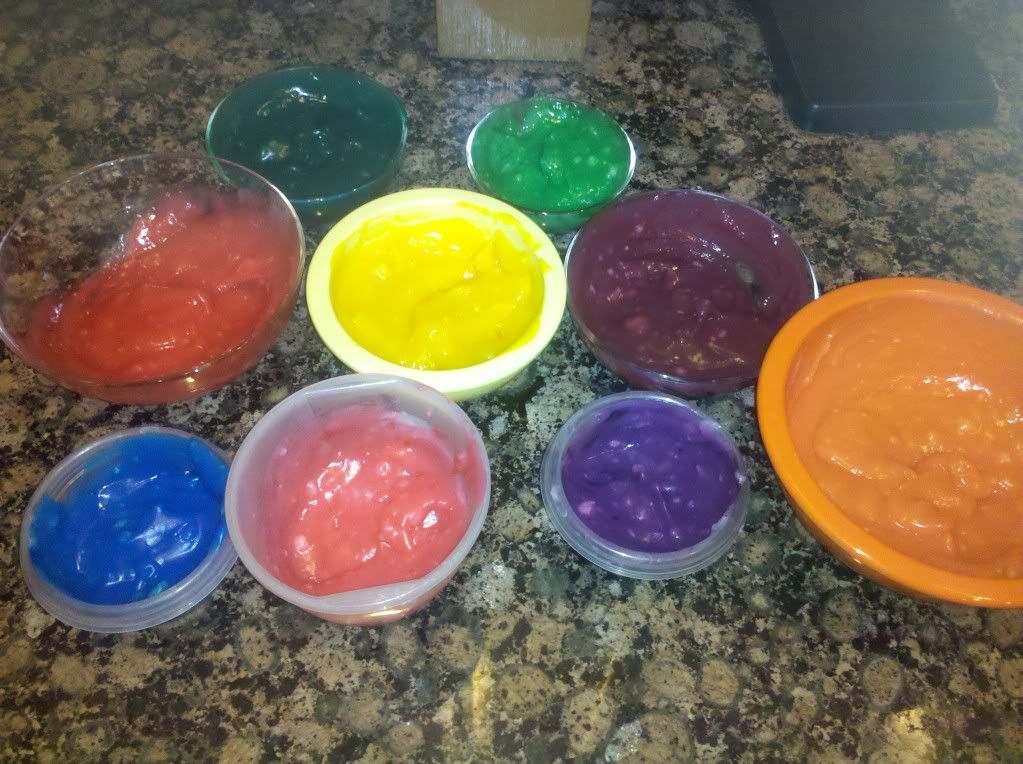
Pour the mixture into multiple containers. Glass works best because the mixture is so hot. You will have enough to make A LOT of paint. Use food coloring, but use very little. If your package describes how much to use for dyeing eggs, use half that amount. We probably used too much. The colors were vivid, but I was a little concerned about getting the dye thoroughly mixed.
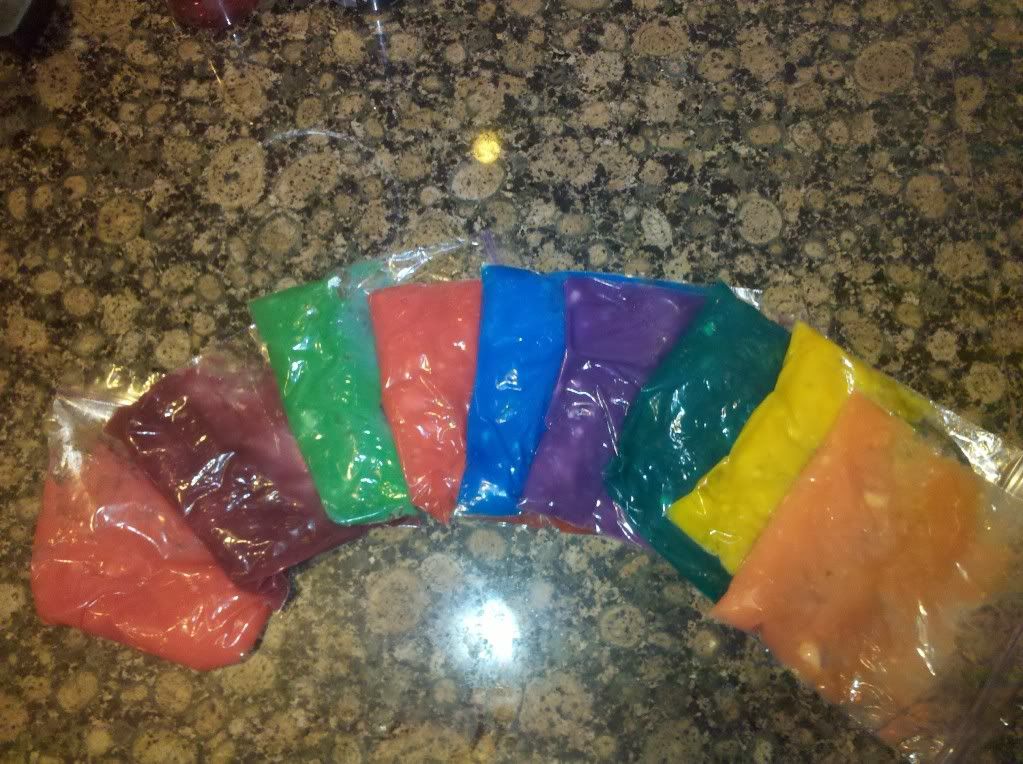
I didn't have lids to all of these containers, so I spooned each color into a Ziploc bag. That actually works very well because you can squeeze out only as much as your little artist needs. Make sure, however, that you wait until these paints are completely cooled, because I may have put ours in too soon. The bags didn't melt, but there is a bit of a "chemical" smell on the bags after one day.
One word of caution - these finger paints are food based (flour, salt and food coloring) which makes them great for even little ones. However, food coloring can stain. Also, and most importantly, because these are food based, they will "spoil" in less than a week. Don't keep them too long because we learned the hard way - they will STINK.
Have fun painting!
cindy
No comments:
Post a Comment
I love comments and read every one, so please let me know what you're thinking.